I’ve already talked about yoga for the spine before, and this time I’m going to talk a bit about yoga poses for the lungs. Why? Well, these two are actually connected. A slouching back shrinks the space for your lungs to properly breath. Therefore, these exercises will make sure that you create some space and aid your lungs.
Another thing is, if you have a chronic pulmonary disease, research has shown that people who do yoga twice a week improves their lung function. It’s going to be a challenge in the beginning, especially if you are short of breath most of the time. So, take it slow and don’t give up! The best types of yoga for you will be Hatha and Yin.
Yoga Exercises for the Lungs
Seated Cat-Cow (Upavistha Bitilasana Marjaryasana)
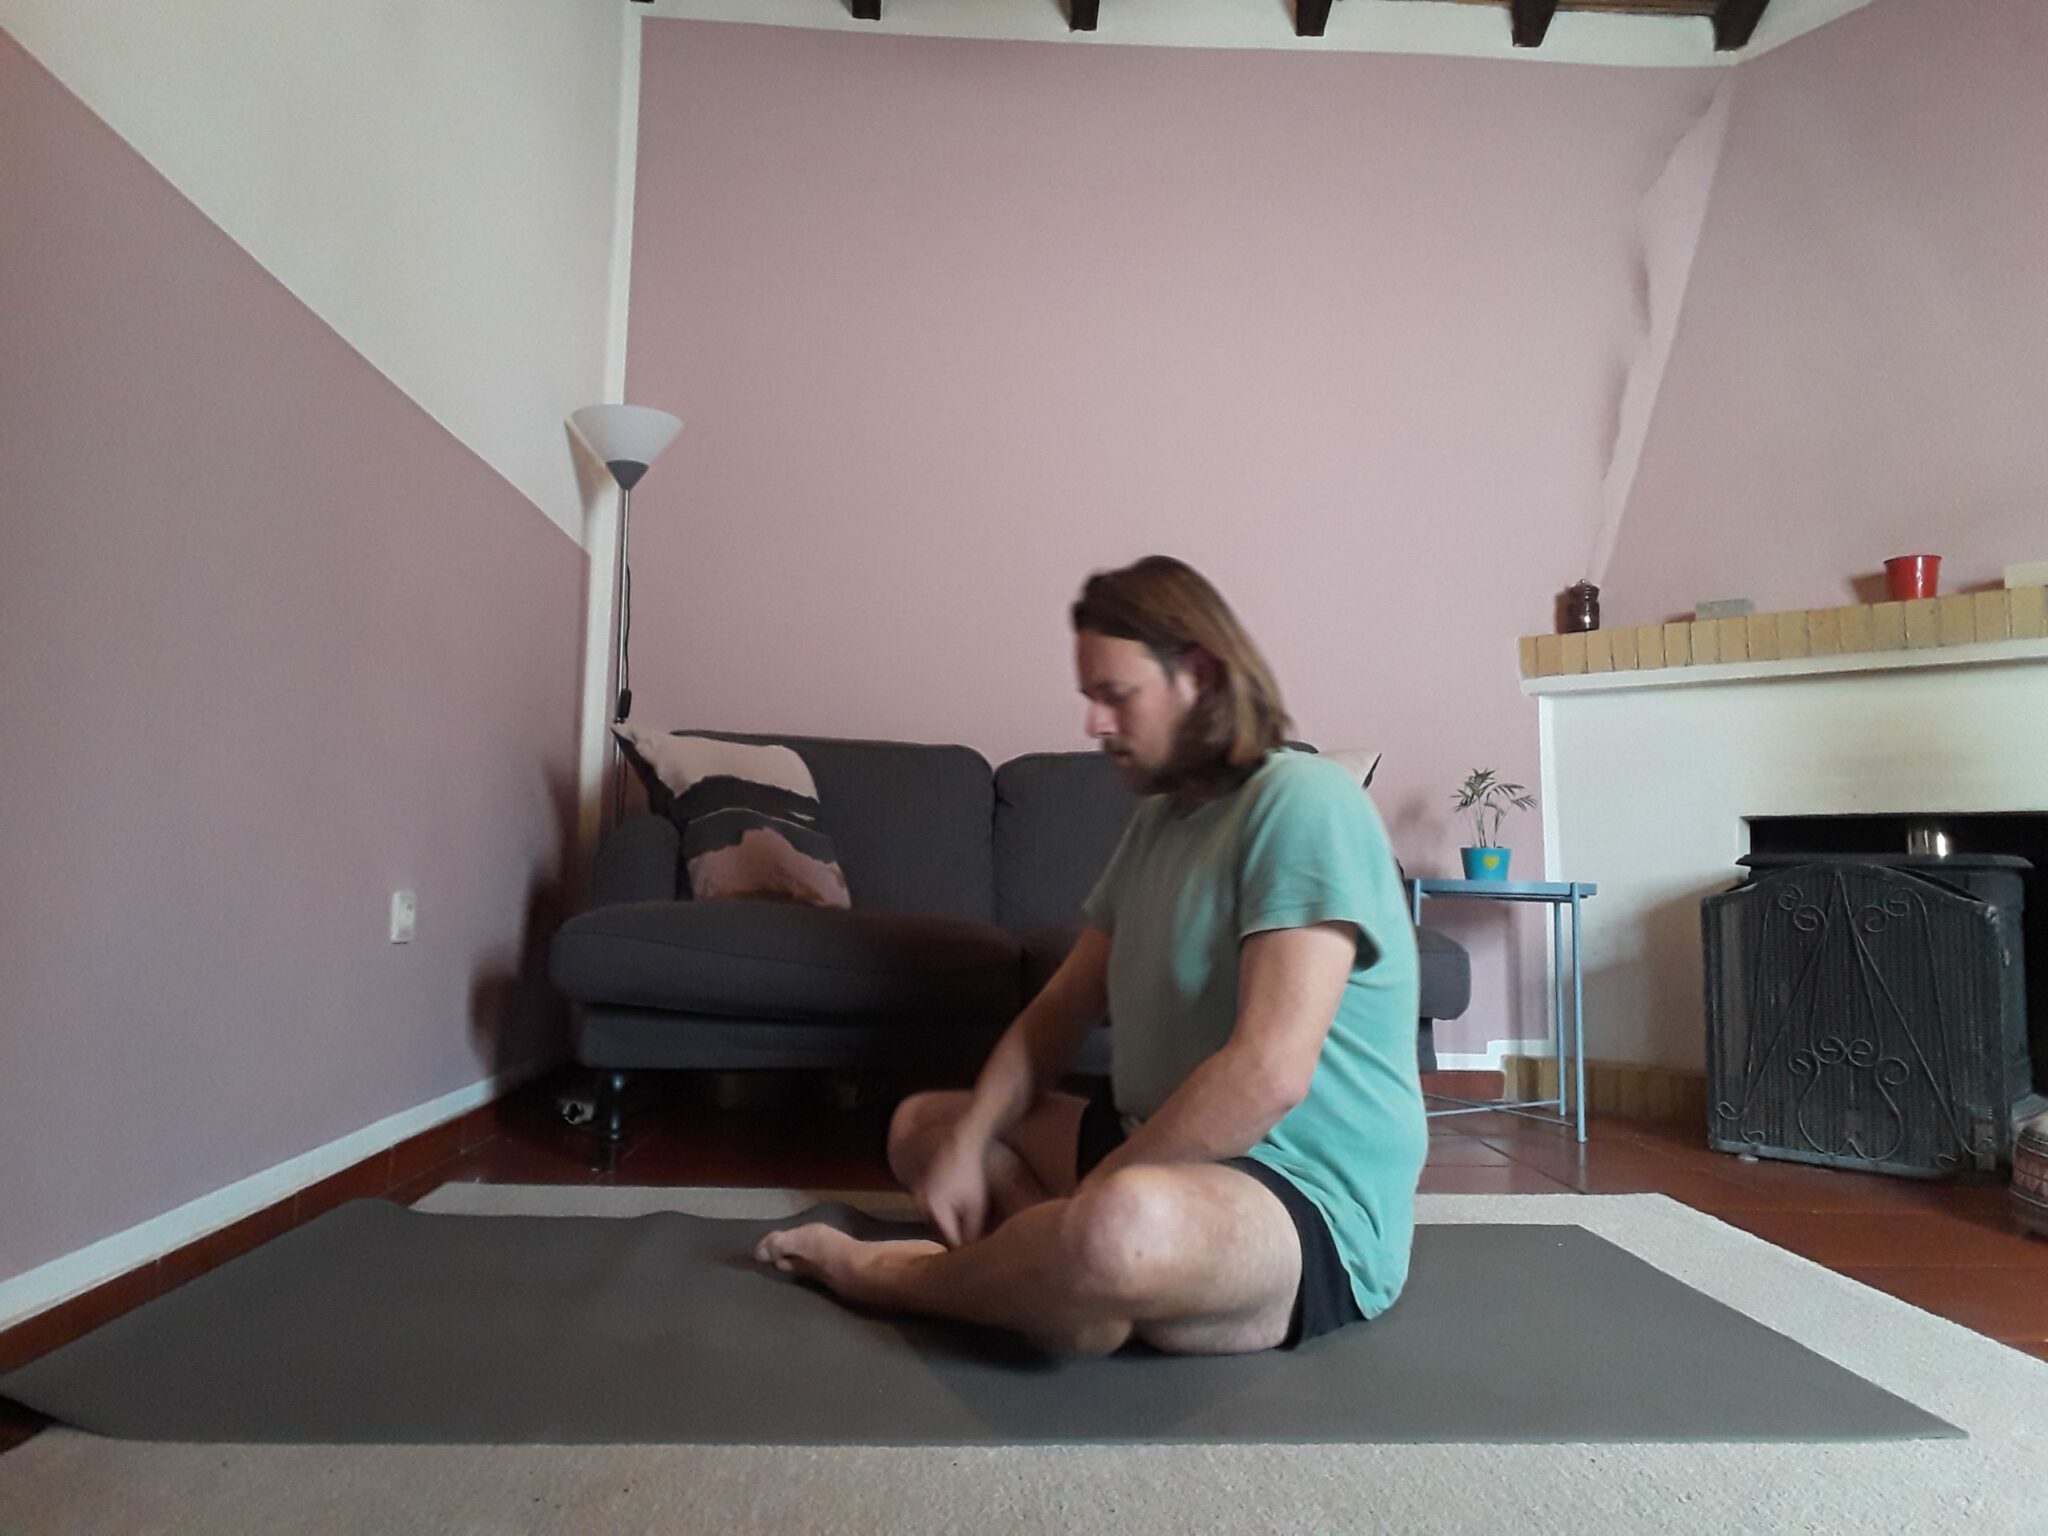
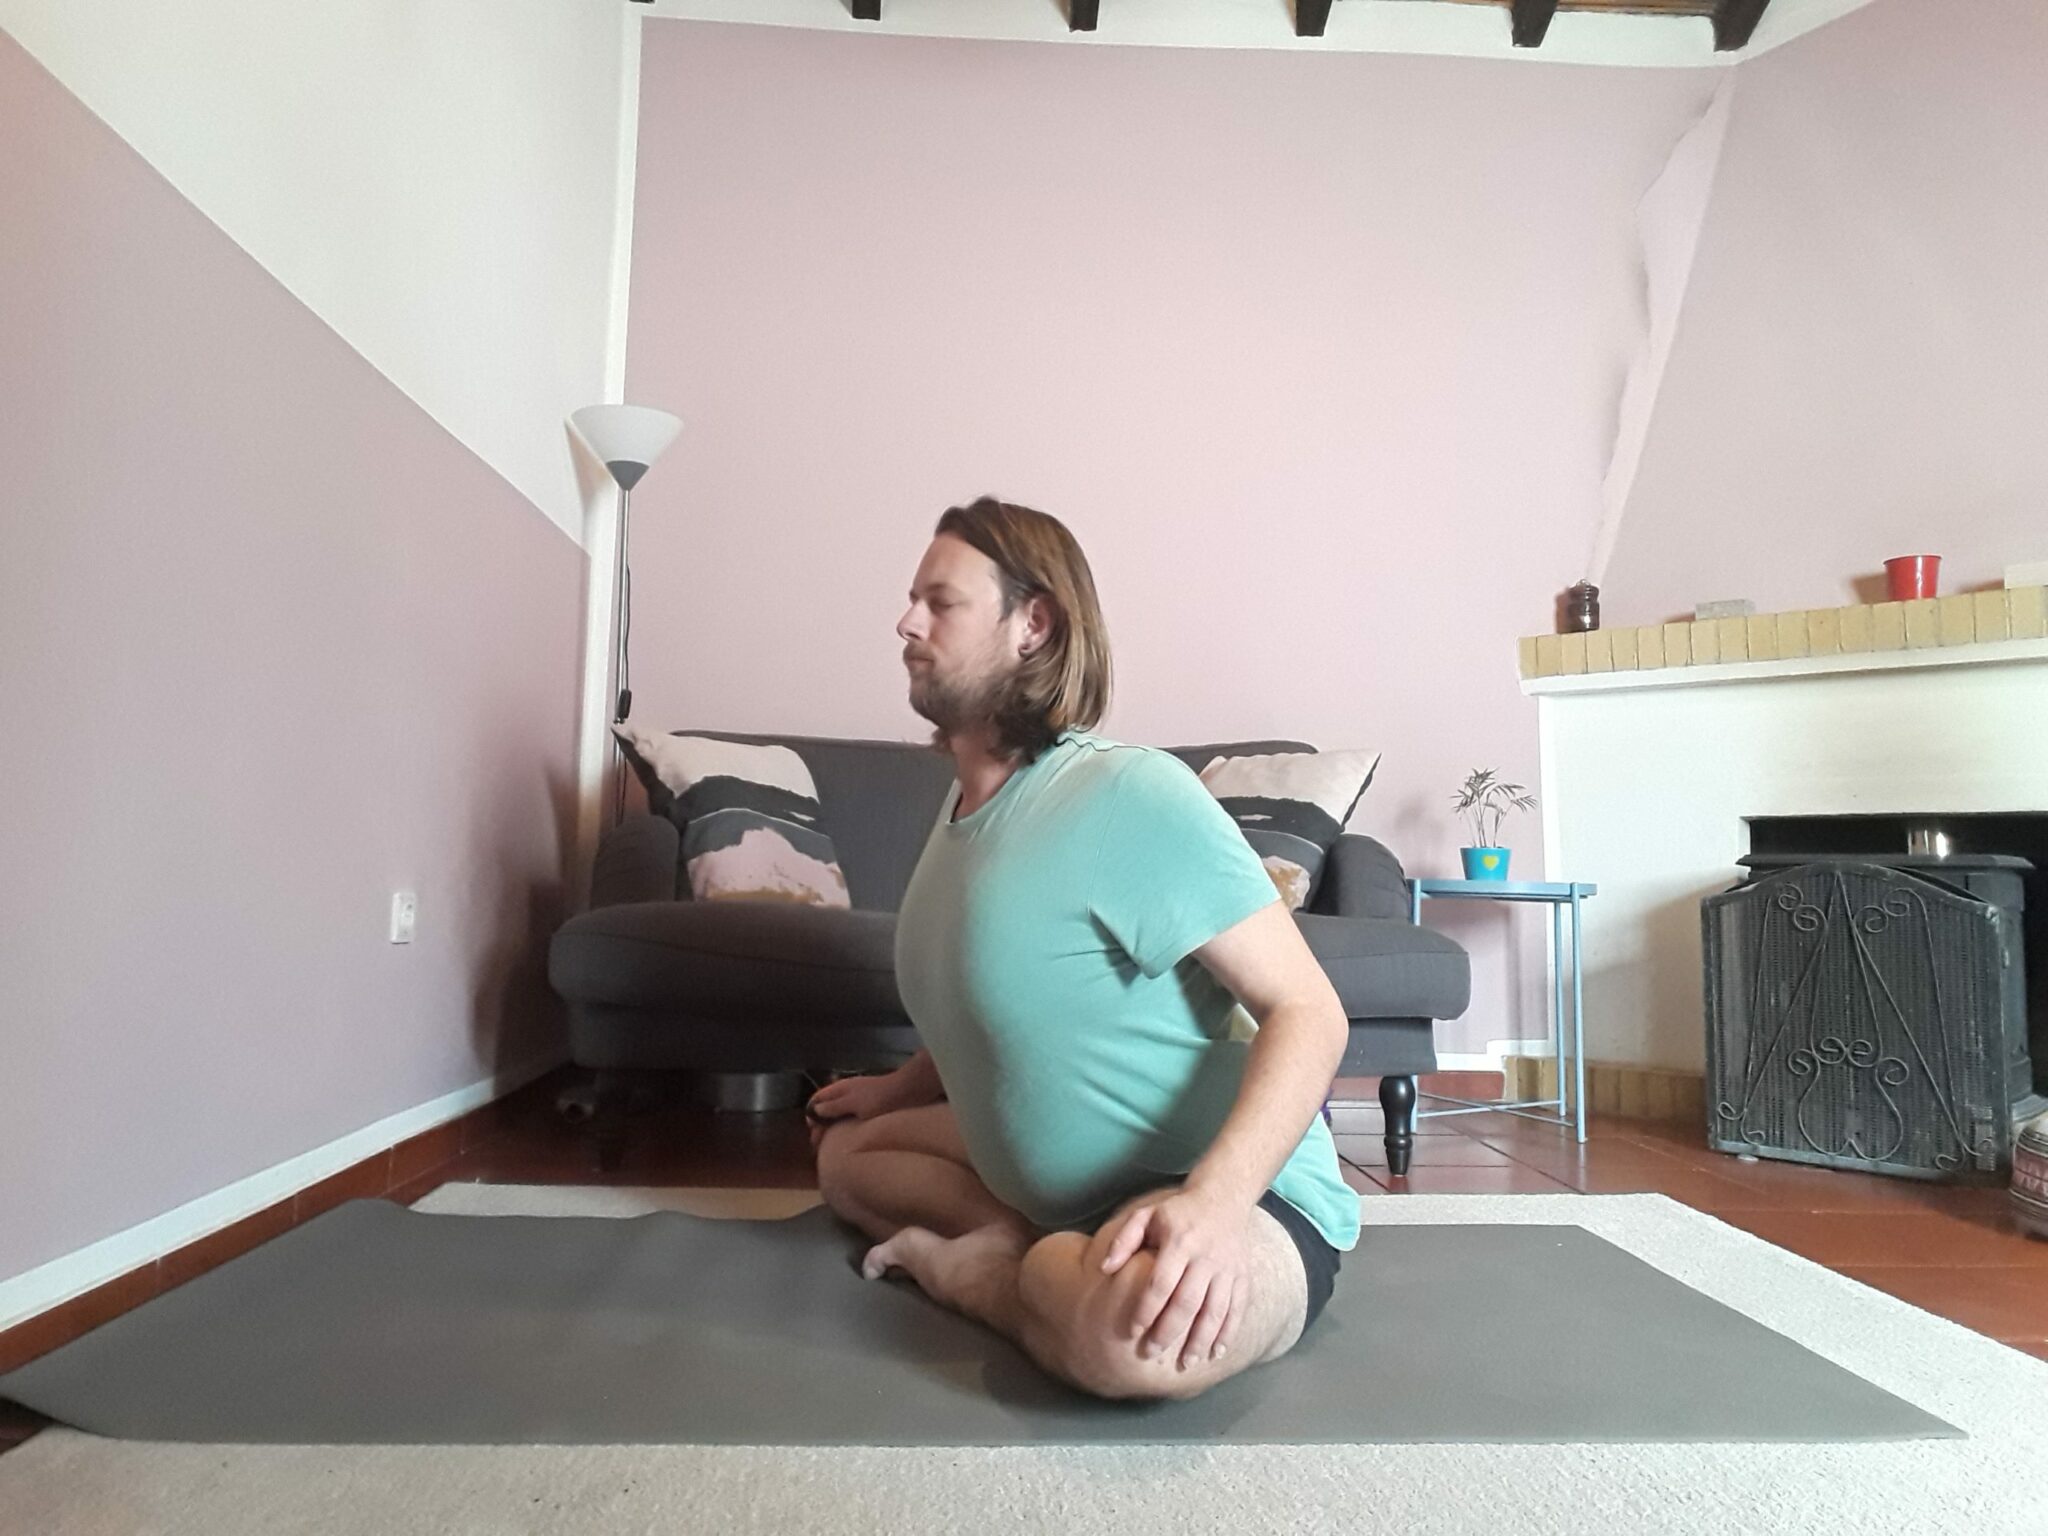
The Cat-Cow movement is very well known in the world of yoga. You’ve probably done it many times before. But in this article I’m going to talk about the seated cat-cow movement. This one is more focused on the stretch of the shoulders and to open your chest, rather than the spine. Which is basically what the normal cat-cow movement is focused on.
This little flow is quite easy and you can incorporate it into your daily yoga routine when you are warming up. You just sit down in a cross-legged position and you put your hands with the palms down on your knees. On an inhalation you’ll bring your chest forward and your chin a bit up. On the exhalation you round the back and bring your chin to your chest. And that’s it. I recommend you do this about 5 times and you’re good to go ;).
Cobra And Upward Facing Dog
Cobra Pose (Bhujangasana)
The cobra pose belongs probably to have of the best-known yoga poses and yet I see a lot of people not doing it the proper way. I even see yoga teachers that are doing half a yoga pose and mixing it with an upward-facing dog (this is called Seal Pose by the way ;). Let’s give those two the attention they deserve and give them a good explanation.
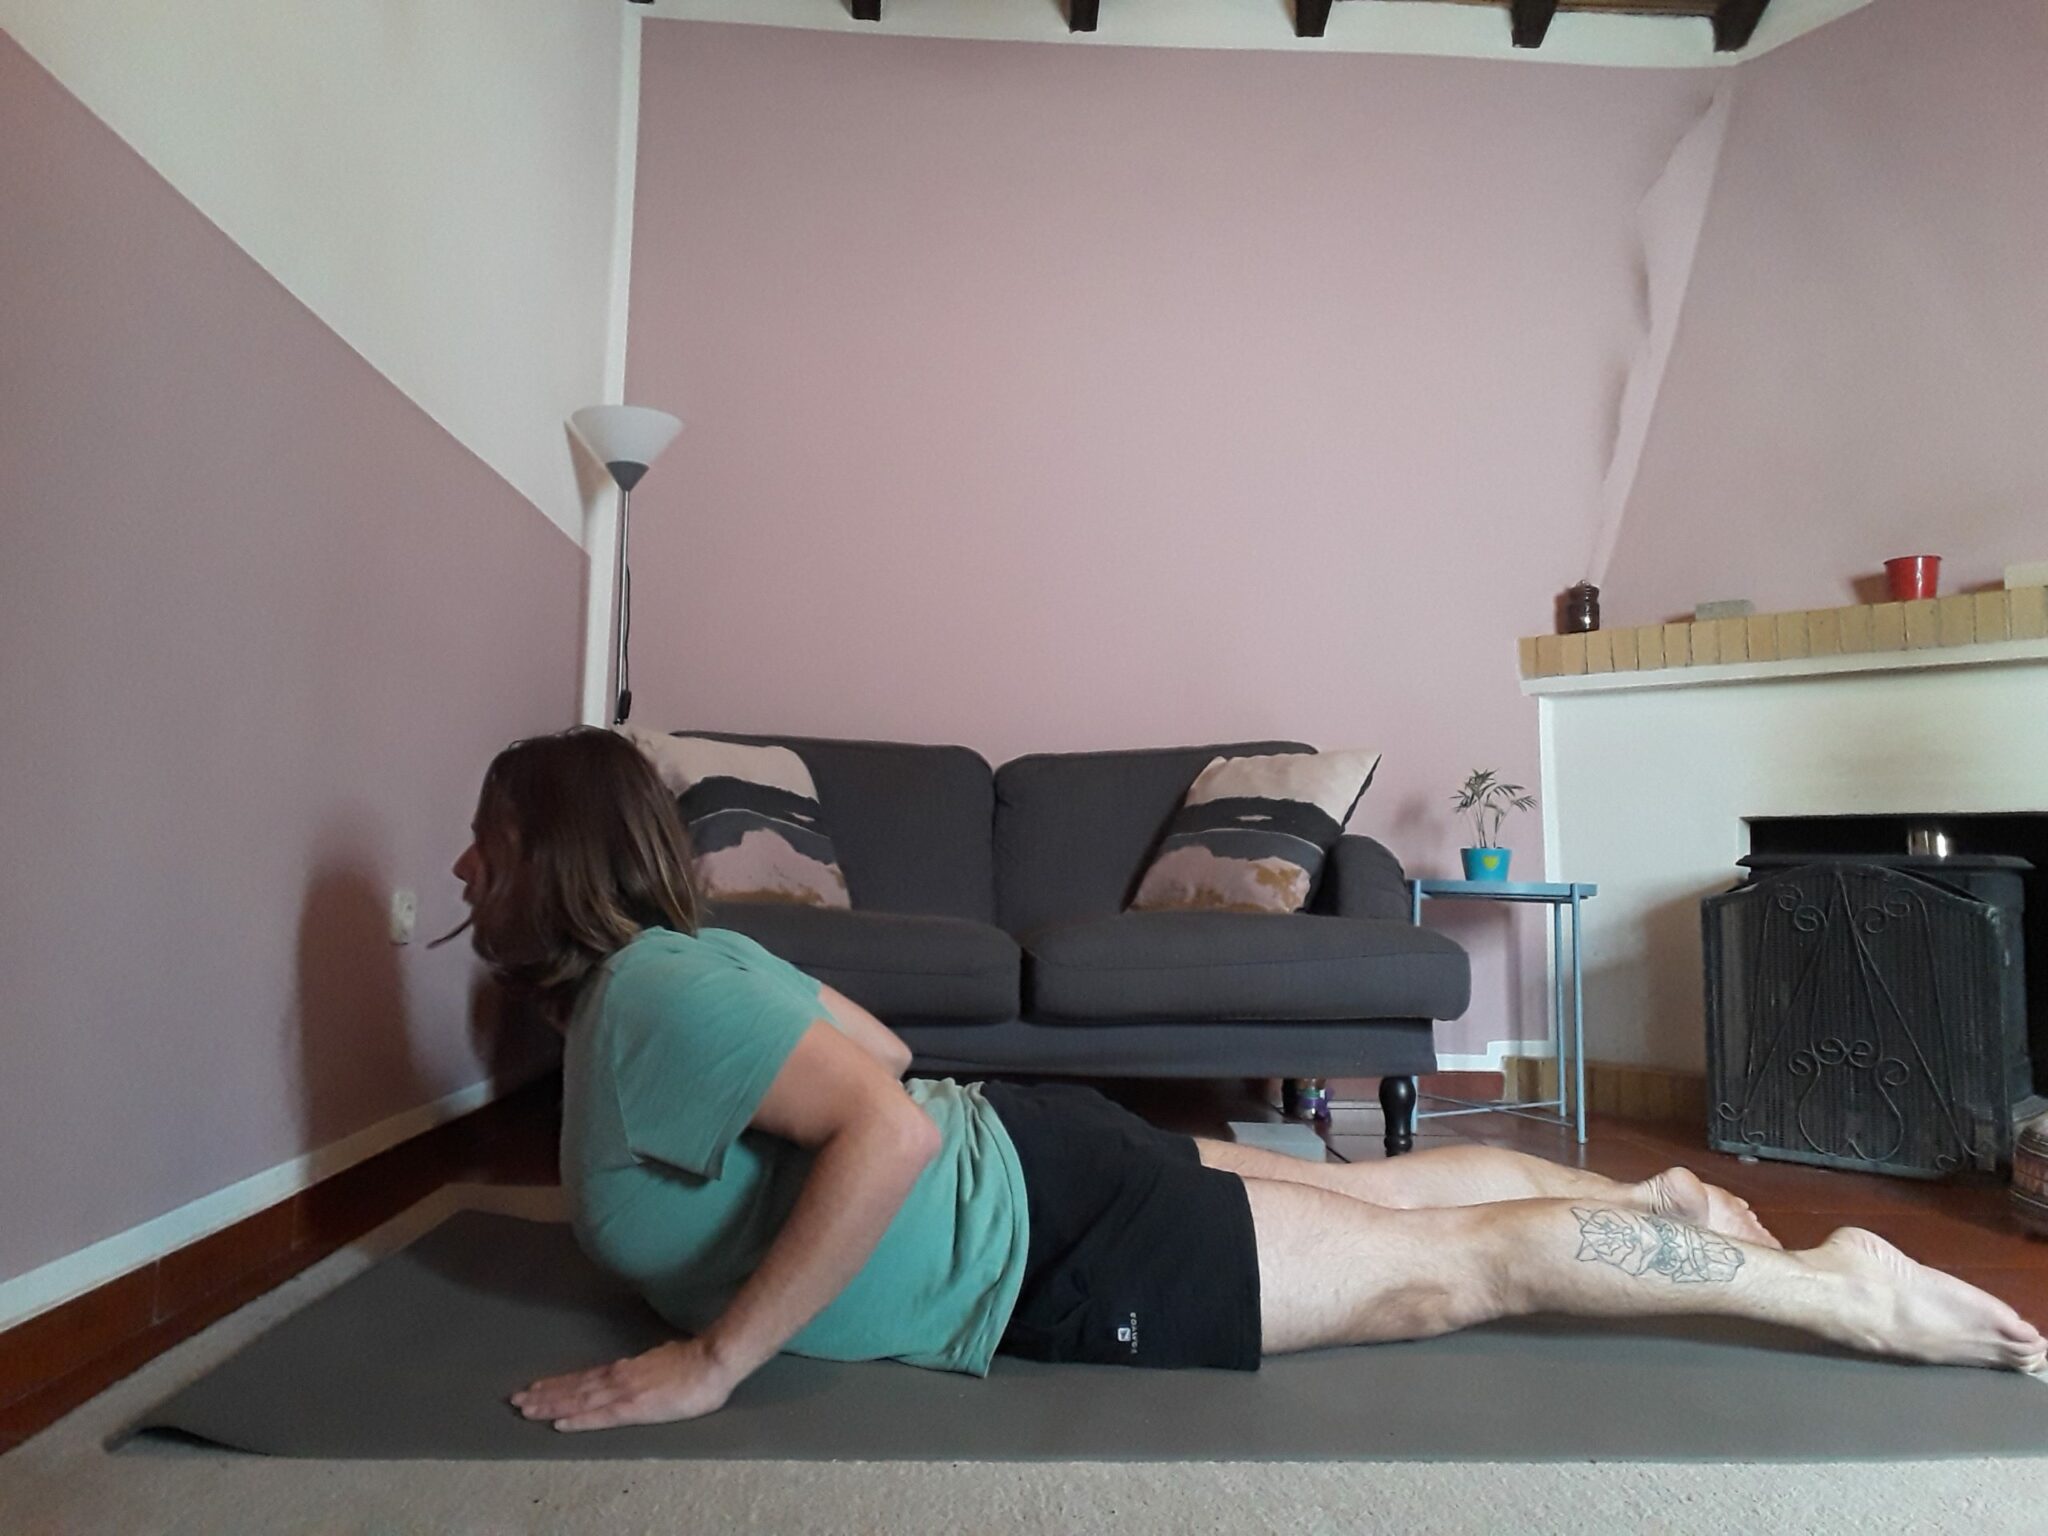
First of all, start with your whole body with the front on the mat. Put your hands next to your chest and make sure that the index fingers are parallel to the side of the mats. Before you push yourself up, make sure that you activate your legs, meaning that you will actively push your feet and legs into the mat. This will activate your core and protect your lower back. When you’ve done this, you can gentle push yourself up on an inhalation.
One thing you’ve got to take care of within this asana is that you take care of your shoulders. You want to open up your chest, so before you push yourself up, you should be aware that the shoulder blades are squeezing in a bit. This makes that the chest will come forward during the cobra pose and that your chest opens up perfectly.
Another thing that you can test if you are in the asana in a right way is by lifting up your hands off the mat and seeing if you can stay in the pose. If you do collapse it means that you’ve put too much weight on your hands and you are actually doing an upward facing dog.
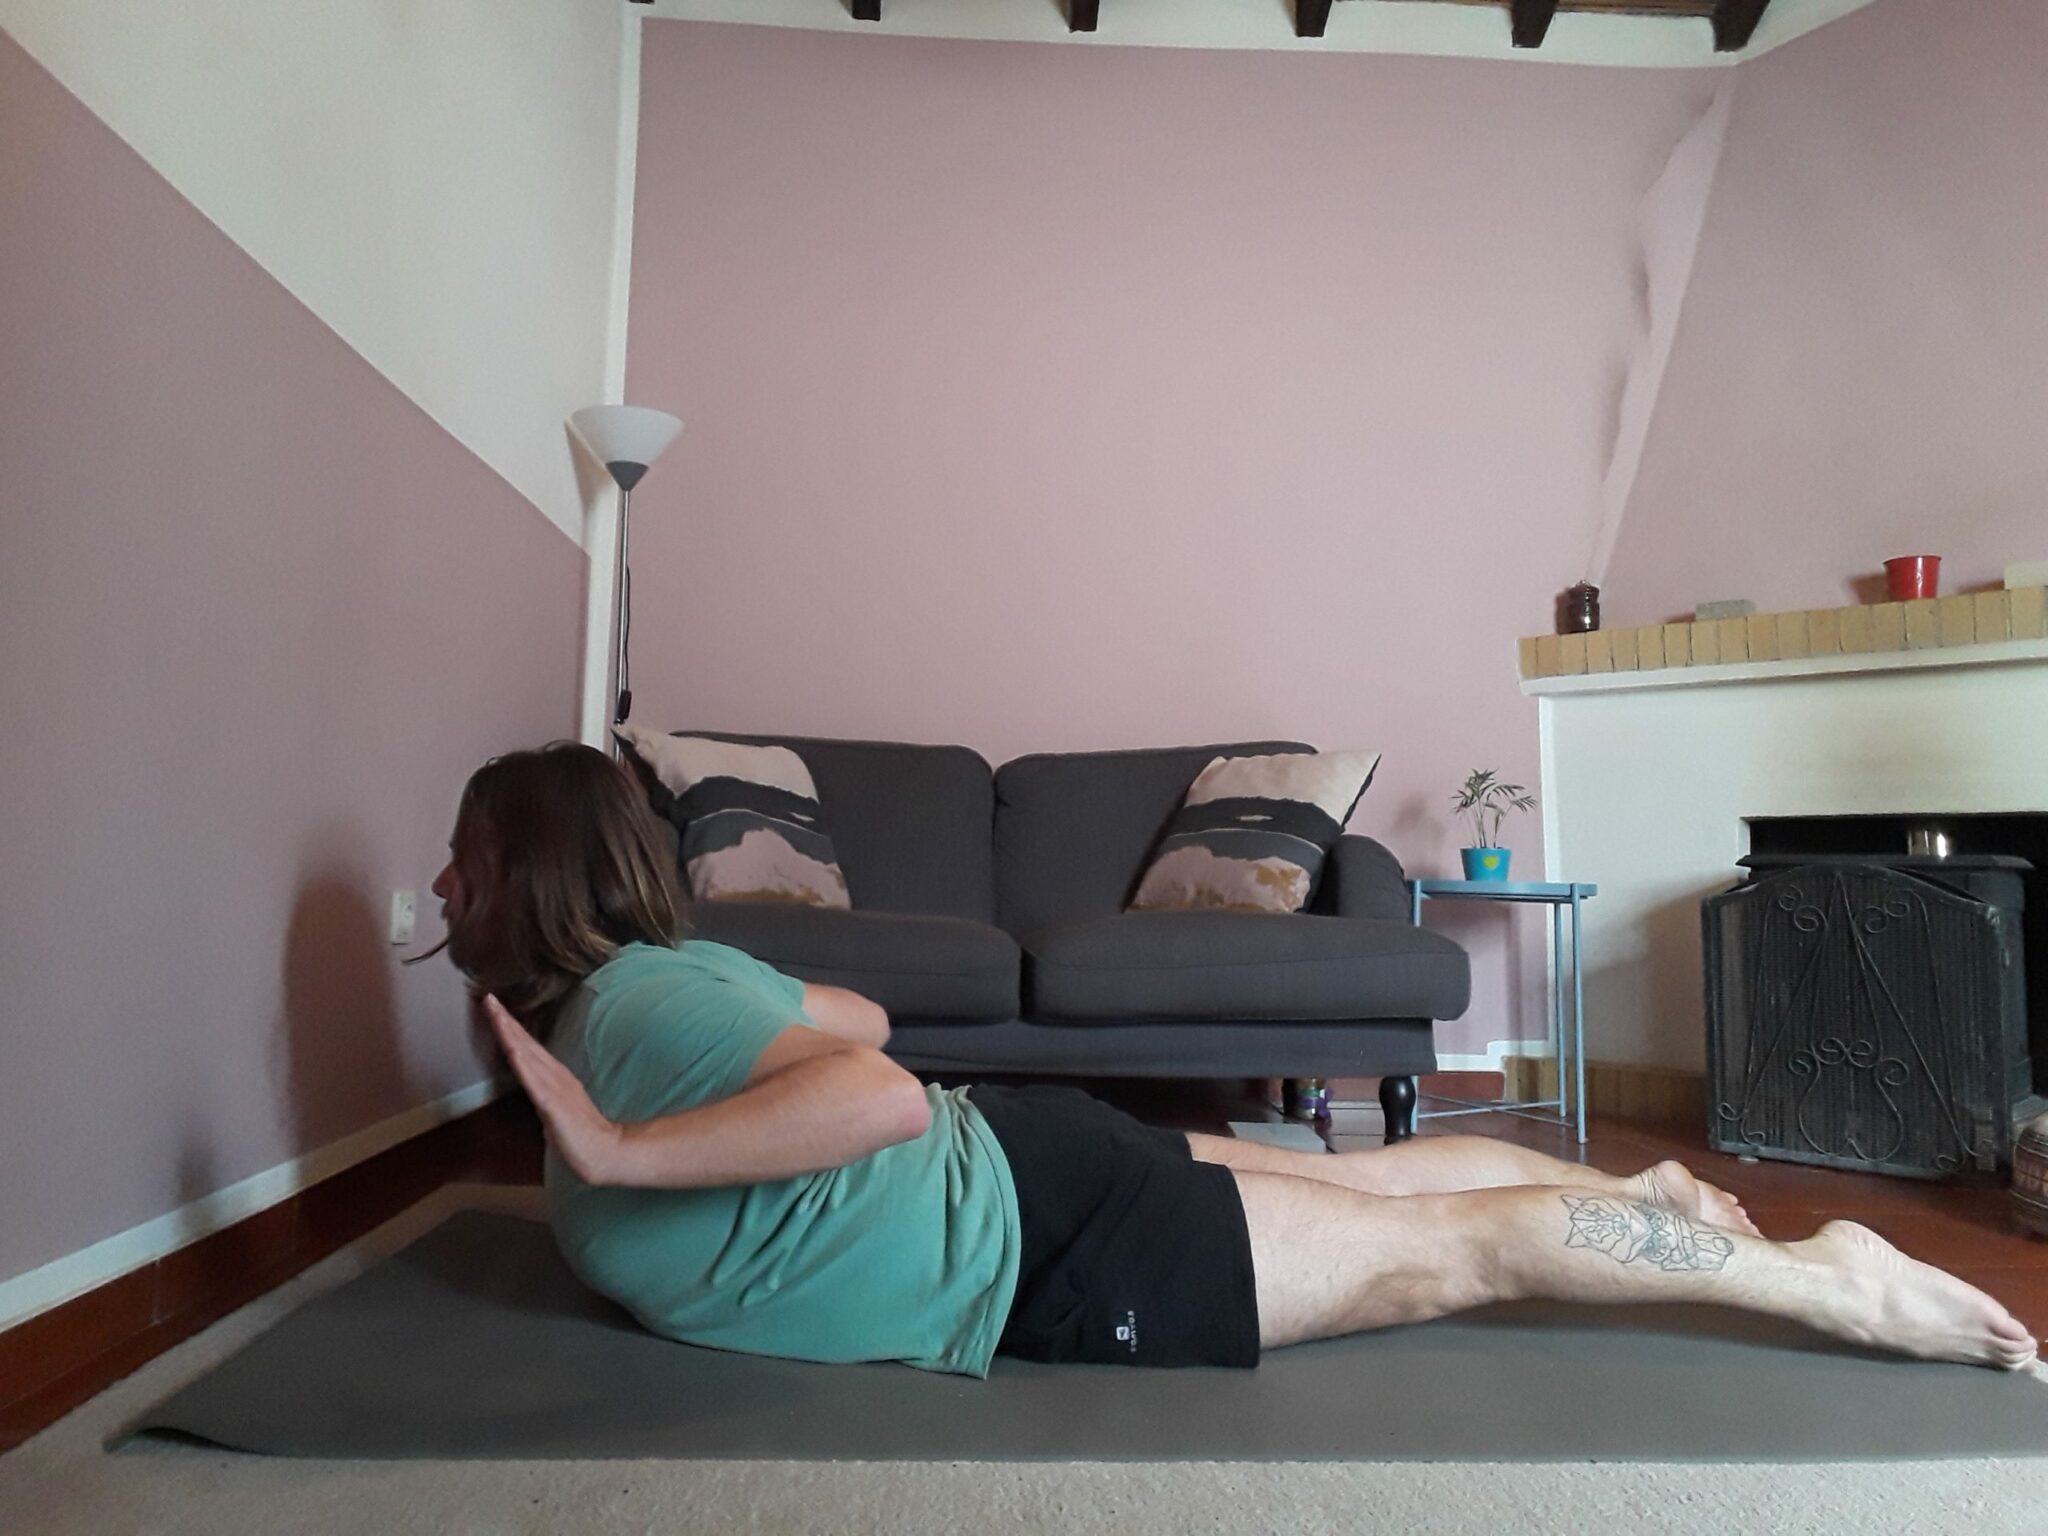
Things that I often see in this position are that people often want to be the best cobra and therefore they push themselves up with their hands. They want to be the tallest and rise above everybody else. Or they just do it because they are explained it in such a way that it’s lifting them up completely.
Within Cobra Pose you have to make sure that you don’t lift yourself up too much, you must feel comfortable in the position as well. Otherwise, you might risk putting too much pressure on your lower vertebrae and even on your shoulders as you are pushing yourself up. This is not a Cobra Pose at all and by pushing yourself up you won’t gain any benefit of the cobra at all as you won’t be rounding those shoulders.
Upward Facing Dog (Urdvha Mukha Svanasana)
As I mentioned before, Coba and Upward-Facing dog are looking a bit similar to each other, but with the main difference is that with the latter you do use your arms. And your hips are lifted off the mat. In general, you’ll do this asana when you are in a flow and it’s not so much an asana that goes on its own.
Plank Pose (Chaturanga)
So for this position you generally start in Chaturanga. Doing this position in a correct way is already half the work. If you do it just halfway, then your up-dog is also gonna be done quite half. Which might cause injuries. So let’s break this asana down a bit so you can do it in a good way :).
First of all, the position of your hands are crucial. If you’d like to protect your wrists, then it’s a good thing to make sure that you spread your fingers a little, and make sure that your index fingers are parallel with the sides of the mat. Your elbows should be tucked in, right next to your body. Your body itself should be as flat as possible. And that’s about it, basically. Now you can go into an upward-facing dog properly!
Transition to Upward-Facing Dog
Now to transition into the up-dog. On an inhalation, you push yourself a bit forward with the tip of your toes. You open up your shoulders and the top of your feet come flat on the ground. Tighten every muscle in your leg to be sure that you are not putting a lot of strain on your lower back. Push yourself up with your arms and you are done!
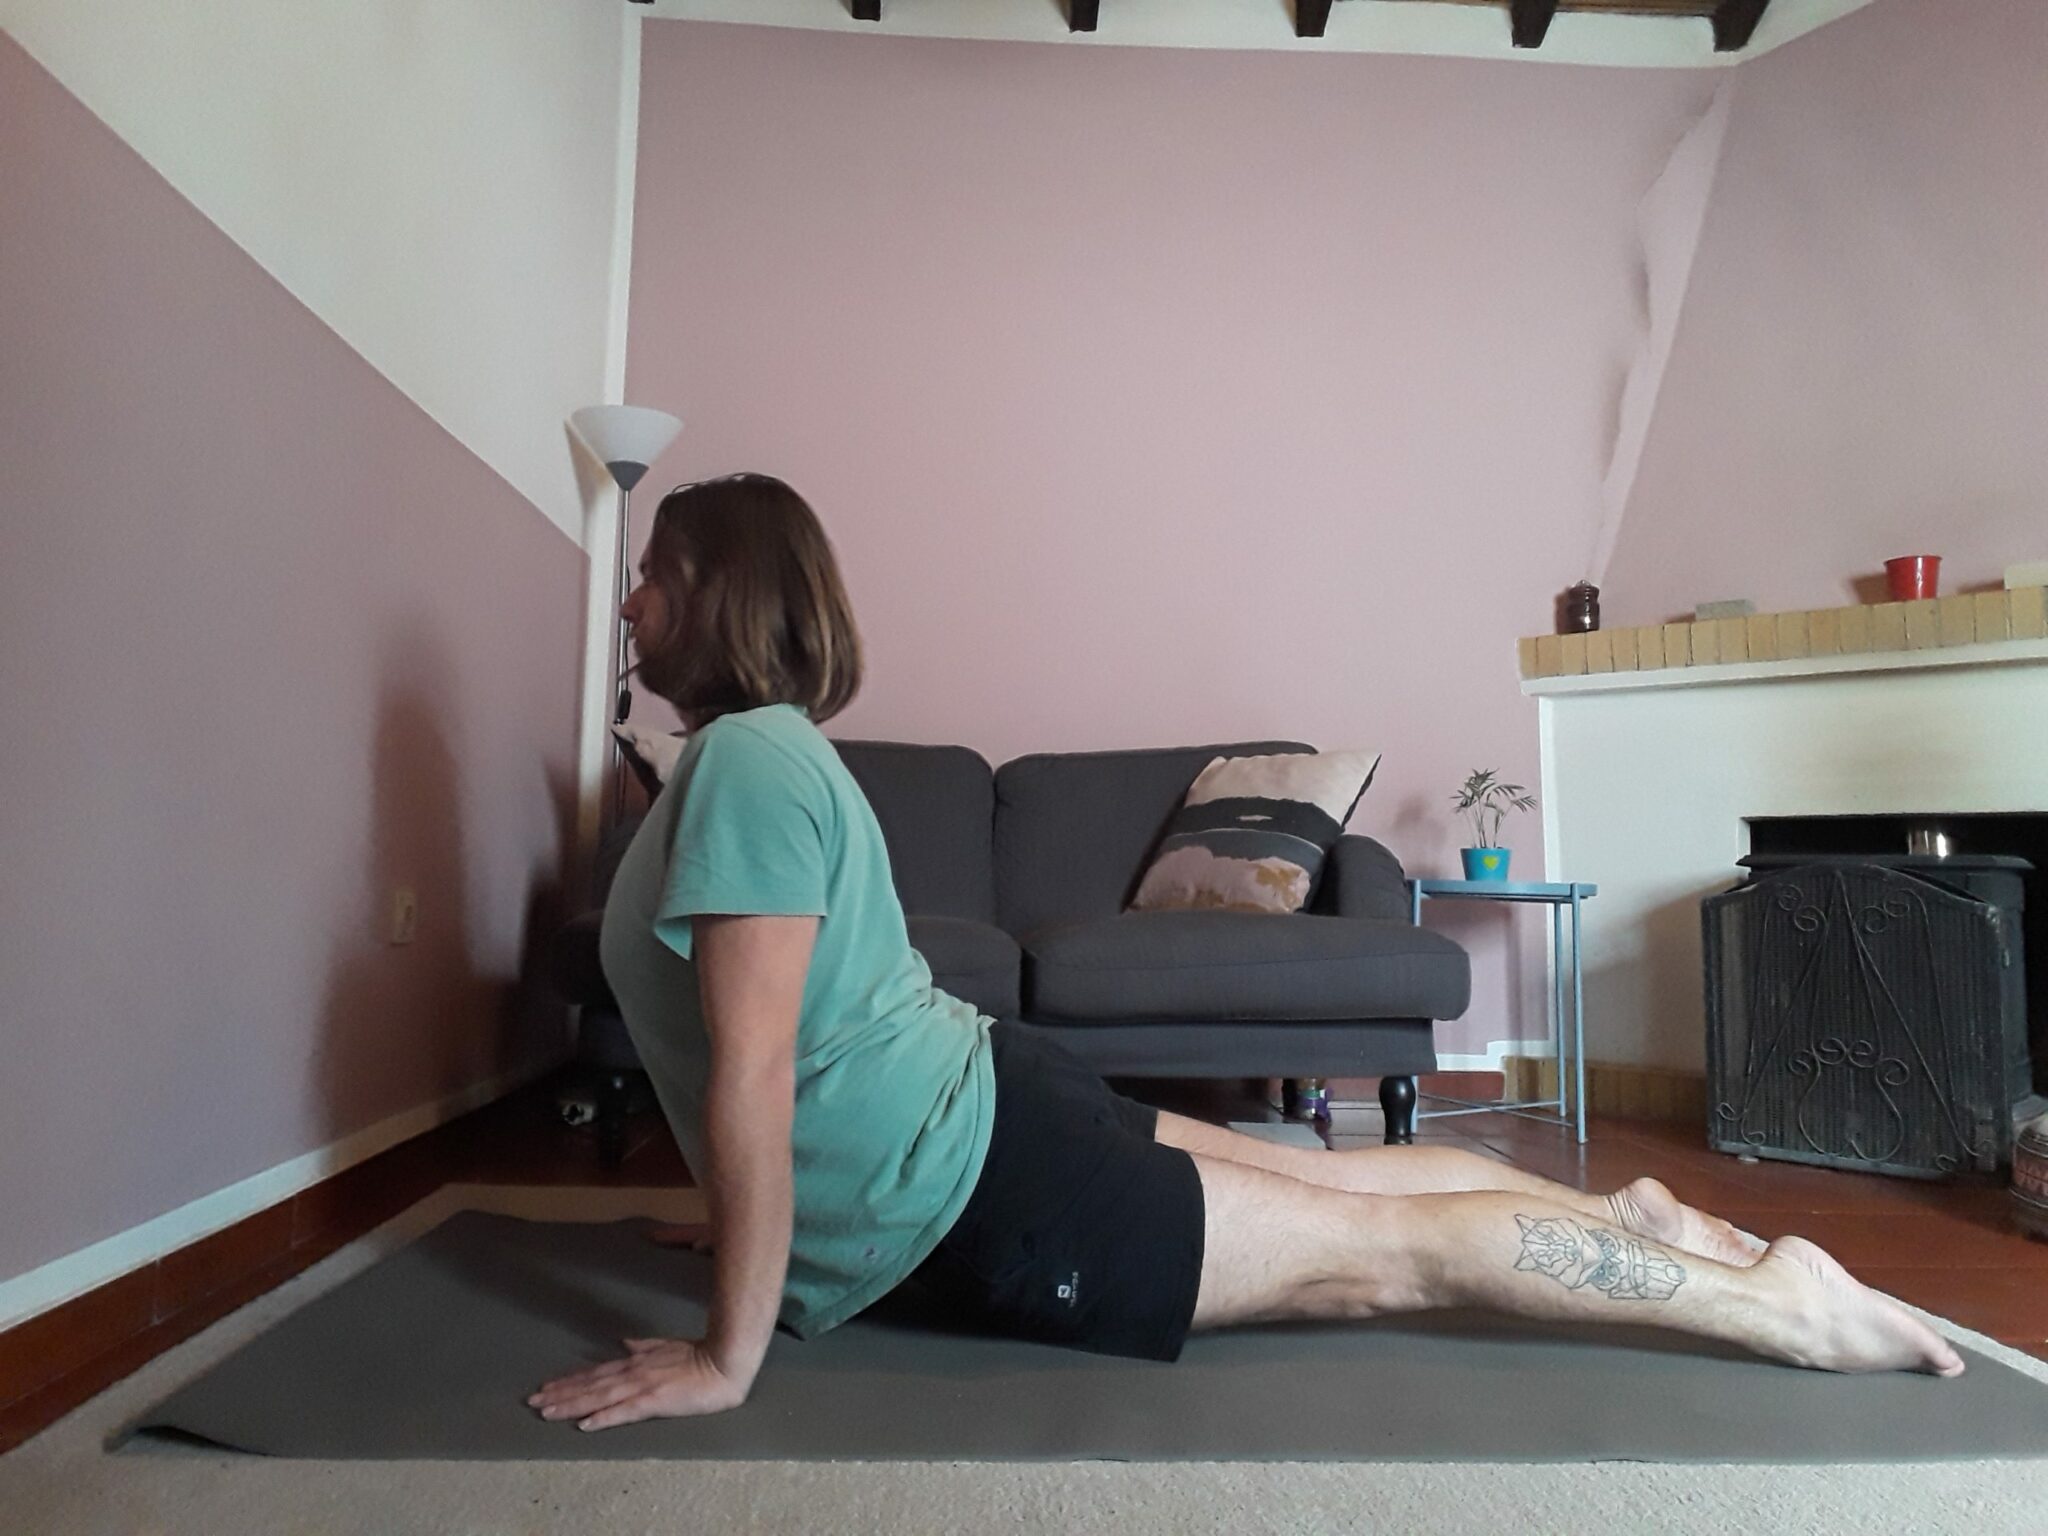
When you come out of this position, really make sure that you do a counterpose, like child pose. This will give a stretch in the lower back, which you’ve put a bit of stress on during this asana.
Half-Moon Pose (Ardha Chandrasana)
This asana is actually one of my favorites and is also a good way to playfully practice your balance. And at the same time, it’s a very nice twist to open up your shoulders. Be careful though because breathing might be a bit of a challenge if you are not completely centered ;).
To start this pose you stand with feet hip-width apart on the mat. After that you bend forward and you bring one of your hands towards the mat, like you are reaching for somehing. The opposite leg also comes up, creating leverage. When your hand touches the mat, you lift up the other arm in such a way that there is a 180° angle between both arms. Your leg and body should form one line.
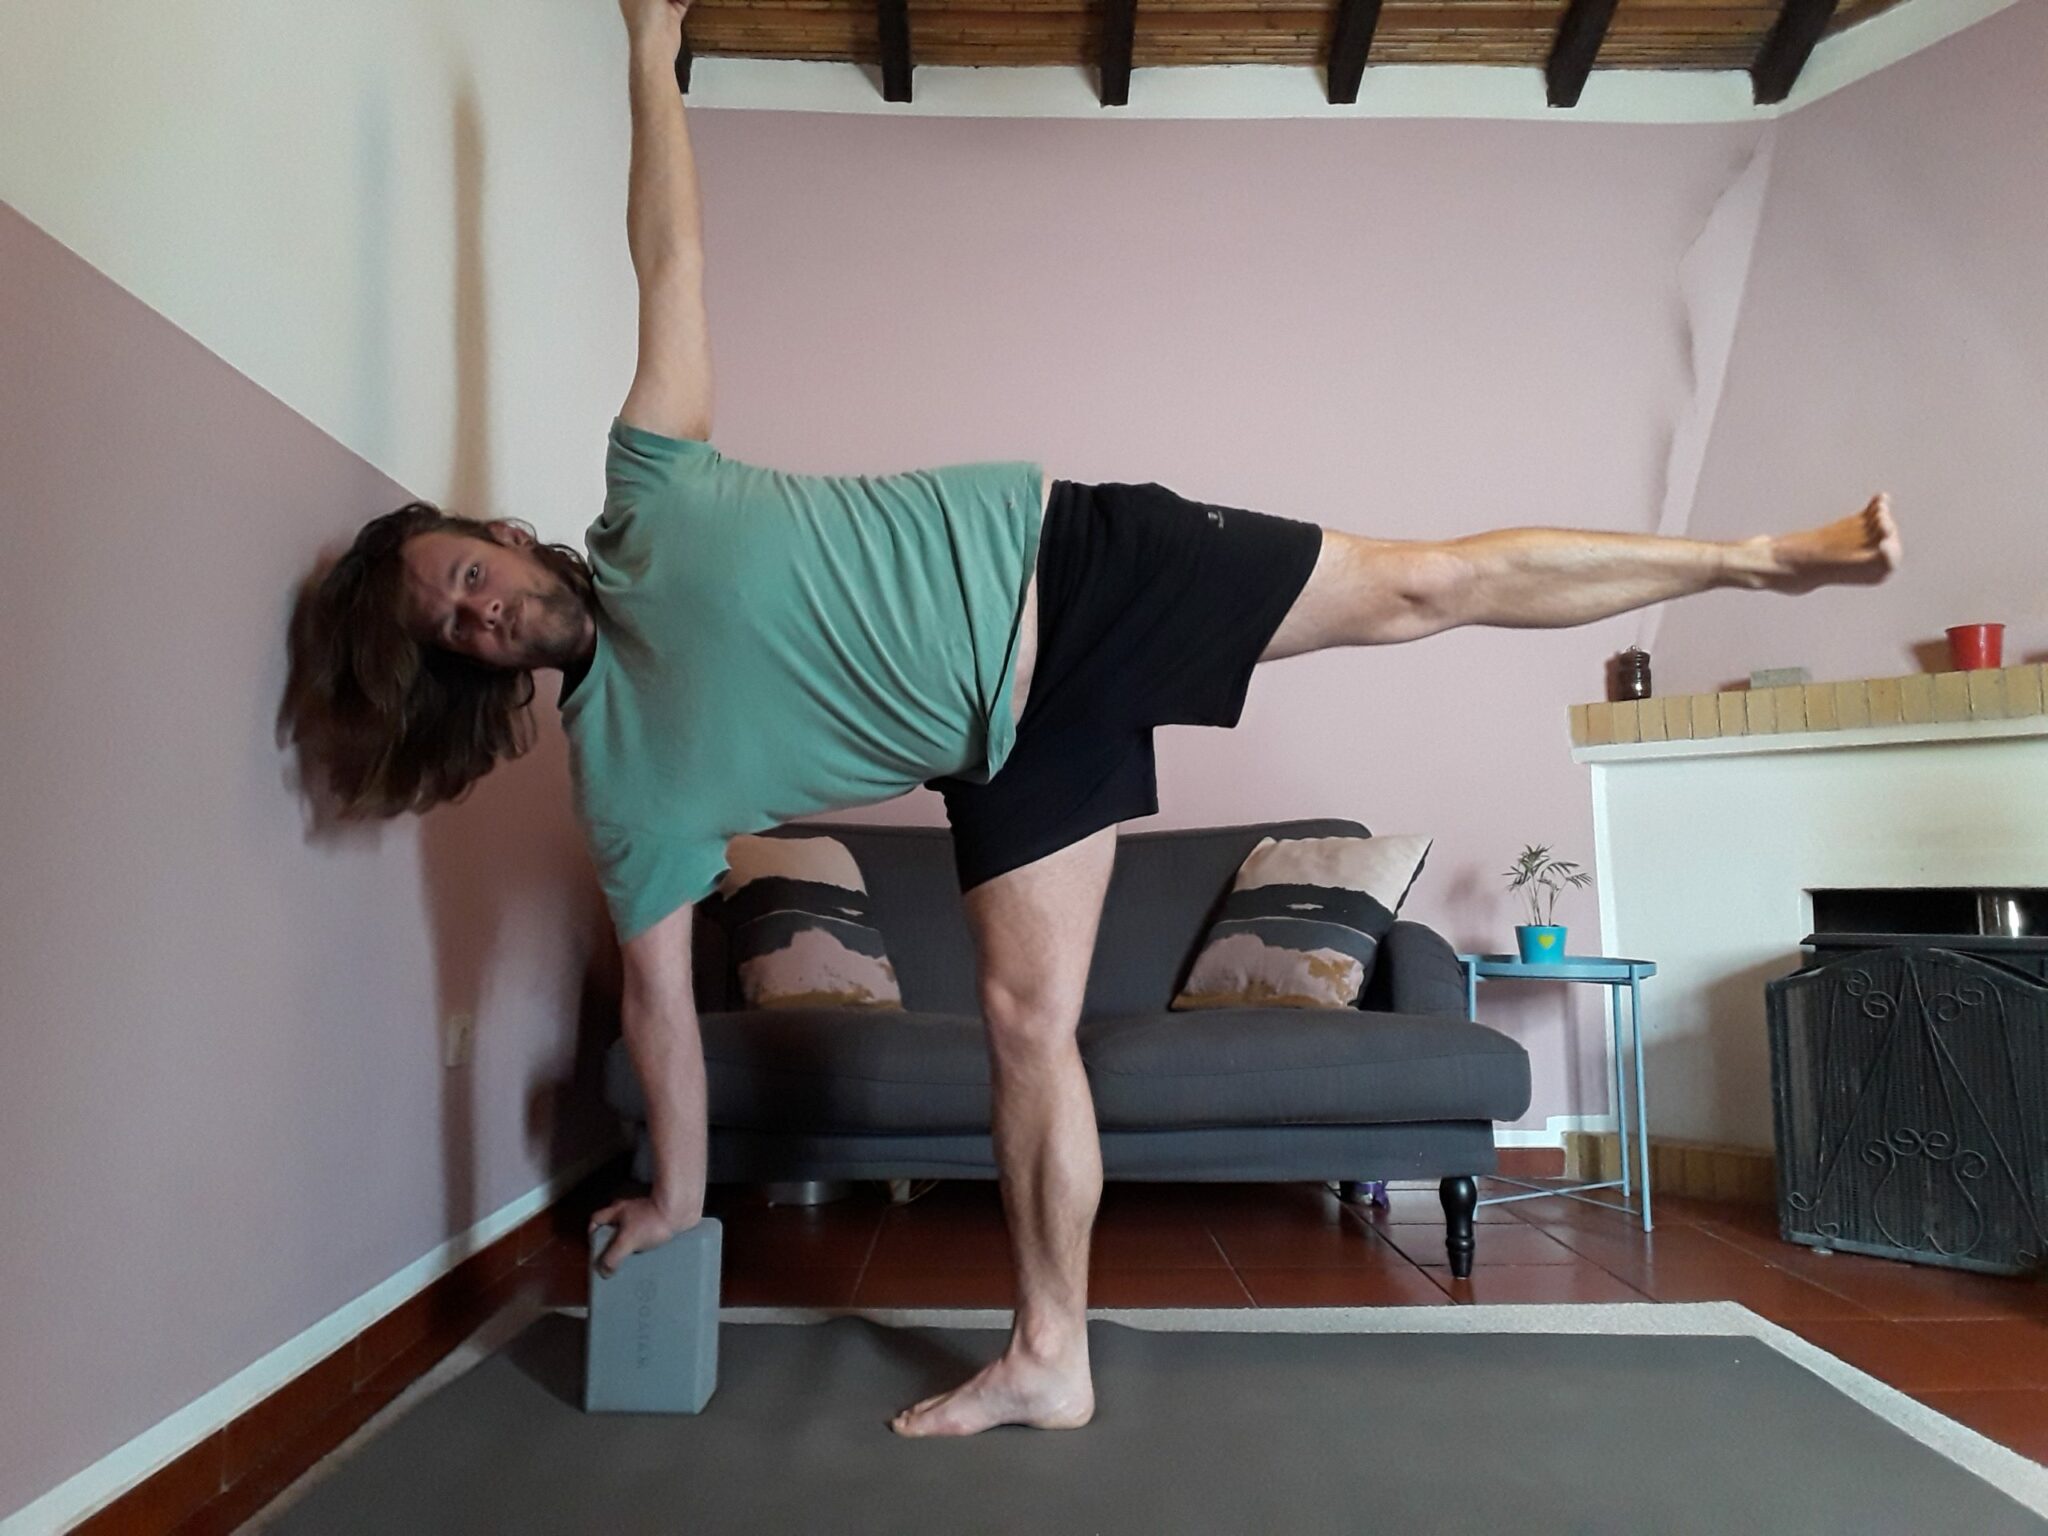
If you feel that it’s hard to align your body properly, you can also decide to use a block. This you can put on the flat on the ground of you don’t need a lot of extra height. Or you can put it straight up if you need a bit more height. The latter is also a great way to create some extra grip for you to hold on. But don’t be deceived as the block is generally not that stable to lean on this way.
Mountain Pose (Tadasana)
Another asana that I’d like to talk about, is Mountain Pose. In general it doesn’t look like the most interesting pose of them all, but it’s a great one to start your yoga practice. Especially if you are planning to focus on the sun salutations. Within this pose you can start your meditation, as it doesn’t always have to be in a seated position.
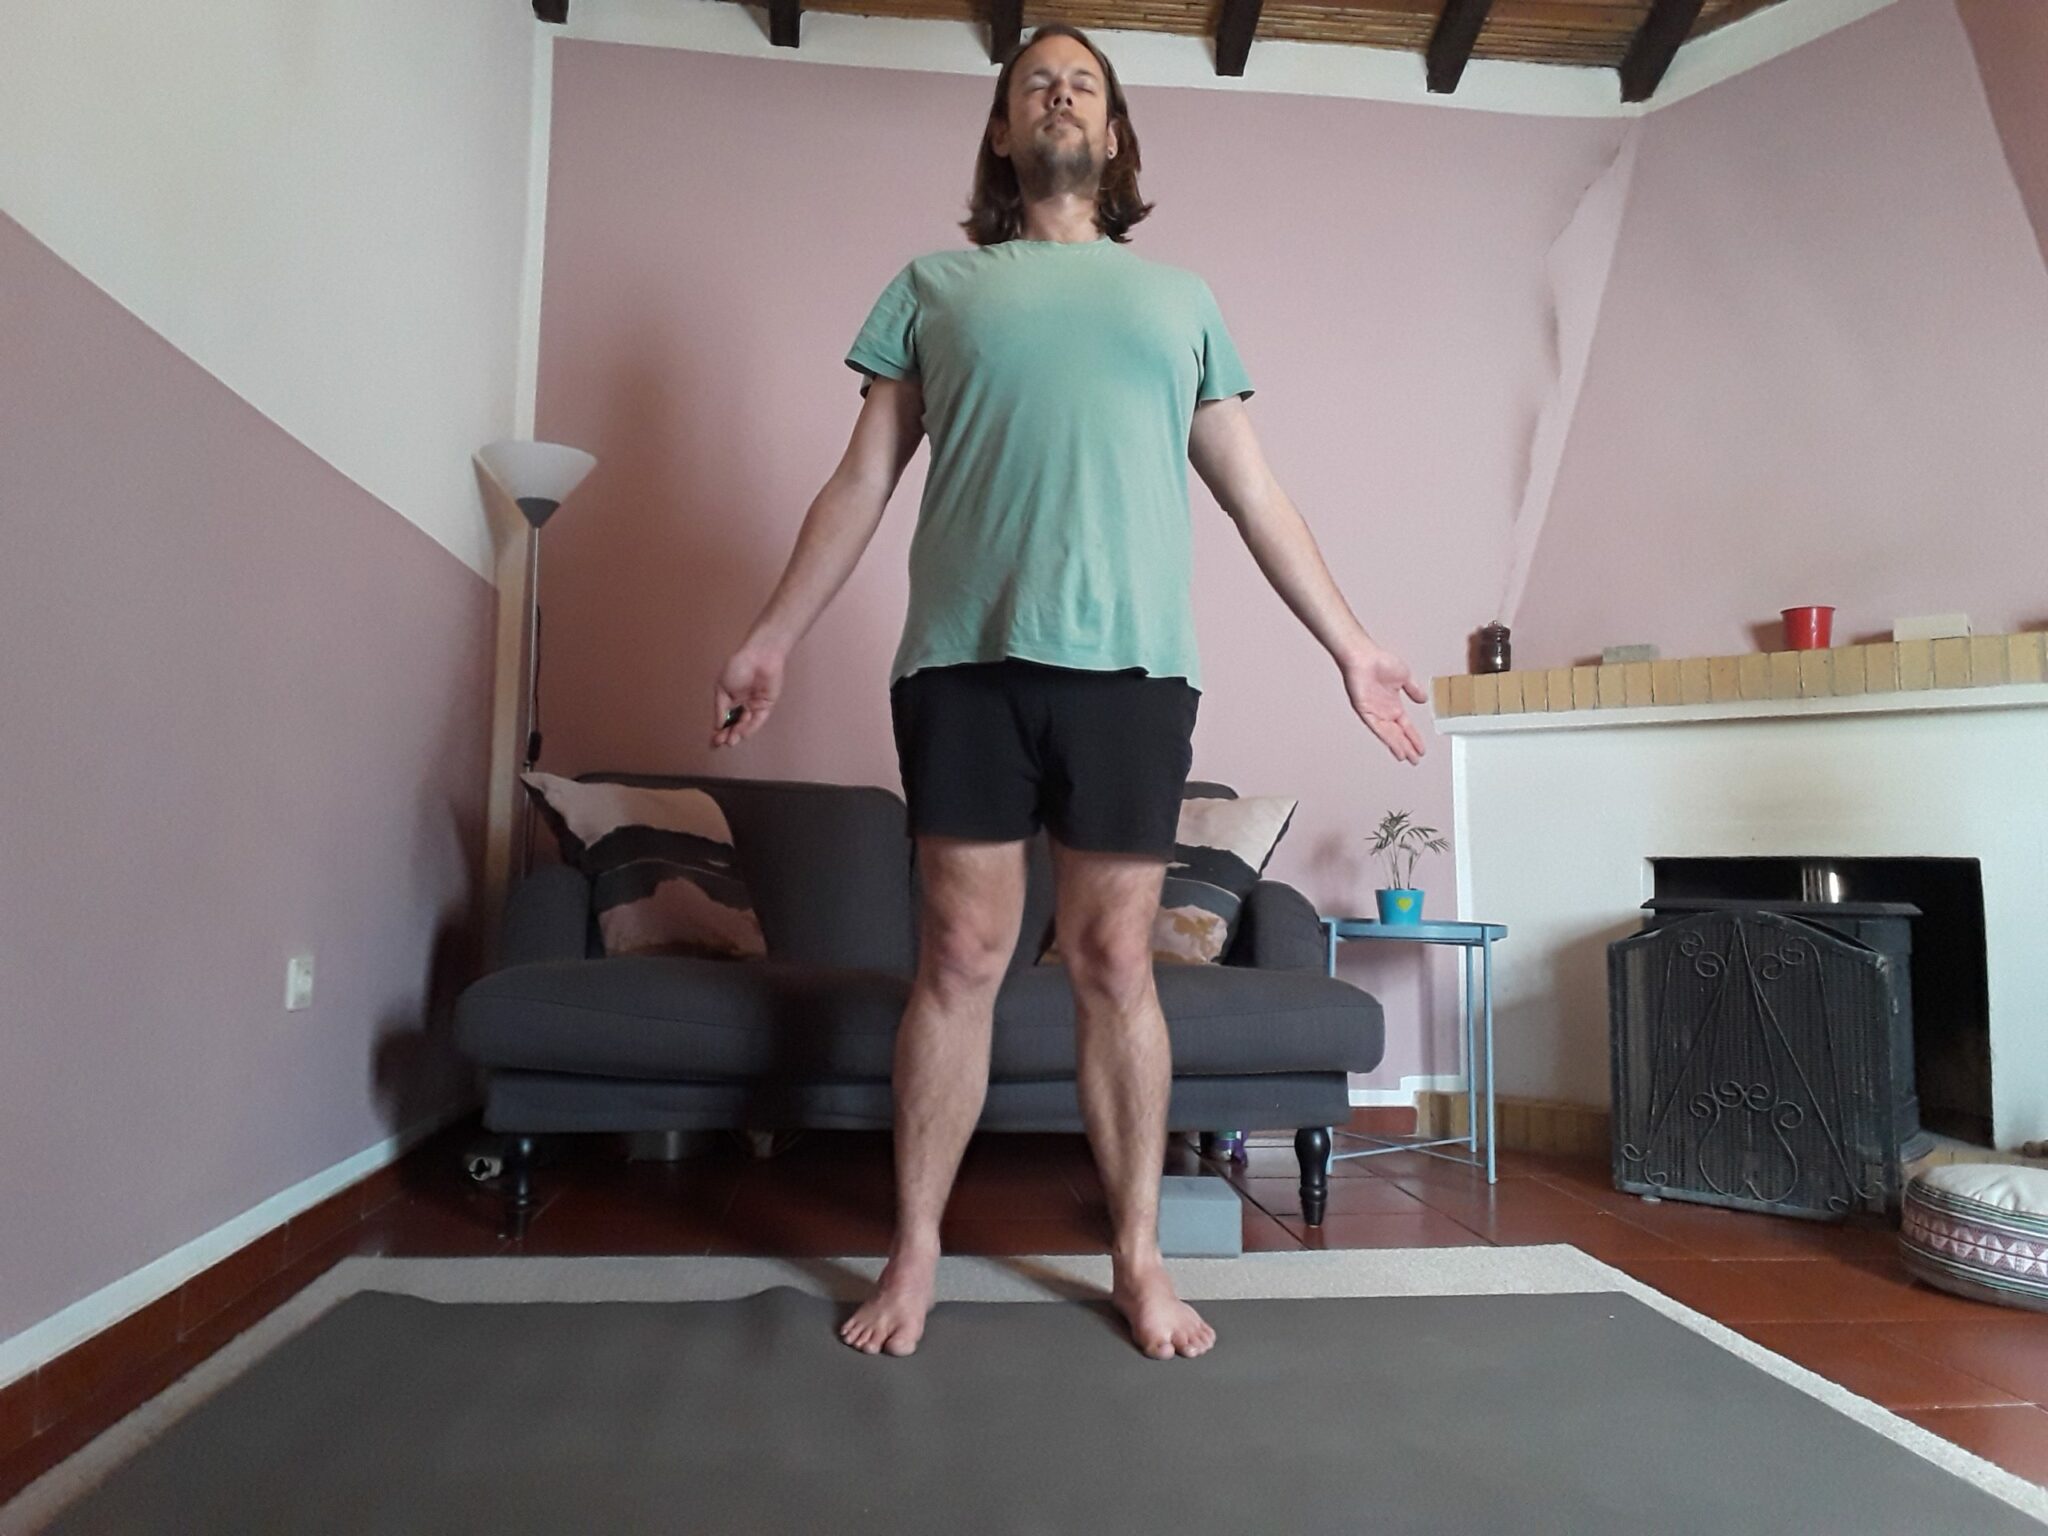
To do this one, you stand with your feet hip-width apart on your yoga mat. To position the hands there is a simple trick. Start rolling your shoulders a bit, bringing them up and then to the back. Find yourself a comfortable position within this. The palms of your hand are facing forward and they should be away from the body a little. Close your eyes and start your meditation!
Pranayama for the Lungs
Pranayama is also a very good way to open up your lungs and give them a little bit of energy, or even to cool them down. I’ve dedicated a whole article for this, so check it out! And if you’d like to do a 20-minute short and easy yoga flow for the lungs, you should watch the free video down below! I’ve incorporated a pranayama exercise into the video as well.
But anyway, as I mentioned, pranayama is to cool down but also to energize, so you have to look at what you are focusing on at the moment. In the video below I’ve done the Nadi Shodan, which is a great one that just anyone can do, whenever you’d like.
But for people with lung diseases it isn’t that simple. Of course, they can do the alternate nostril breathing (Nadi Shodan), but it’s not advised to do a very energizing pranayama technique. Therefore, I wouldn’t recommend you doing the Kapalabhati or Bhastrika. Your lungs will be inflamed most of the time, and already working harder than they normally should. Therefore a nice and suiting breathing technique is more appropriate for you, like Chandra bedhi.
Short Yoga Sequence to open up the Lungs
Especially for you guys I’ve made a short (20-minute) flow down here. It will show a couple of the asanas that I’ve mentioned here above, to give you a bit of a feel how you can incorporate them into your own yoga practice. It’s my first video, so I’m sorry that it’s not the best. I hope you’ll enjoy!
Nama-stay wonderful!

