
Are you ready to take your yoga practice to the next level?
Wheel Pose, or Urdhva Dhanurasana, is quite often seen as an asana for advanced yogi’s.
Nothing about that is true, however. Alright, you’ve got to have some arm strength, but after doing a couple of months of vinyasa yoga, you’ll be able to nail it.
When I was still a yoga apprentice (beginning yogi), I quickly nailed going into this position.
That said, I’ve also had really great teachers that were able to give great guidance.
And now it’s my turn to pass my knowledge on to you!
Preparation To Get Into Wheel Pose
Prepping for wheel pose is probably the most important thing!
You wouldn’t want to get an injury from the first time you get into this position, right?
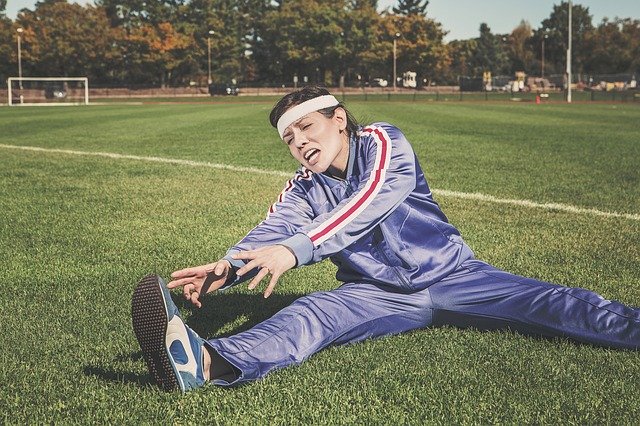
Athletes also do it! Well, not the wheel pose, but the preparation.
I’ve never seen someone running without a good stretch first.
And this is what you’ll also need to do when you are preparing for wheel pose.
To get into Urdvha Dhanurasana, we’ll be warming up our arms, because we need our muscles to be in shape to push us off the ground.
We’ll also be doing quite some gentle backbends, before we go into maybe the biggest backbend of them all (And then I mean Wheel Pose of course).
8 poses you need to do before going into Wheel Pose!
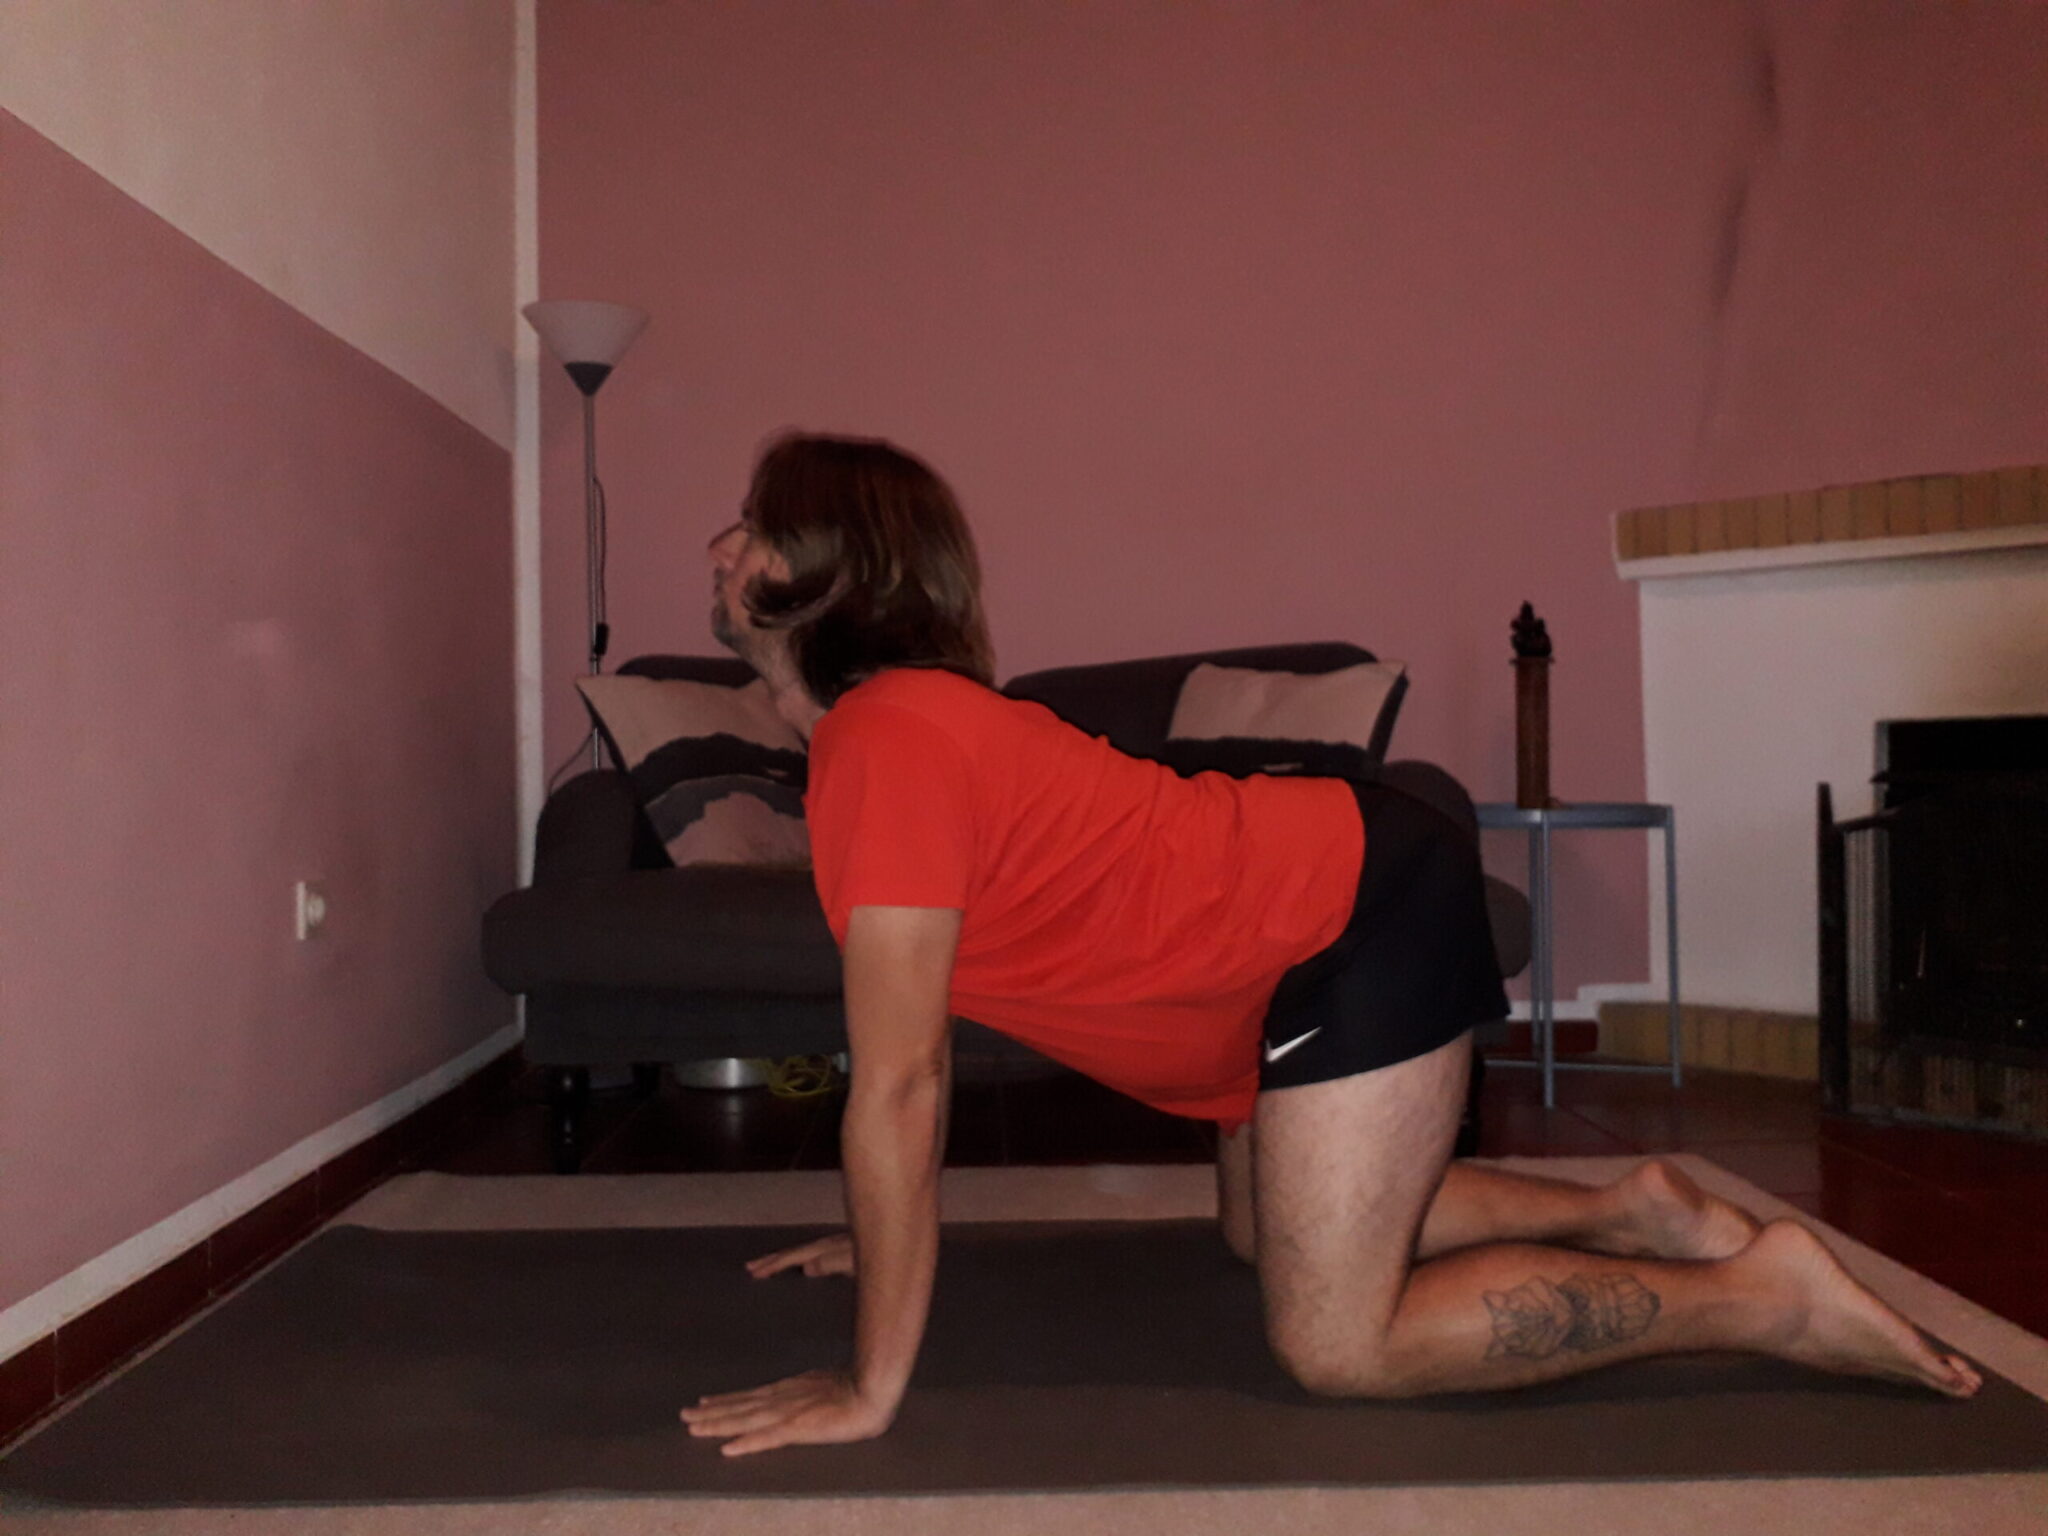
#1 Cat – Cow Movement
A great way to get the spine warmed up and to make sure that the muscles of the back are ready for Wheel Pose.
This is one of the movements that are really common in a yoga class. So if you’ve done a couple of yoga classes already, you know this little sequence already for sure.
Just to give some quick tips for cat/cow. Make sure that the hands are underneath your shoulders and that your knees are placed underneath your hips.
Toes in or off the mat don’t really matter. If you want your toes a little stretched as well, you can tuck them into the mat. Although, a lot of yoga classes are not sequenced in this way.
Be creative, and most of all, enjoy.

Cow Pose Cat Pose

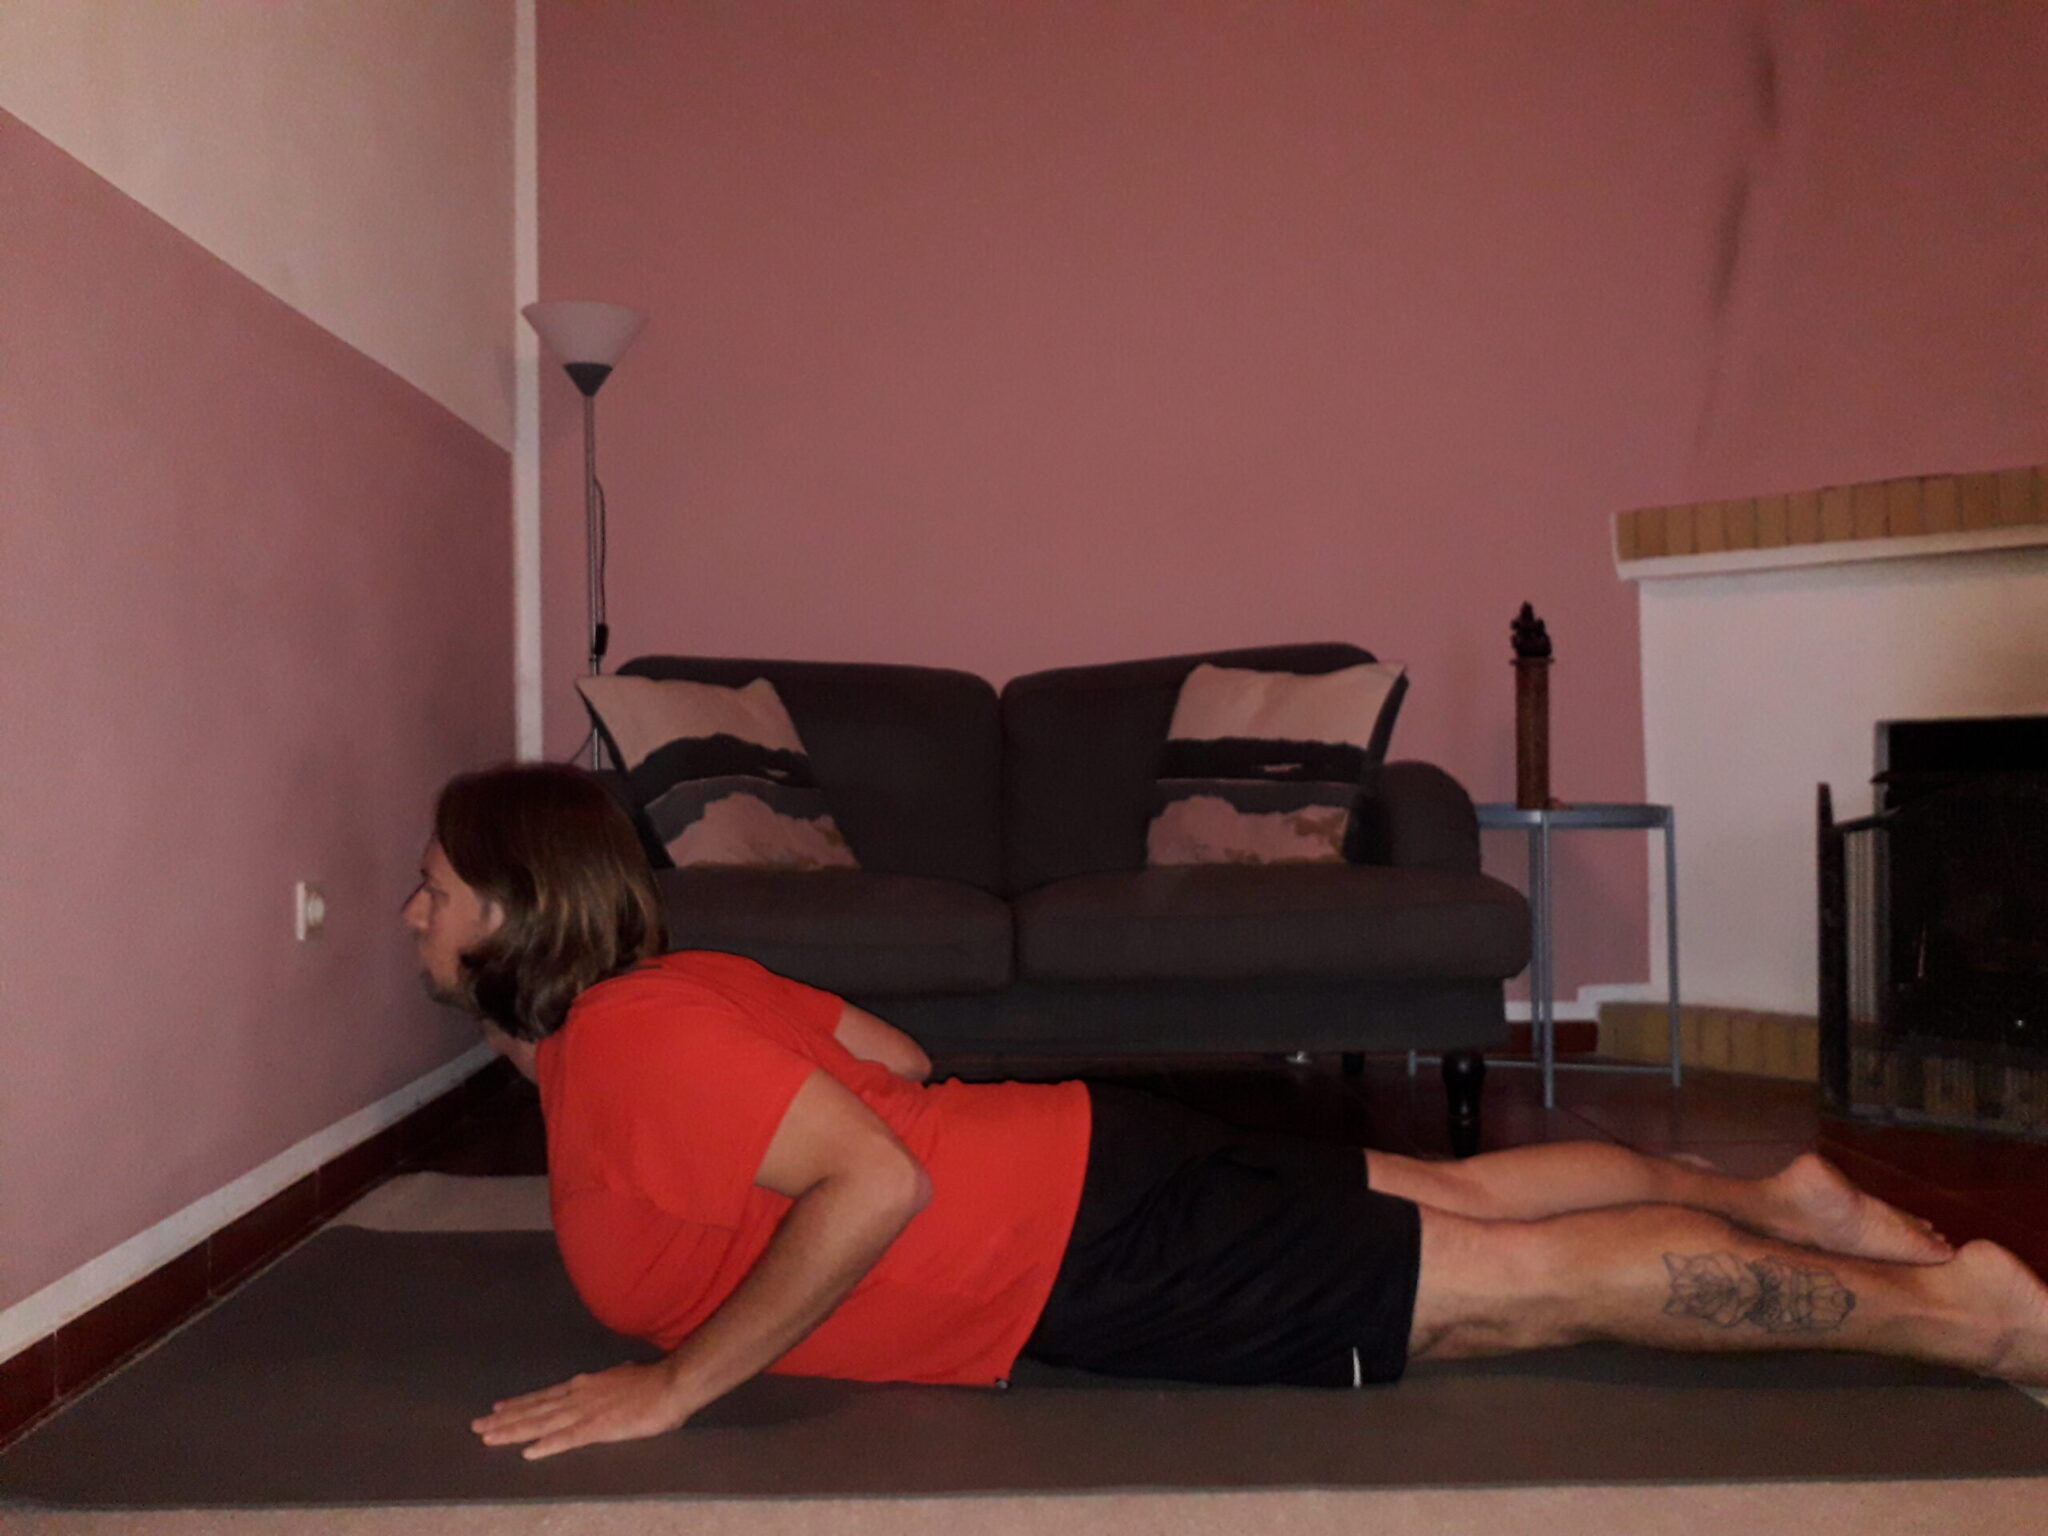
#2 Cobra
In my career as a yoga teacher, I’ve seen a lot of people do a bit of an Upward Facing Cobra. So, they are a bit in between a Cobra and an Upward Facing Dog.
And I know, they look different, but they are completely different!
Within Cobra we don’t lift our hips off the mat. They stay really grounded. With Upward Facing Dog we the arch of the feet into the mat. While we push our whole leg into the mat in Cobra.
Another great difference between the two is that within Cobra you only use your chest and back muscles to lift yourself up.
Just a little experiment: Get into Cobra and see if you can lift your hands off the mat. If you can do this without collapsing, you are doing it correctly. If you fell onto your face, then your Cobra needs a little bit of tweaking.
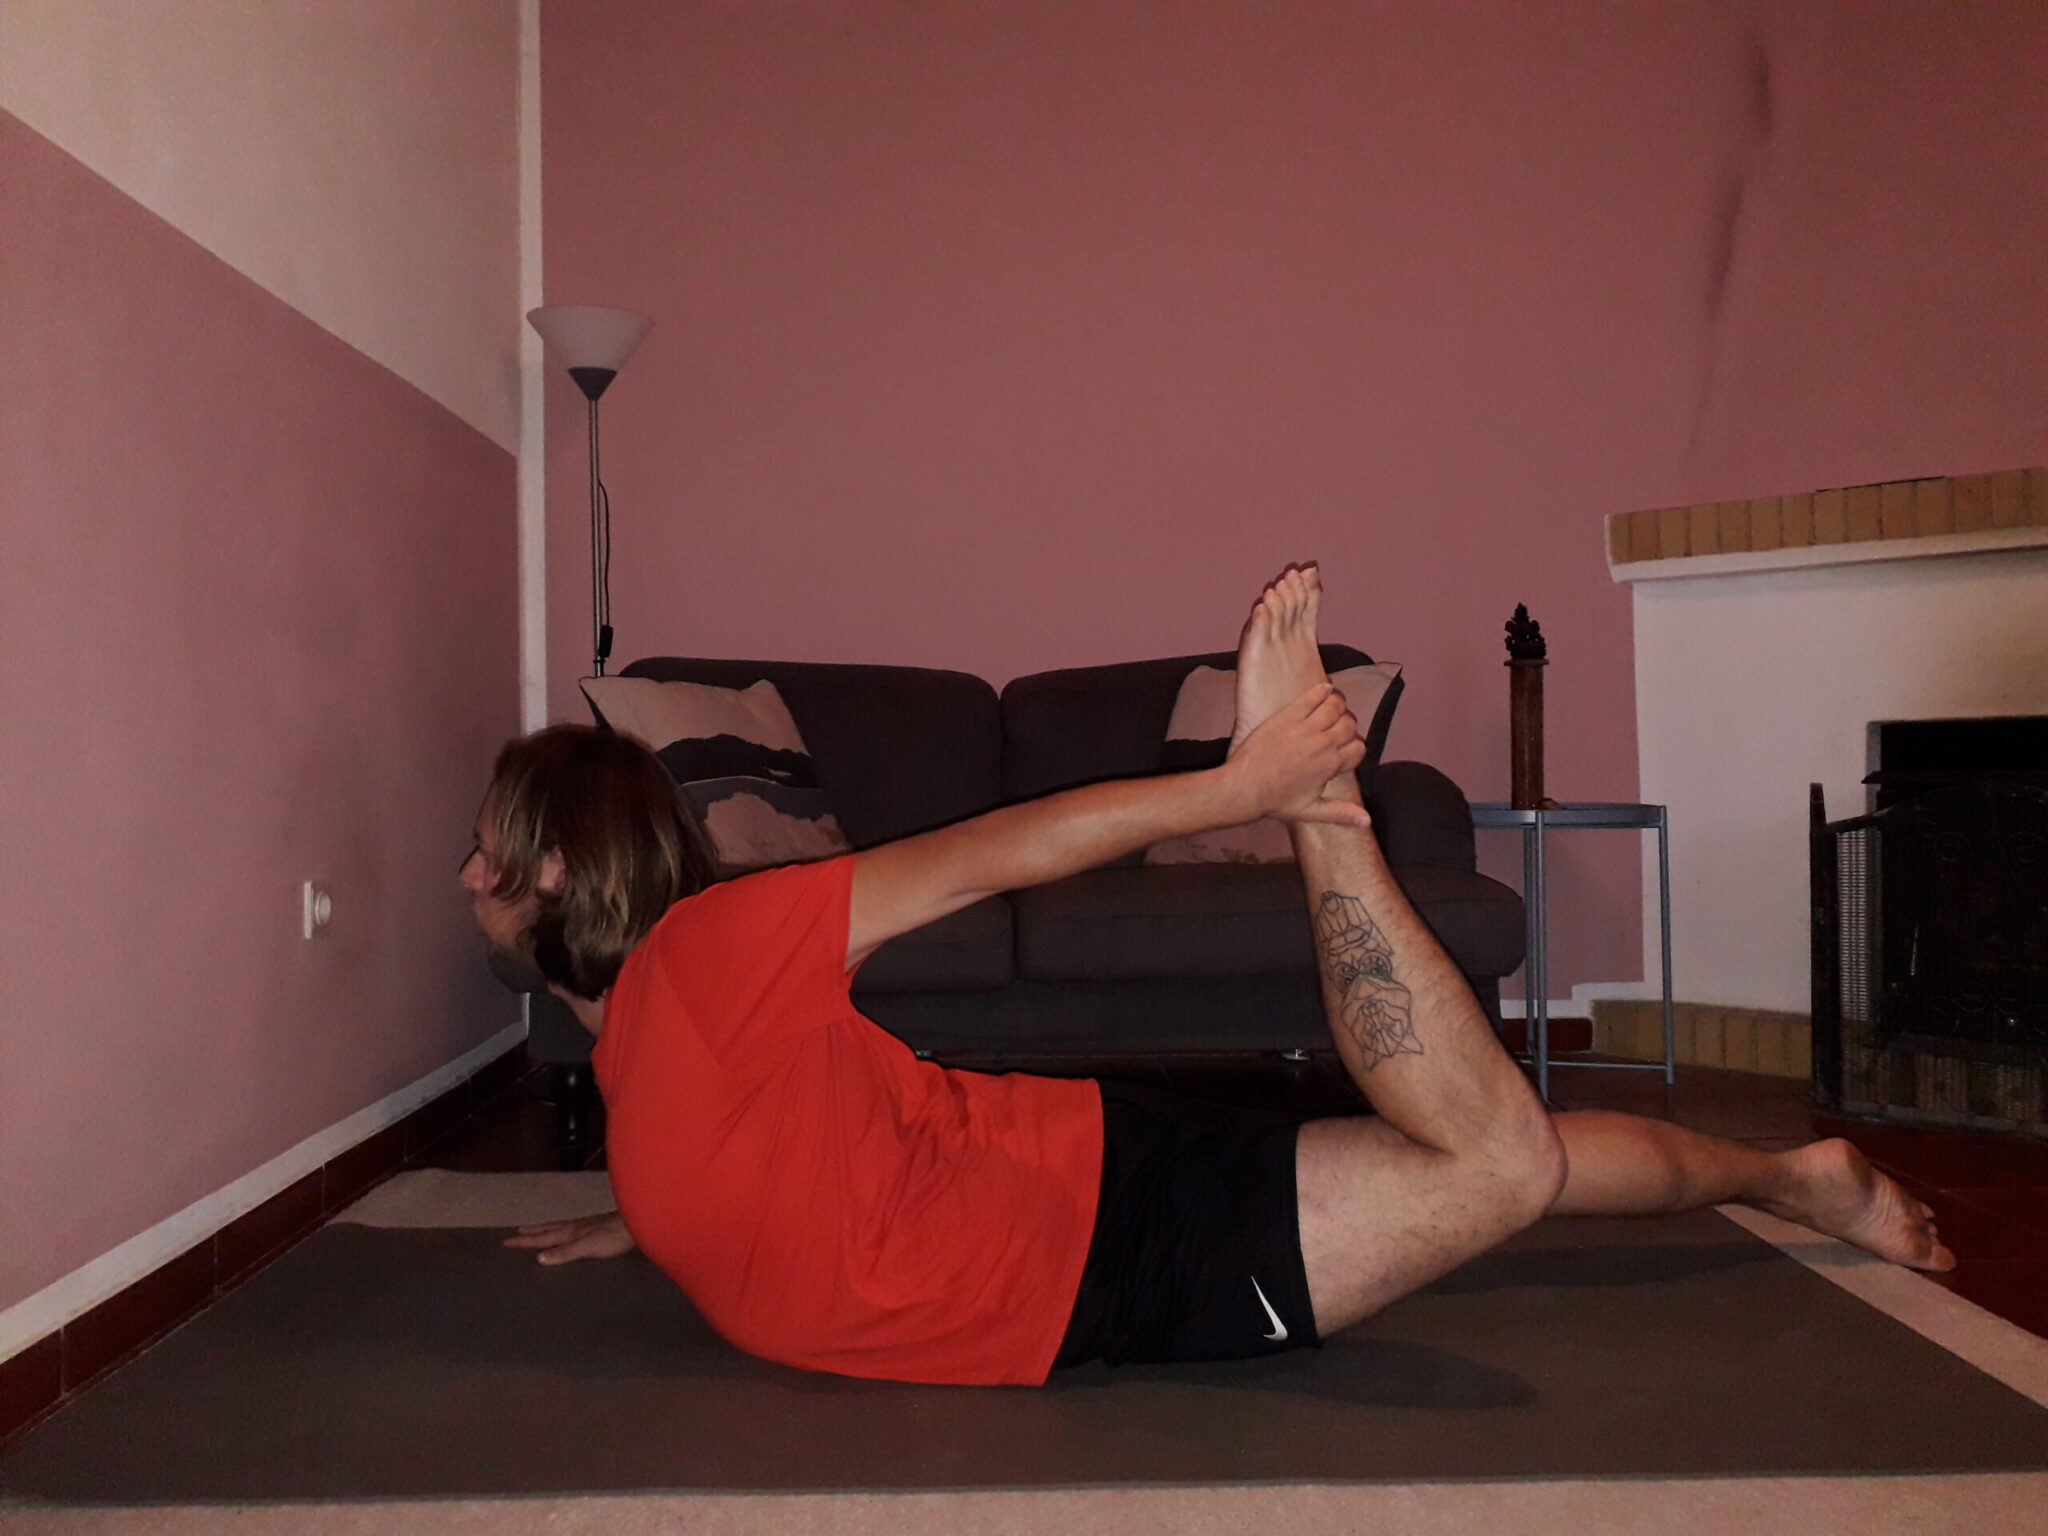
#3 Half Bow
I’ve dedicated a sequence to Bow Pose, so if you’d like more information about how to get into this asana, you can have a look at this video:
And if you don’t have the time to watch a couple of minutes of this video, here is the picture. It’s really easy though.
When you lay on your belly, grab with your left hand your left foot (the outside of the foot). After that, you press the foot into your hand, and then you lift your left chest as well.
And then you musn’t forget to do the other side as well, of course.
You can also decide to go into Full Bow Pose, but that’s up to you. You’ll already be going into Wheel, so make sure you also don’t overdo it.
#4 Chaturanga
Alright, the most feared position of them all!
That might be a bit exaggerated of course, but there are some students that aren’t that fond of this asana.
Plank pose can be quite tricky in the beginning if you aren’t that used to yoga just yet.
Don’t worry though, you can always put your knees onto the mat.
Heck, that’s what I did for the first six months of my yoga practice.
I’ve already dedicated quite a lot of words onto this subject in this article.
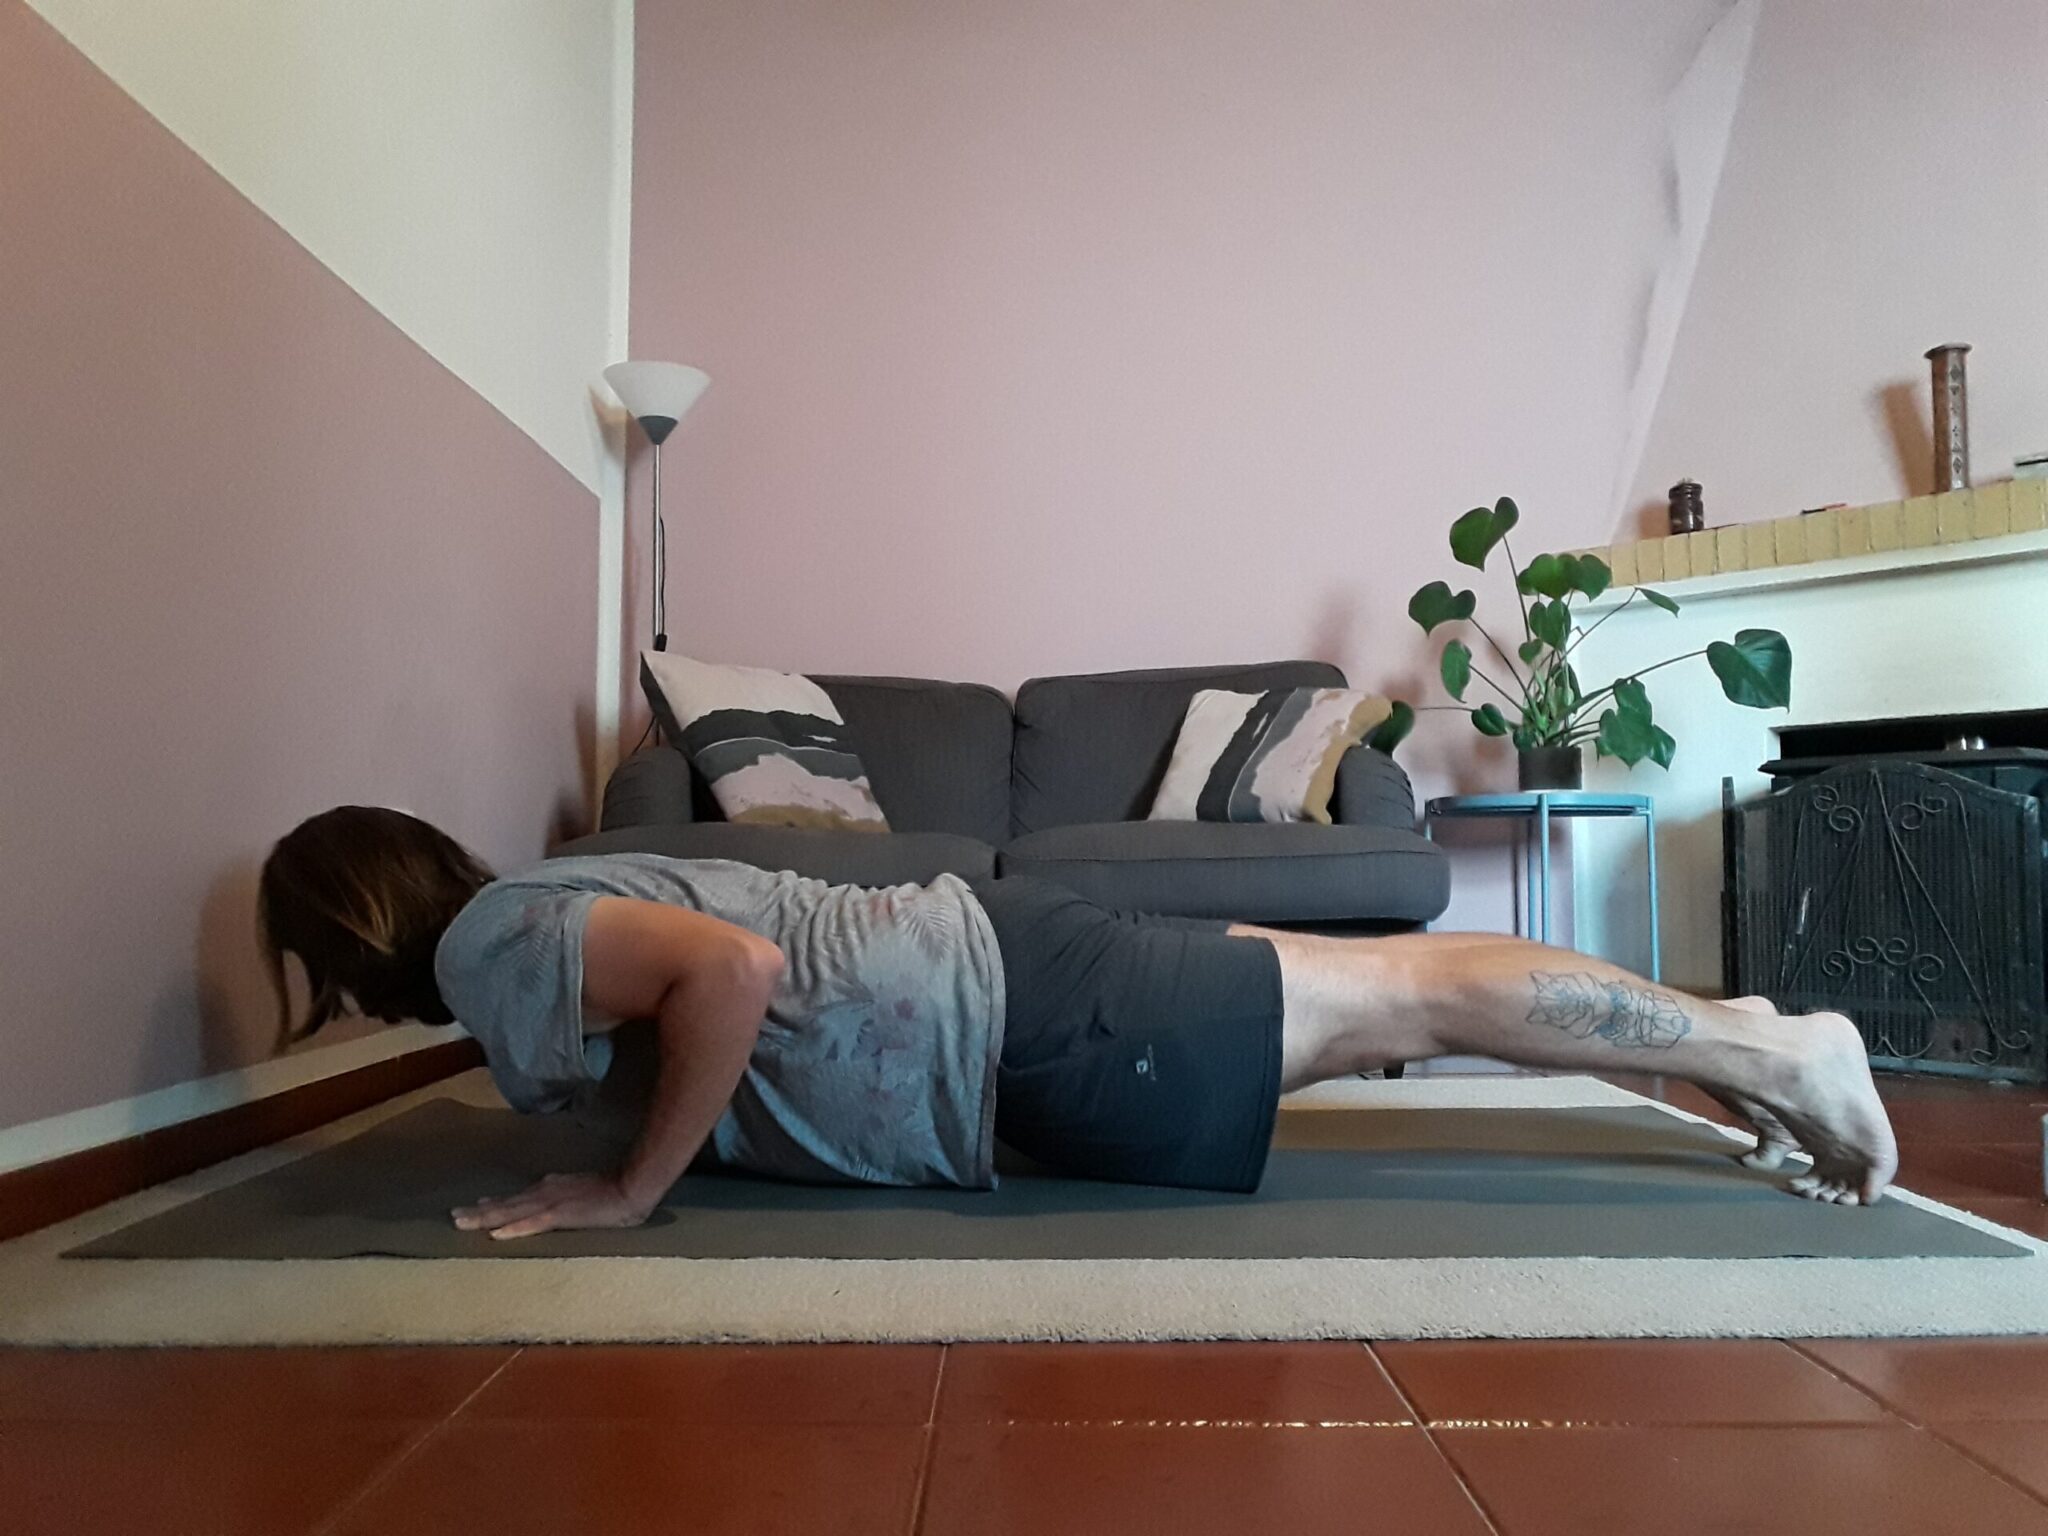
Just a couple of things you need to take care of when you are in this position:
- Make sure that the elbows are as close to your body as you can
- Your spine should be aligned with your legs, hence why it’s called plank pose too.
- Fingers should be spread apart, the index finger should be perpendicular to the side of your mat. This is to make sure that you don’t strain your wrist.
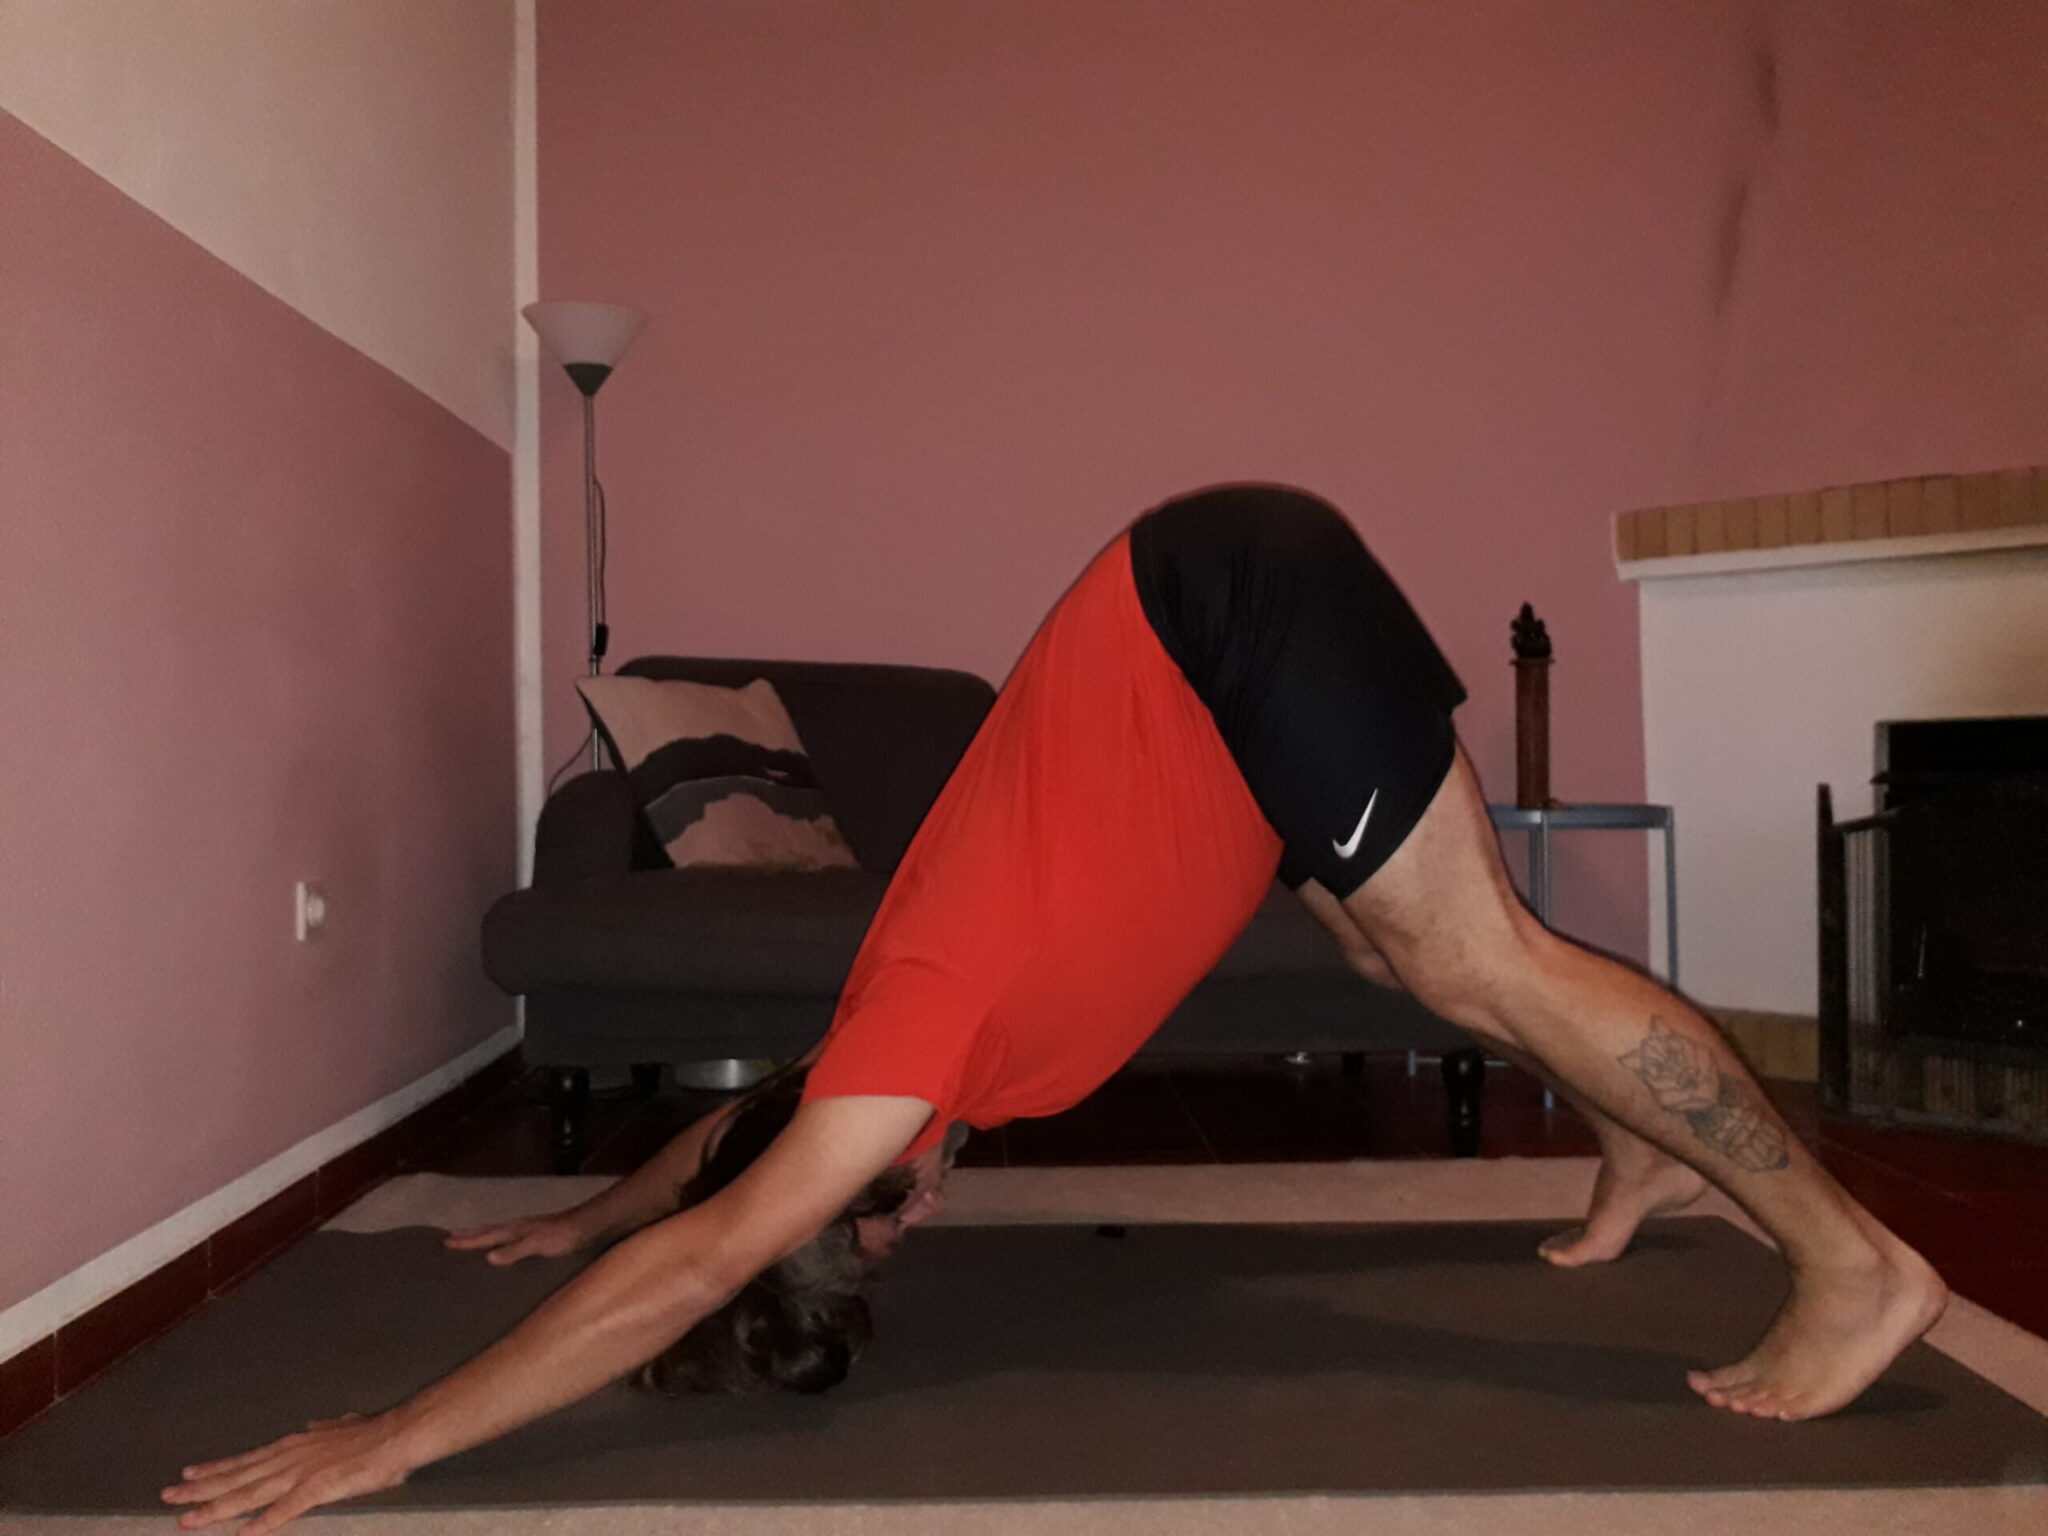
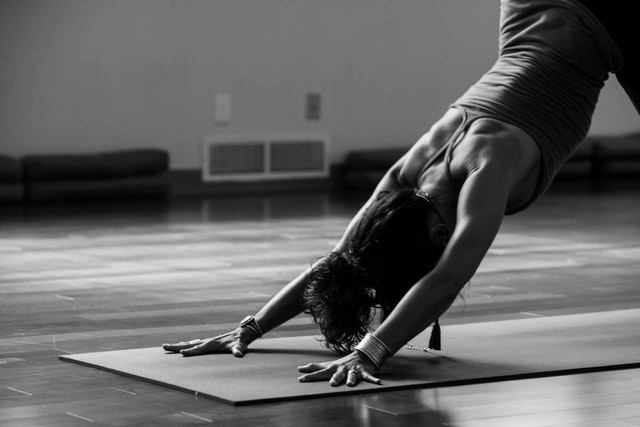
#5 Downward Facing Dog
And then we’ve reached the best-known yoga pose! Even if you are not into yoga, you probably know about this asana!
As everyone probably knows this one already, there is not that much to say about it.
Just a couple of quick tips to get the most out of your Down Dog:
- When in Downward Facing Dog, bring your Elbows closer to each other, place your hands a bit further away, and roll your shoulders backward.
- Make sure that your Index finger is perpendicular to the mat.
- Bring your chest towards your legs, it has to look like you are a chair placed upside down.
- Bring your Tailbone outwards.
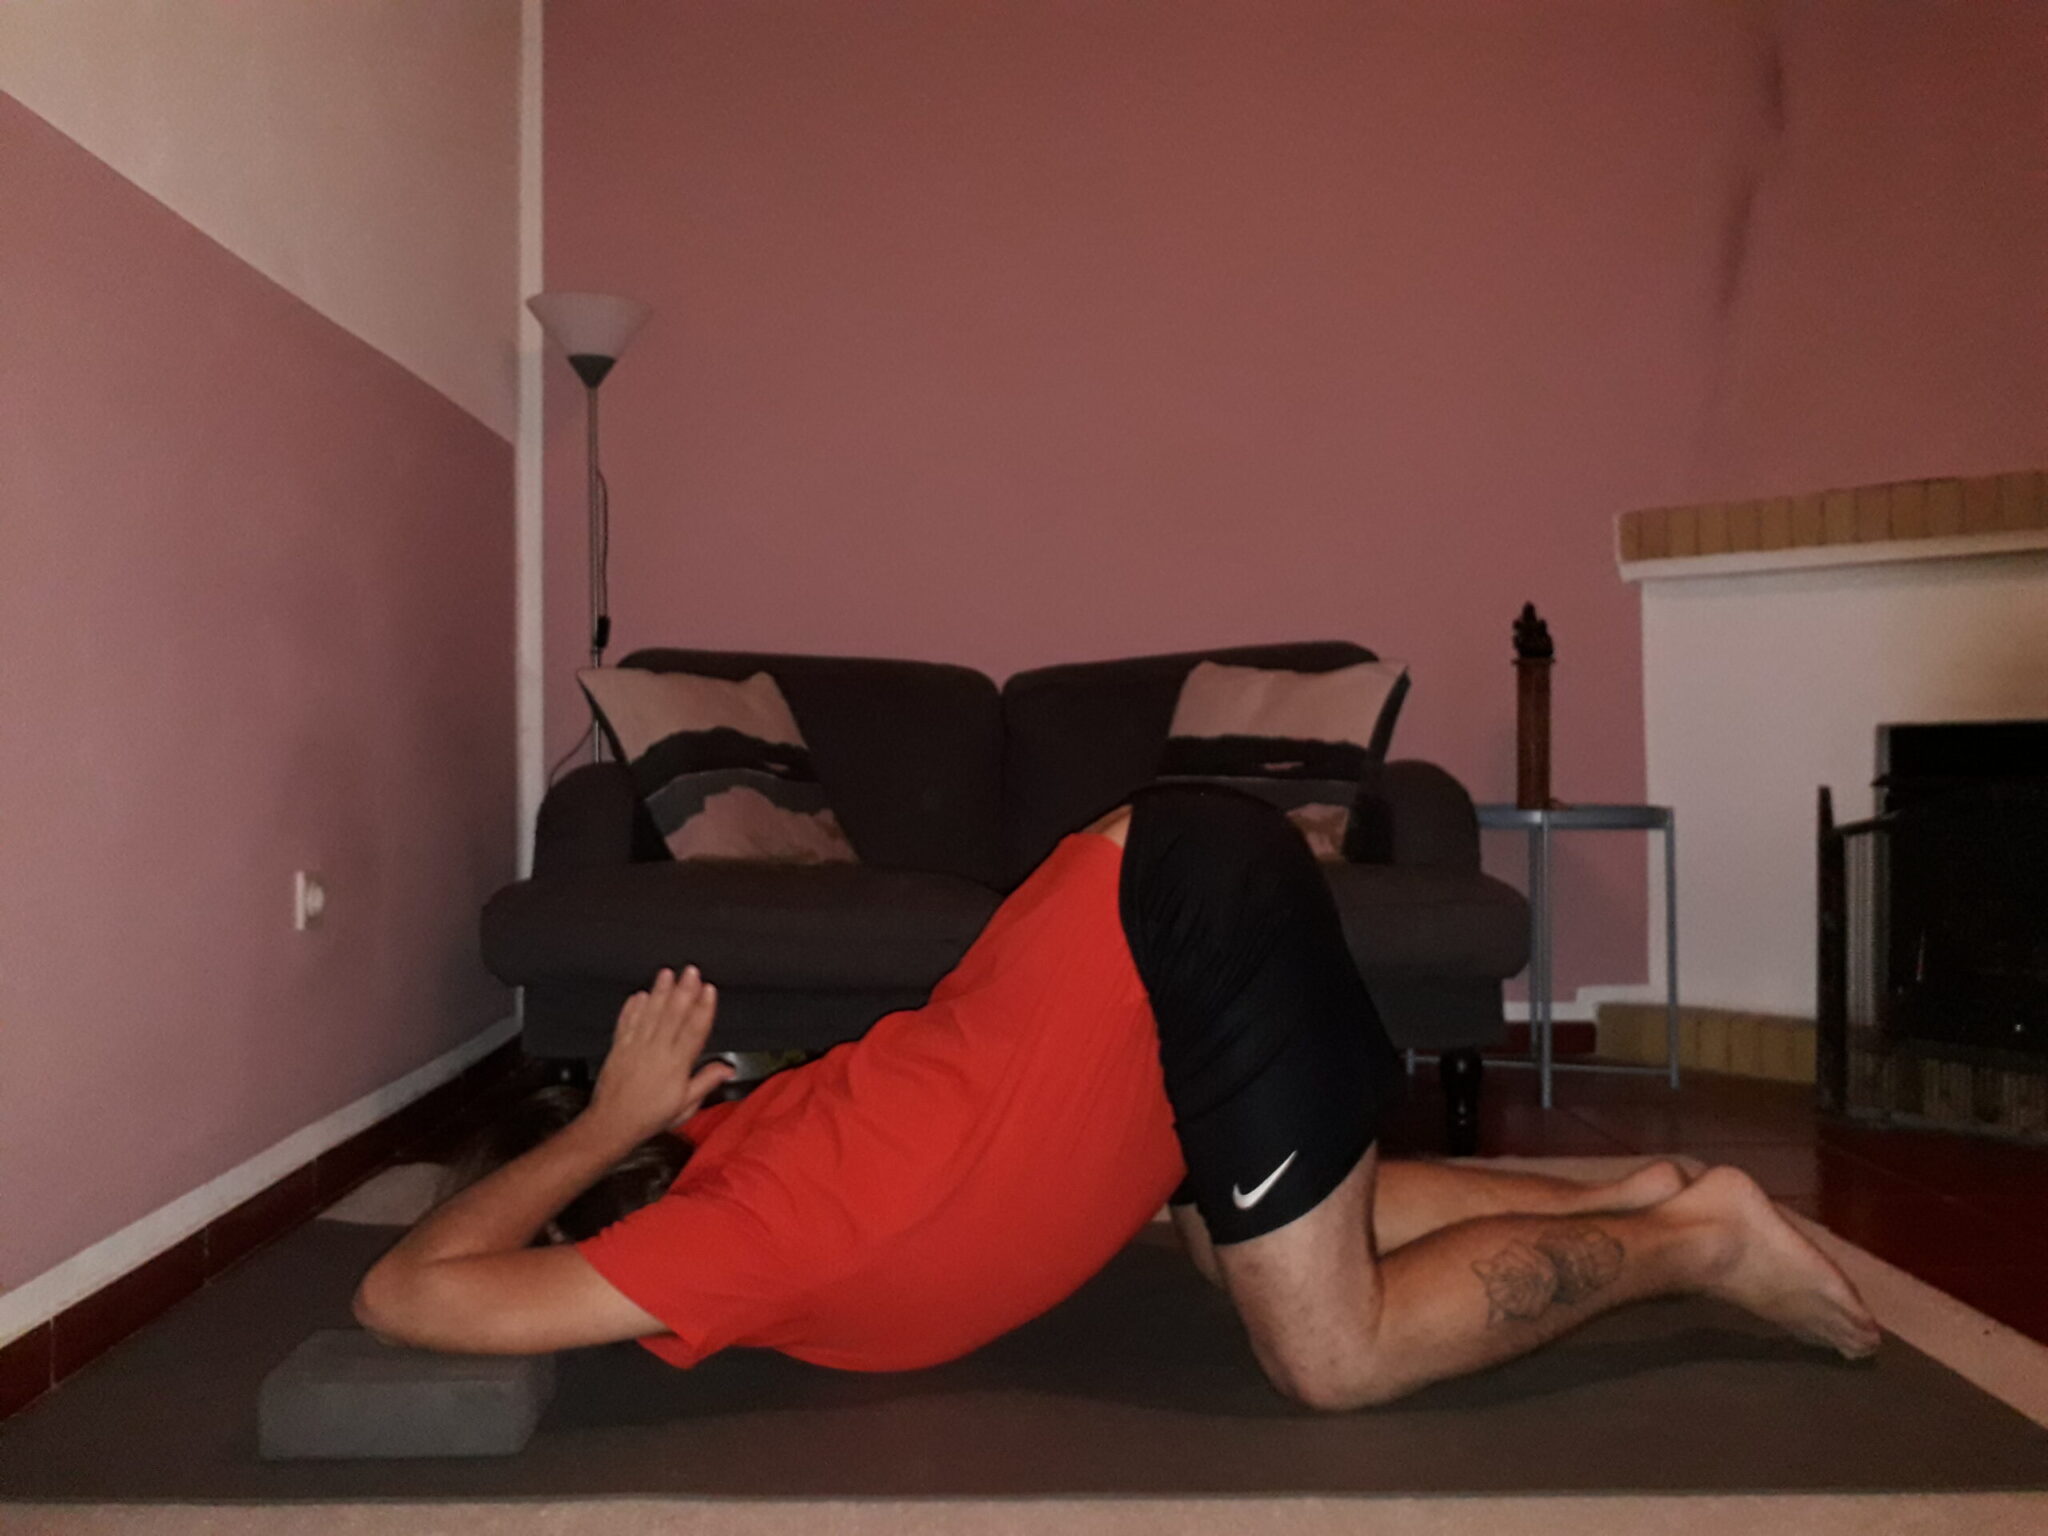
#6 Extended Puppy Pose
Extended Puppy Pose is a nice asana to open up your shoulders, but it’s also a great way to prepare for Wheel Pose.
If you don’t want to go too deep you can leave the blocks from underneath your elbows and get your forehead on the floor.
I’ve put my chin on the floor to get a bit deeper.
But it’s all up to you of course.
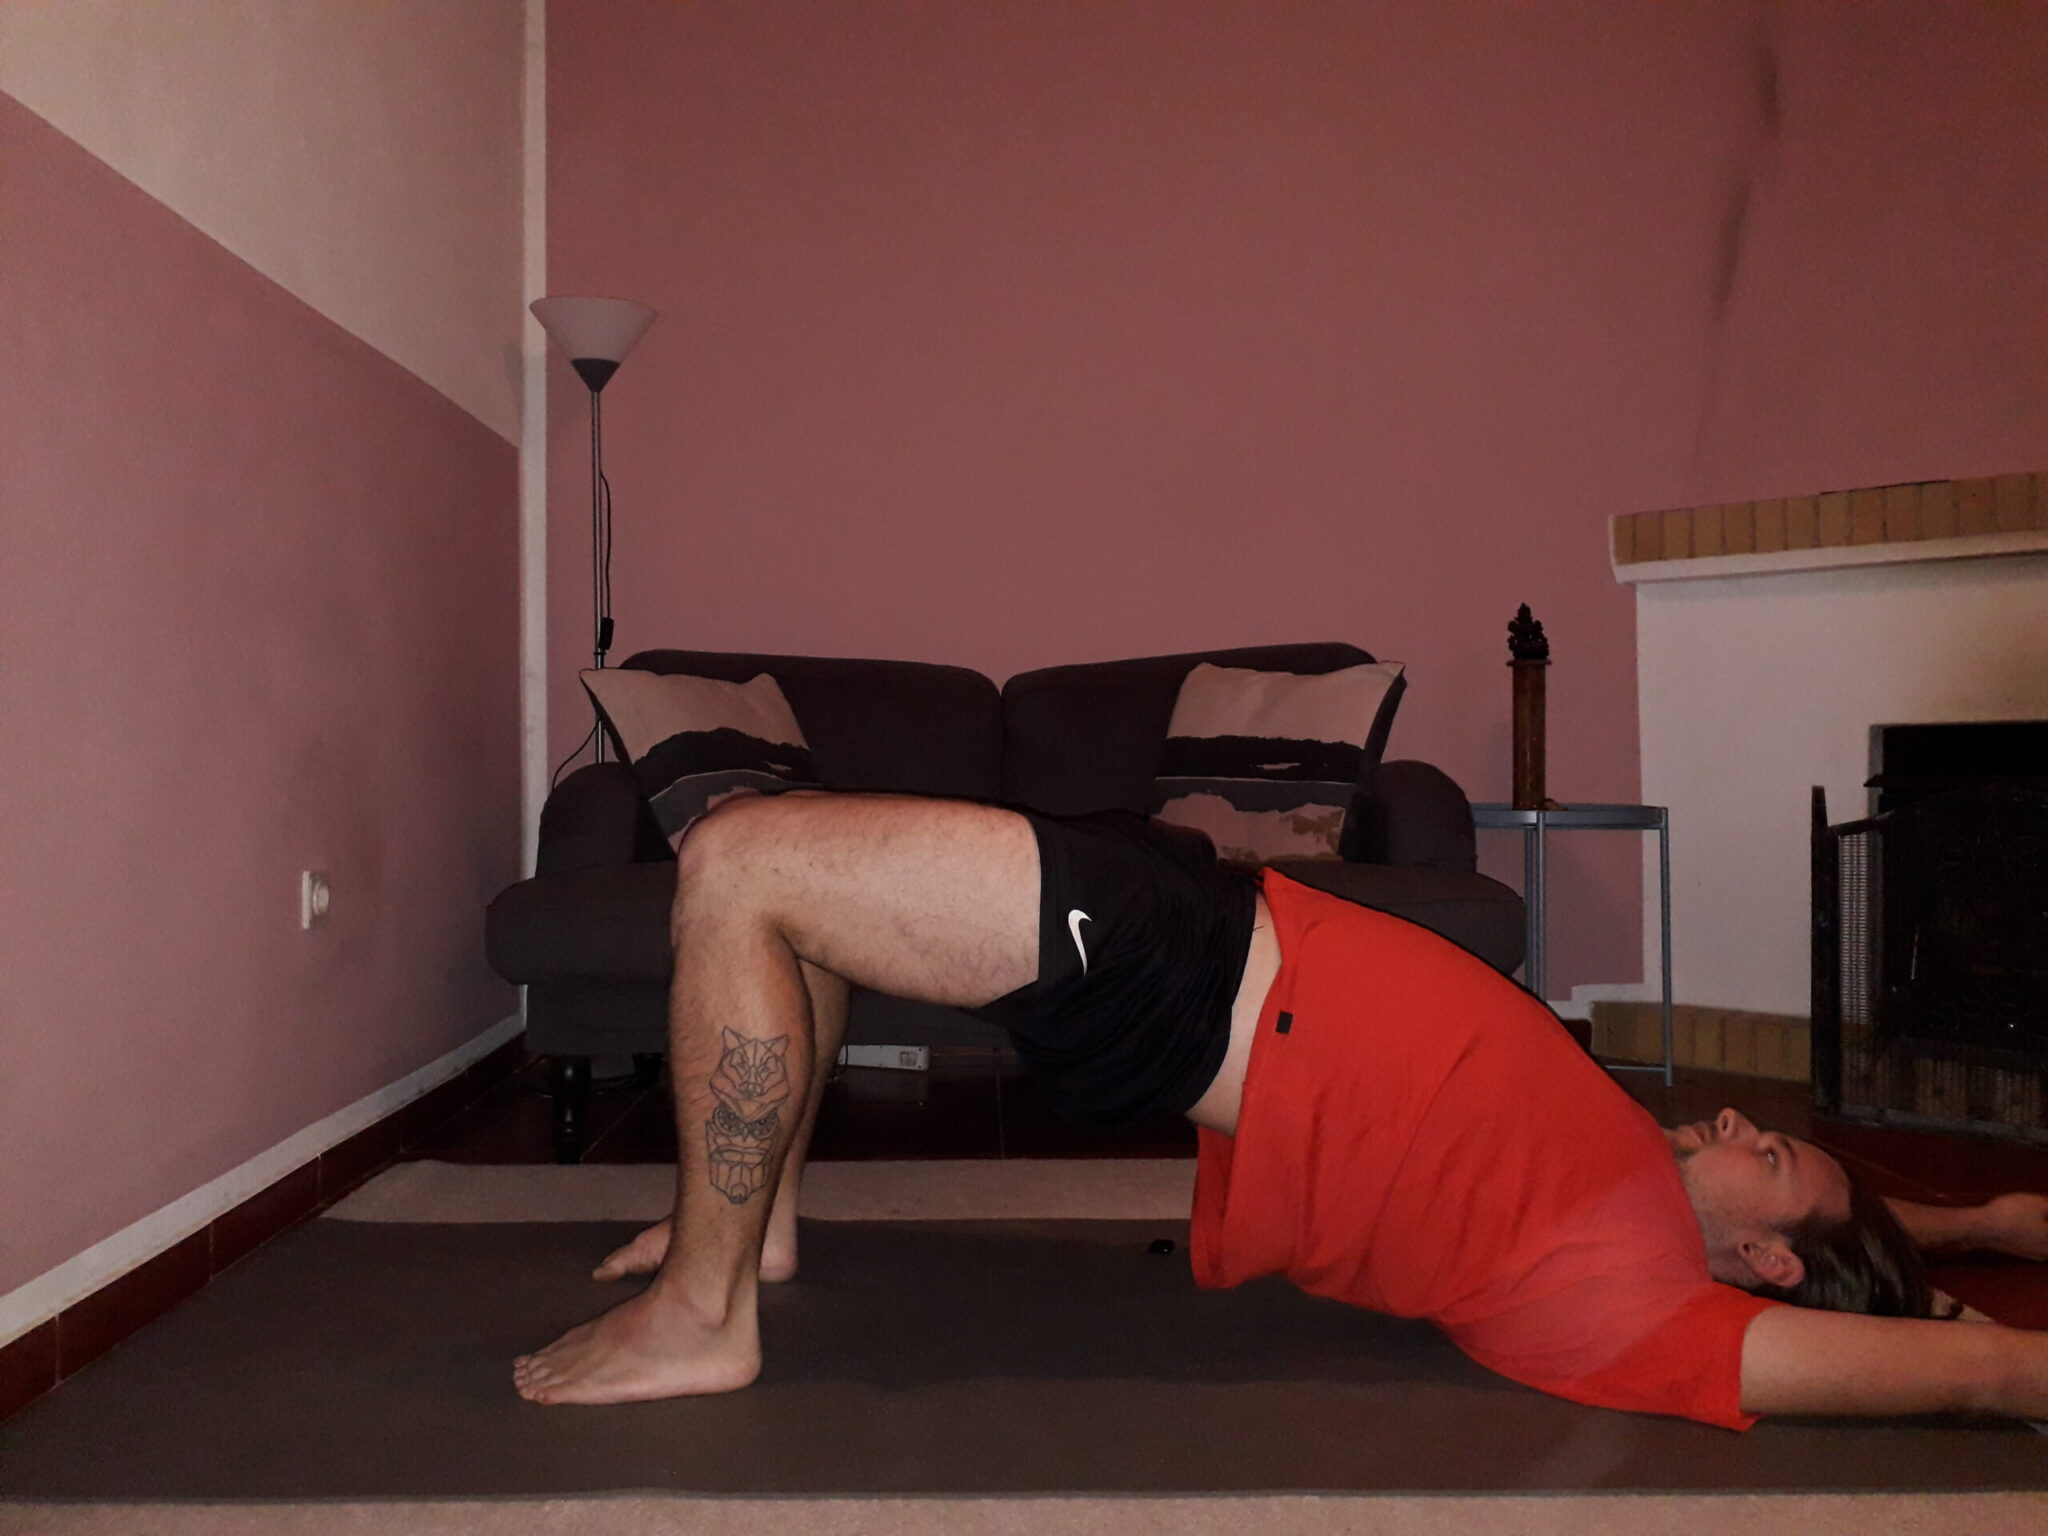
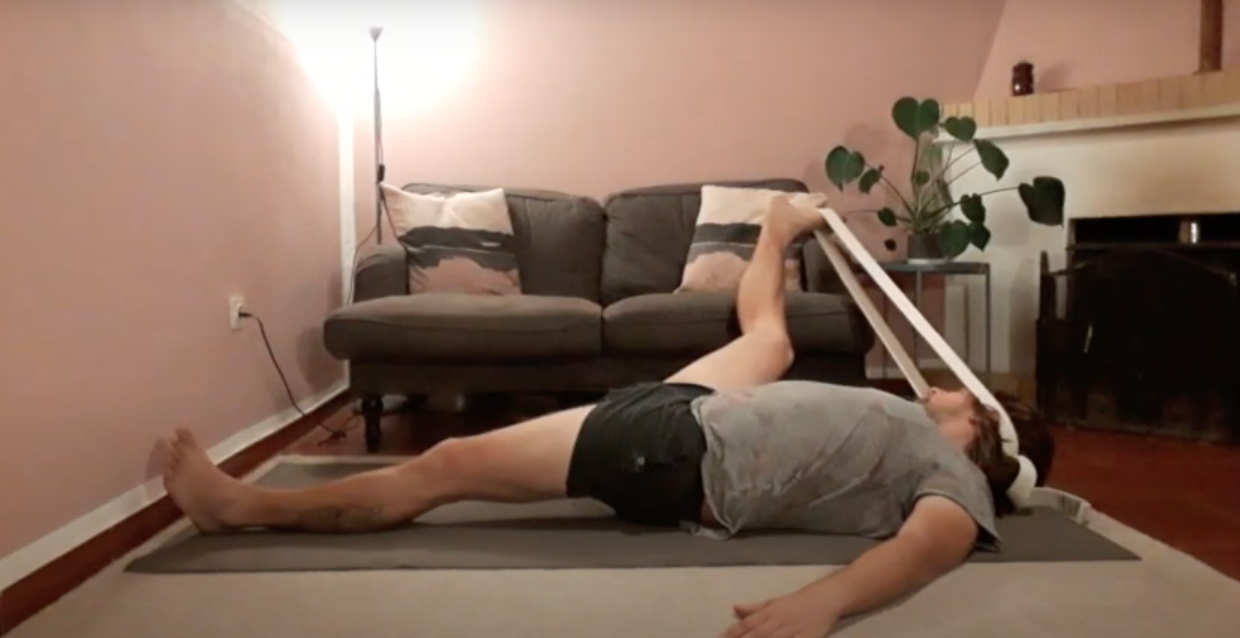
#7 Bridge
You’ve probably been into Bridge Pose already a couple of times if you’ve done a little yoga.
Bridge pose is therefore the ideal asana if you’d like to learn how to get into Wheel Pose.
In this certain position, I’d advise you to bring your arms overhead. This gives you a deeper stretch on your shoulders.
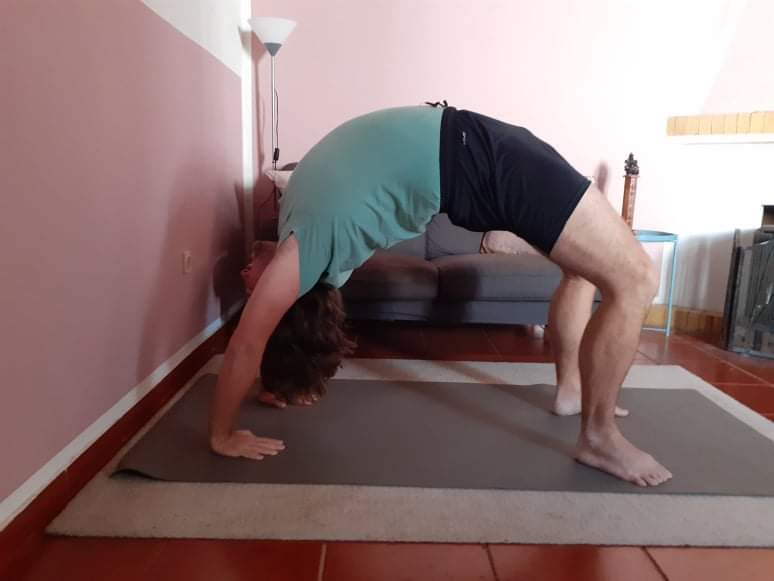
#8 Wheel With Head on Floor
And then last but not least, Wheel Pose, with a little adjustment.
In this position you’ll be putting the crown of your head onto the mat.
I’d normally never really do this option, but if it’s not for too long it can’t really hurt you.
It’s just that you’ll be putting a lot of stress on your neck if you’re not too careful.
Therefore, when you push yourself up into a Half Wheel, make sure that you don’t leave your head hanging on the mat. Put your strength into your arms, rather than your neck.

Getting Into Wheel Pose
And when you’ve done all these asanas above here, then you are ready to get into Wheel!
From here it’s actually quite easy, if you’re doing the option of the Wheel Pose with your head on the mat, you can just lift your head.
If you didn’t do this, then you’ll be doing the following:
- Lie on your back.
- Bring your feet into the mat.
- Make sure that your ankles are as close to your buttocks as you can.
- You can check this by putting your hands next to your body, if your fingers are touching your ankles or heels, they are placed correctly.
- Then you bend the arms and place your hands next to your head, fingers facing towards your shoulders.
- Push yourself up on hands and feet and if you want to you put the crown of your head into the mat first.
- After, you can push yourself up again and come into a full Wheel Pose.
- To come out of this position again, you can softly lower yourself again.
- I would never advise you to put your head on the mat, I’ve seen others doing it, but if you have the opportunity to come out of the position immediately that’s better.
When you come out of Wheel Pose, make sure that you do a counter pose! This can be Staff Pose or bringing your knees towards your belly and your chin to your knees.
Or you can even do a Forward Fold. Everything, where you are bending forward, is going to work.
And of course, always be honest with yourself. If you have issues in your spine or a disc hernia, please don’t get into this position!
You are the judge of your own body of course, so whatever you feel is good for you, you do. The same goes for what you feel is bad for you. If you feel that you are not ready for something, then it’s better not to do it at all!
Enjoy and…
Nama-stay wonderful!