
Yoghurt has been around for ages and we are still using it almost every day. Whether it’s a bit of greek yoghurt for your muesli, or to make a delicious salad dressing. It’s very versatile and somehow it’s been really hard to find a really good substitute that is vegan.
About half a year ago I bought myself a yoghurt maker, mostly because it was on sale.. And I’ve been using it ever since on a daily base. I first started out with just regular yoghurt as I didn’t know the process at that time. However, after a couple of months, I felt safe enough to go into some experimentation, and my stomach was also suffering from some bloating from an overdose of lactose.
And thus, after a lot of experiments, I finally found the recipe that works the best for me. And alas, a delicious vegan yoghurt has been born!
Well, as I mentioned before, you don’t really need an awful lot! First of all, you’ll be needing a starter’s culture of bacteria. And as I mentioned before, I was going to tell you a little secret. Instead of going online and finding quite an expensive package which you probably won’t be needing a lot of, you can just buy any little jar of vegan yoghurt of choice.
Yeah, I know it maybe sounds a bit rediculous that you need store-bought yoghurt to make your own yoghurt. But it’s really worth it. Certainly, if you are trying to re-create your favourite yoghurt. You’re already having the exact culture in your possession, so it’s just adding the vegan drink to it!
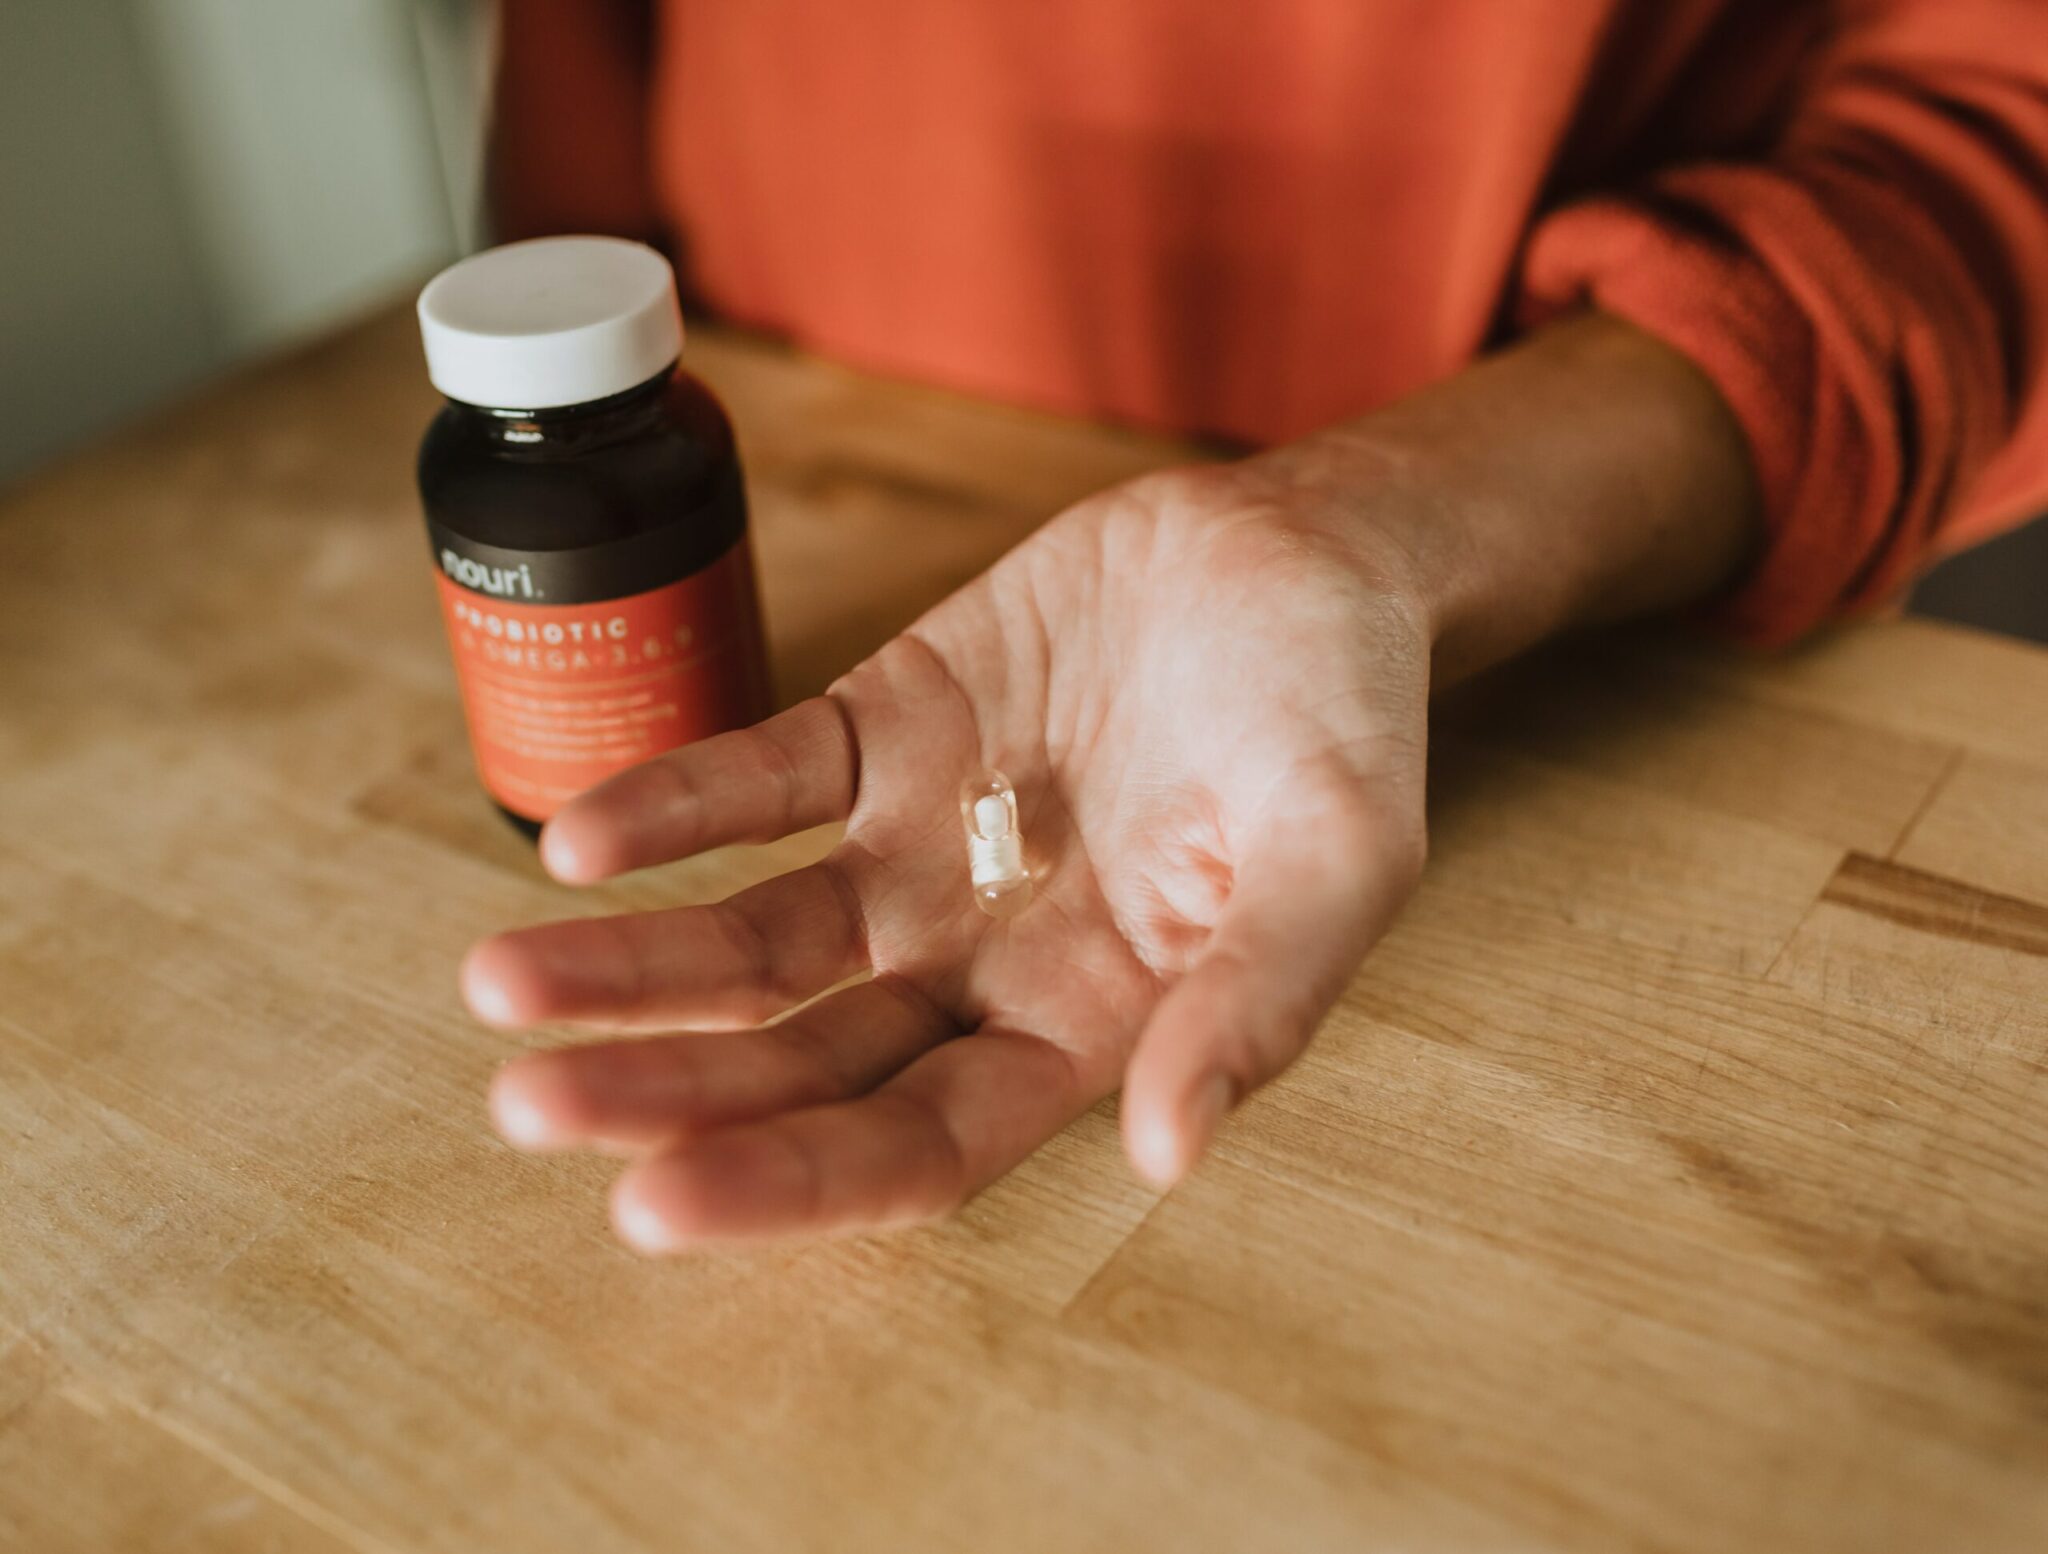
Not just that, but you can use pro-biotics from your pharmacy if you really want a big punch in your yoghurt. But they’ll probably cost you a lot more, and in the end, you’re only gonna be using a single capsule. So, is it worth it to spend 20 dollars for just a single capsule? It’s something to think about, but then again, it’s completely your choice!
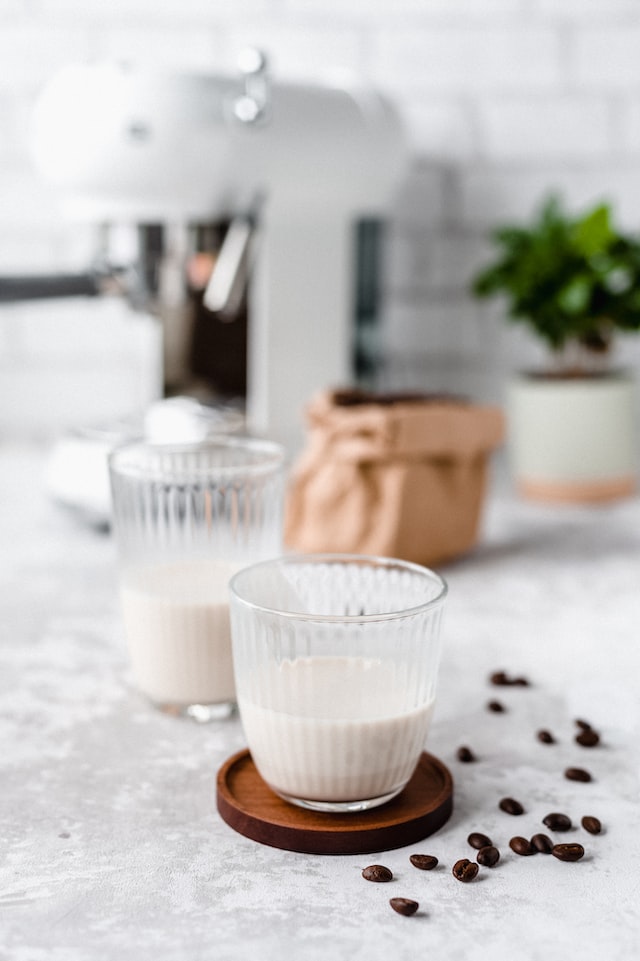
On top of that, you probably know already what I’m going to say next, you’ll be needing a vegan drink. Make sure that there aren’t too many additives in your favourite vegan drink. Additives might kill your bacteria. I’ve tried quite a lot of them and I have to say that the easiest and most delicious vegan alternative was Soy Milk. All the others were very liquid and just not that yummy.
The soy milk got really thick and had a really great yoghurt feel and taste to it. I even gave it to my partner without telling him and he didn’t even notice any difference at all.
I also use cornstarch as a thickening agent. And yes, you’ll be needing one. I had hoped it wouldn’t be necessary but after using it, I started to see that the consistency was a lot better.
You probably can use other types of starch, like potato starch, but that might compromise the taste.
And at last, make sure you have a sterile container to put your cultured soy milk in to ferment.
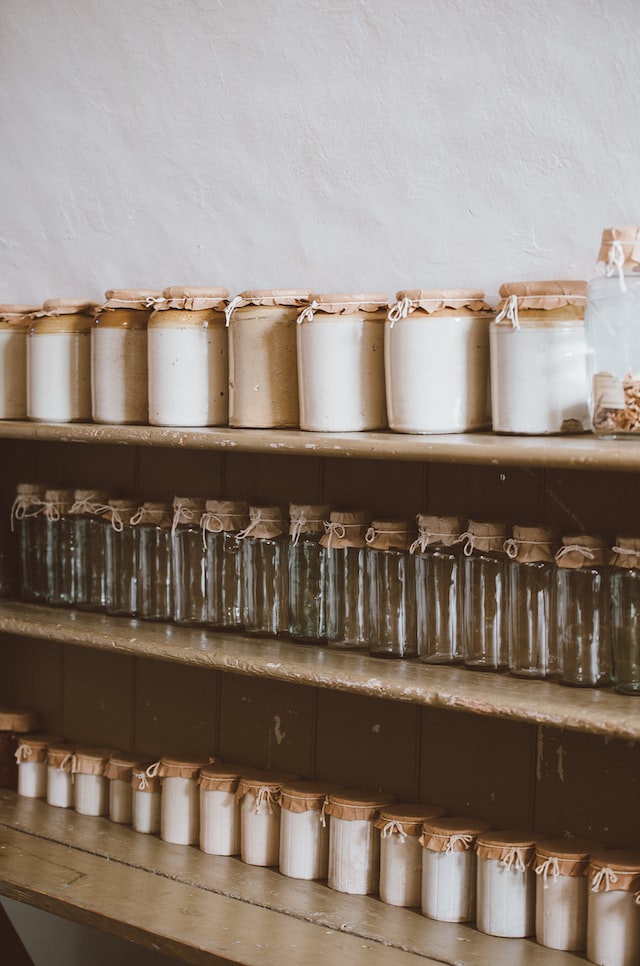
When using a container, I’ve come to realize that it’s best to use one (or more) made of glass. It’s just a lot easier to make it completely sterile, while plastic ones will only be able to be hand-washed or dish-washed. And both ways are just not great for sterilising.
The main way to sterilise everything is by boiling it in a big pot of boiling water for 10 minutes. That information you’ll be finding on a lot of websites. And it’s true, that way you’ll be able to sterilise your jars or whatever glass container you’ll be using for your yoghurt making.
However, I don’t have a giant ass pot where I can put all my equipment in. And I’ve tried it a couple of times in smaller pots. Which was a huge logistic disaster!
I found that for me the oven method was a lot easier to use. There is more space in the oven and you don’t have to be too careful with getting things out of a rolling boil. Which can be pretty dangerous!
For this, you just have to put your clean jars in a pre-heated oven at a temperature of 140 degrees Celsius (280 degrees Fahrenheit). I always do it for about 15 minutes and then I let them cool down in the oven before using them.
You can even put a little bit of boiling water in the jars or containers to make sure they don’t get a temperature shock.

Homemade soy yoghurt
Now, this recipe is specifically gonna be about soy yoghurt. This is because I found that other vegan milk aren’t just doing it for me. They are too tangy (rice yoghurt) or they are too slimy (oat yoghurt). Therefore, for this recipe to work, it’s all going to be about soy milk! I also used a store-bought soy yoghurt container as my starter.
- Prep Time 60 Minutes
- Total Time 8 Hours
- Serves 8 People
Ingredients
- 2 boxes of soy milk
- 1/2 Cup of Corn starch
- Starter culture (for example a bit of vegan yoghurt or pro-biotics)
- Optional: vegan extracts like Vanilla for flavoured yoghurt
Instructions
- To start, you'll be cleaning your jars and containers. And prep them for steralising. Put them in the oven (140°C, 280°F) for 15 minutes and let cool down.
- Put the soy milk into a pot and bring to a small boil. After it starts to boil prepare the corn starch in a cup and add some more cold liquid (soy milk is the best). Stir well and add to the boiling soy milk.
- When you see that your soy milk starts to thicken, thurn off the fire and let it sit on the counter until it has cooled down.
- Add the starter (and optional flavouring) to the milk and put into your sterile containers. Leave the yoghurt containers in a stable environment (such as a yoghurt maker or a turned off cold oven). Let the yoghurt ferment for 8 - 12 hours. The yoghurt will thicken a bit more.
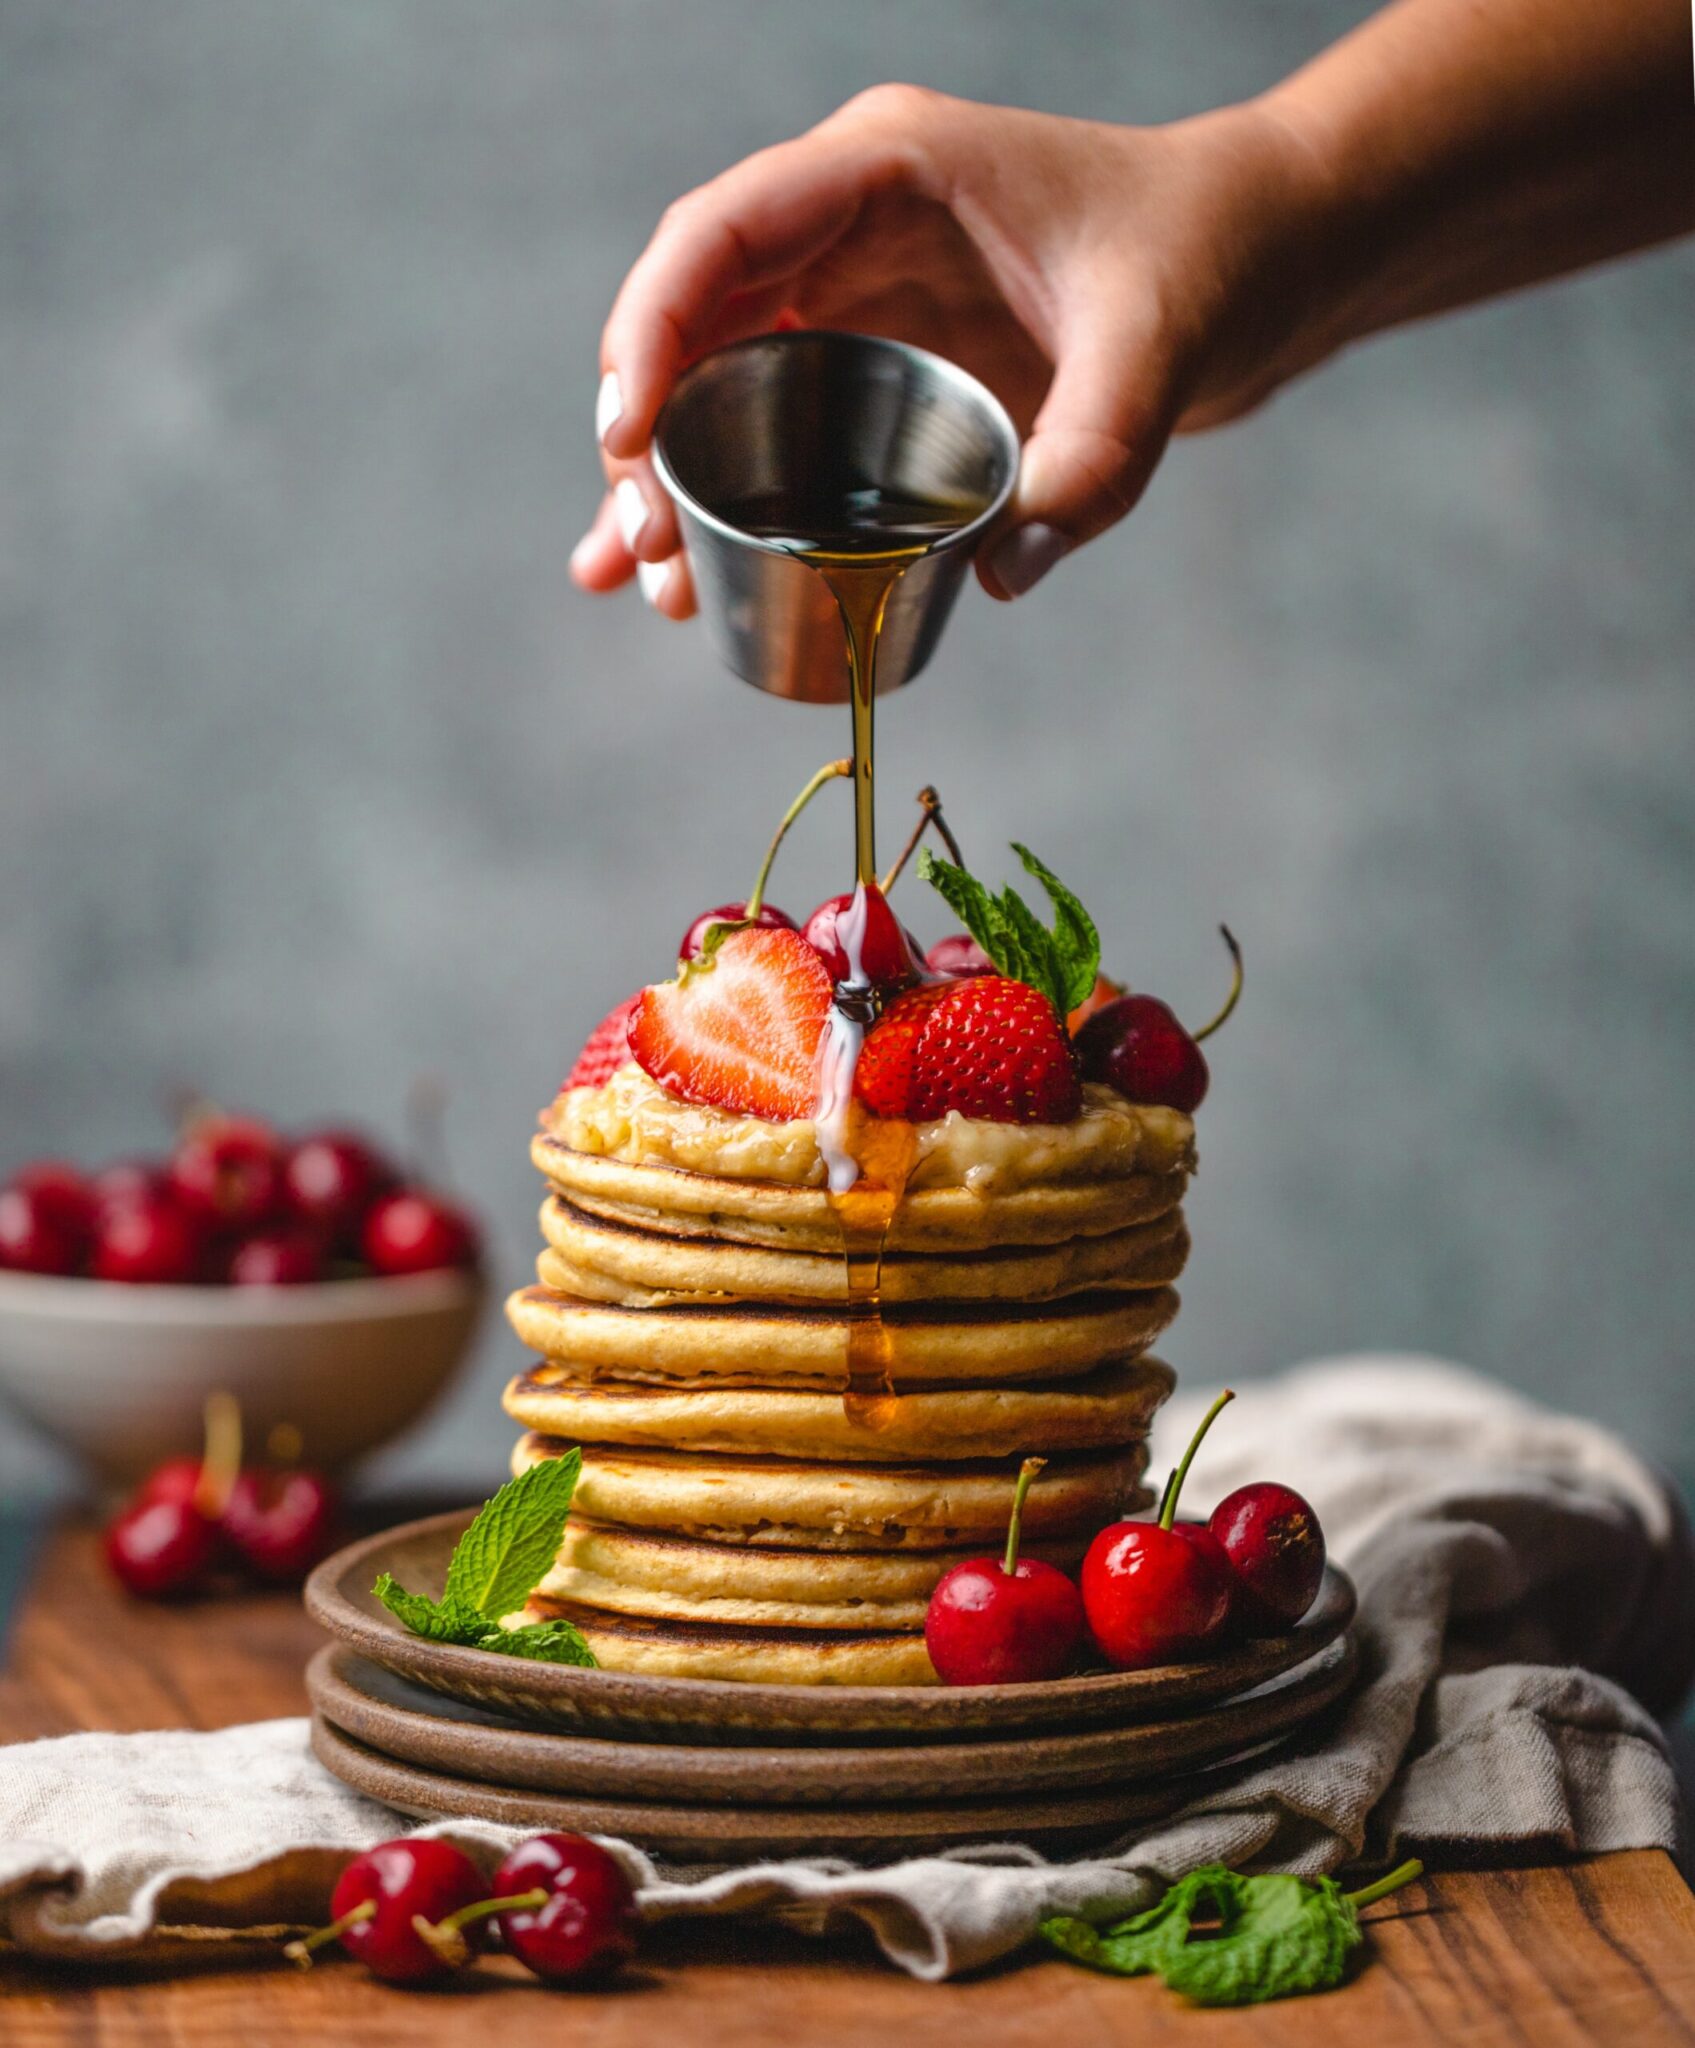
- Prepare your favourite yoghurt dish!

