
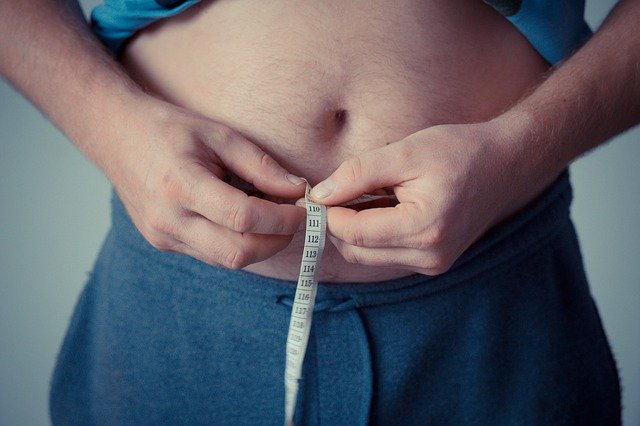
According to statistics of the WHO about 39% of adults have overweight. Which is a huge number and a problem associated with our modern quick-paced society. I belong among them as well, and during my yoga career, I had a lot of ‘issues’ with it as well. But now I’d like to share with you how you can do your yoga practice even when you have overweight.
This article will guide you to get the best out of your yoga practice if you’ve got a bit of body fat that is actually obstructing you. Because I believe that everyone can do yoga and these handy tips and adjustments can open a whole new world for you.
I’m not going to talk about whether or not you can lose weight with yoga, I’ve dedicated an article already on that subject which you can read here if you’d like :).
Curvy Yoga Poses Adjustment
It’s actually quite trendy as well to do yoga when you are overweight. And that’s a good thing, as this will contribute to more and more people doing yoga. I even have to say that when I was starting out with my own yoga practice, I felt quite a bit intimidated by all those healthy and skinny yogis that were just going into a handstand without any issues.
I even have to say that this prevented me for a while from teaching yoga as well. Until at some point someone told me that students rather like to see someone they can relate to, then seeing the perfect yoga model in front of the class. And it is true as well. I’ve always taken classes from people who were embodying the whole yoga philosophy, rather than from someone who just did it because it was cool.
So let this be a call for all those curvy people who are actually looking forward to starting their own yoga career! Share your own practice with other people and make sure that everyone gets the chance to do some yoga if they want to.
And now, let us have a look at a couple of yoga poses that might cause some obstruction during your own practice. Because you know, some poses aren’t just made for people with a little belly ;).
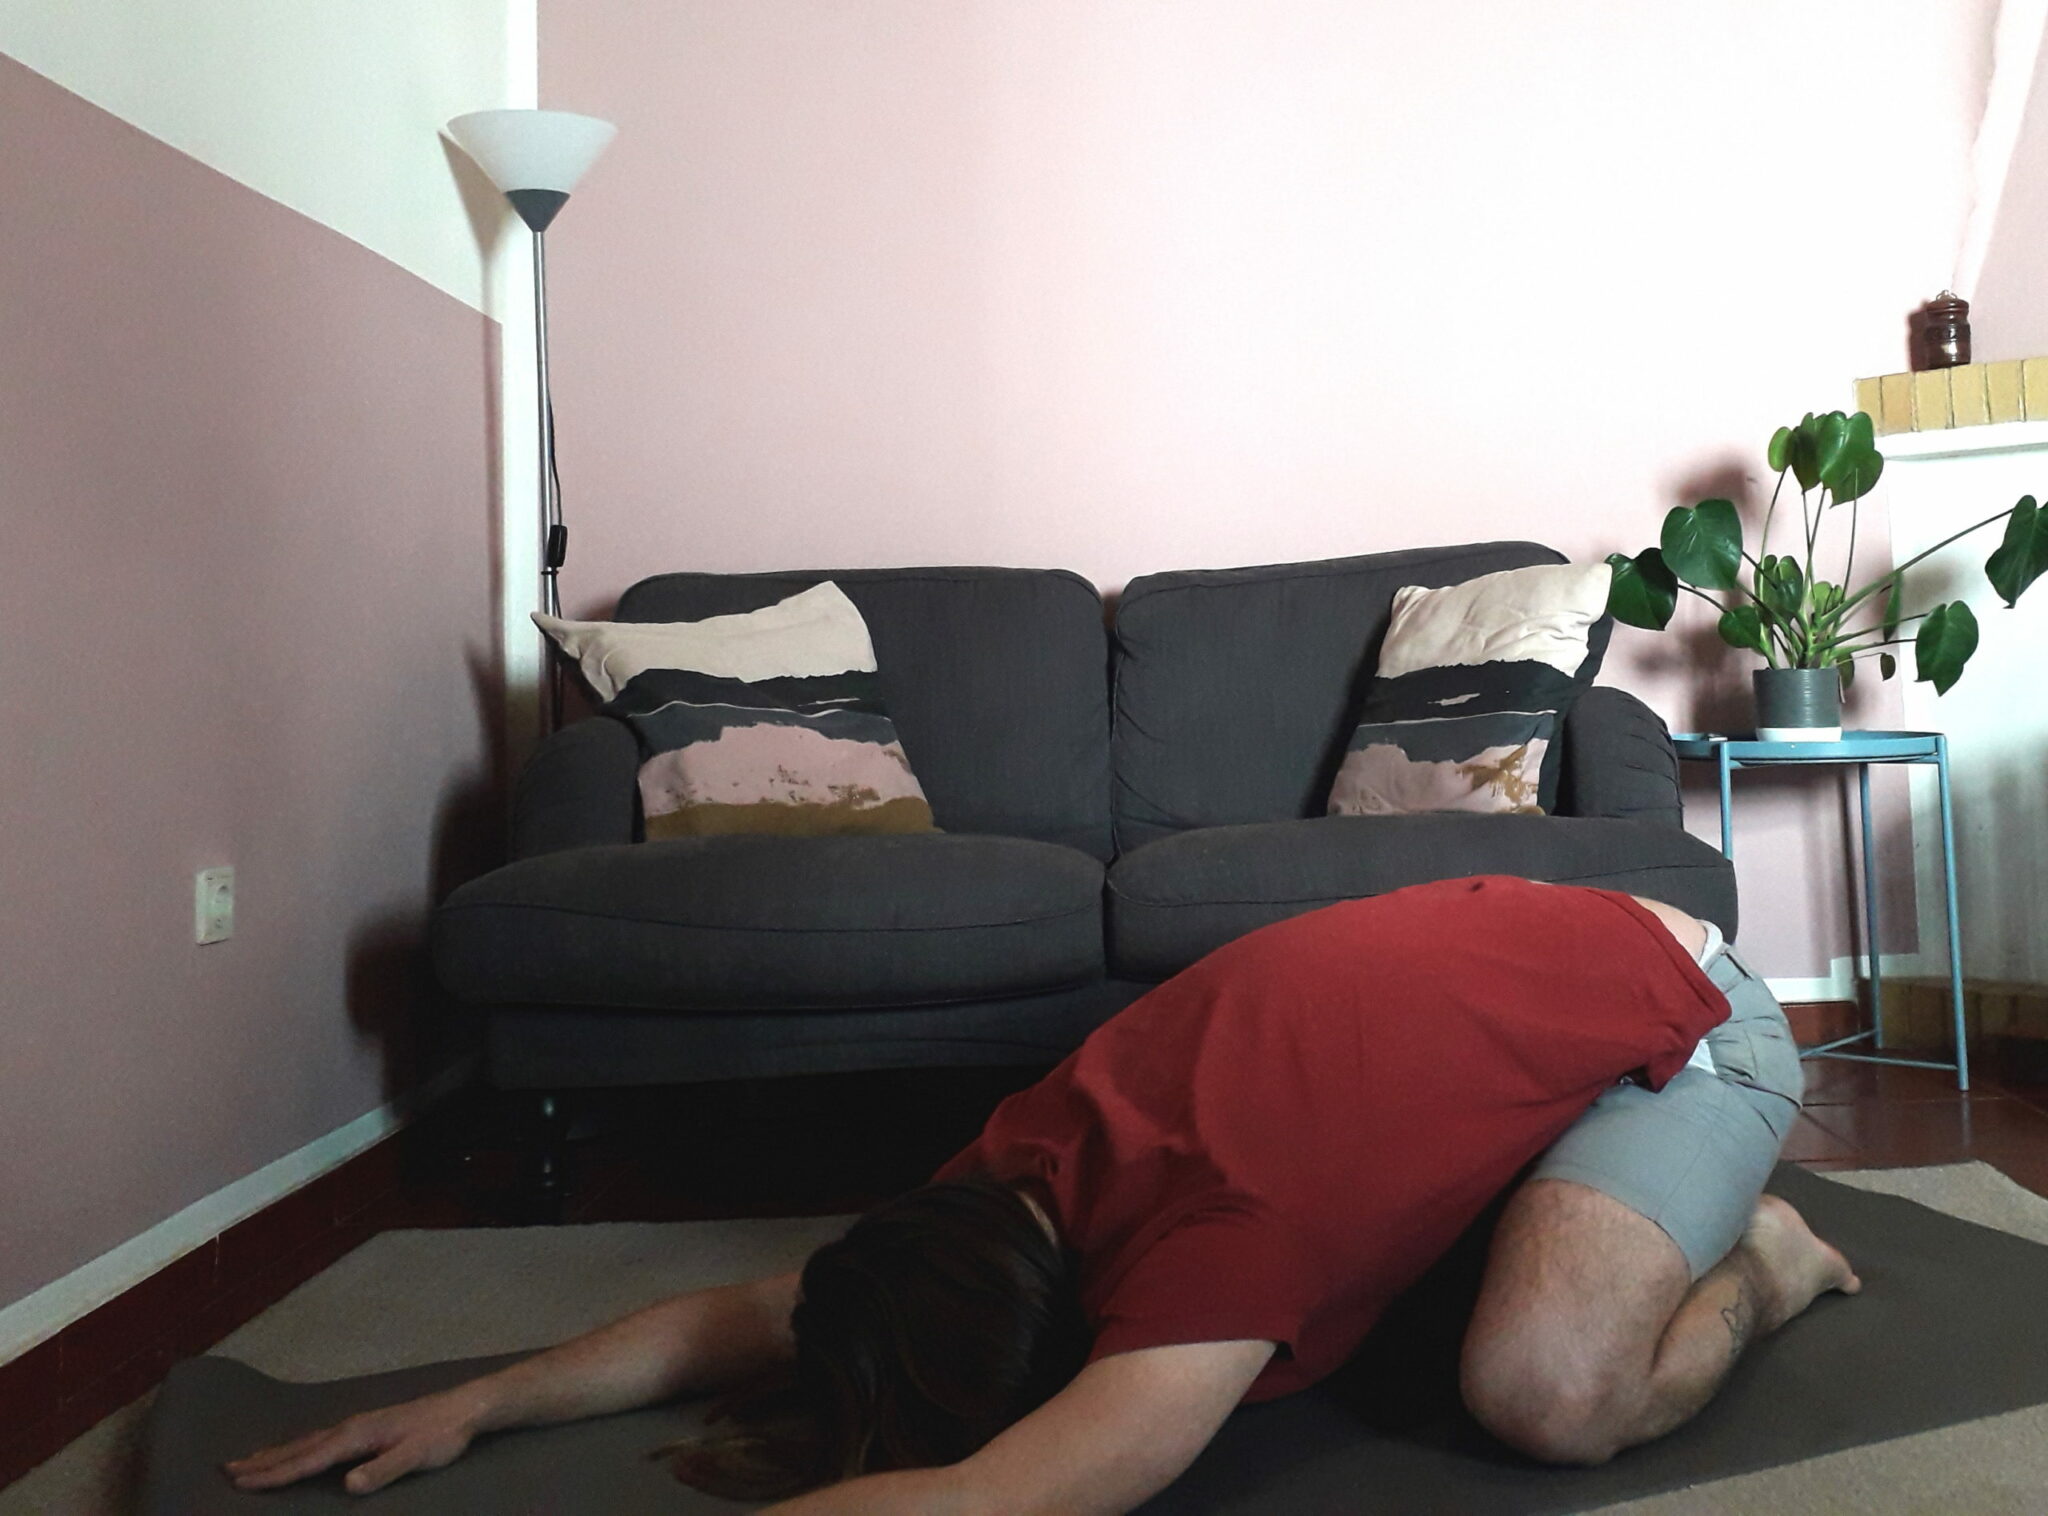
Child’s Pose (Balasana)
This one might look like it is the simplest position out there, but for those who’ve got a little belly, it might be a big struggle to stay for a while in this asana. What I’ve experienced when in this pose was that my knees were actually preventing my belly from expanding. Which made that I was always short of breath while doing this asana.
Now, normally for child’s pose you need to start quite similar as in Thunderbolt pose. So, start with your knees hip-width apart and your feet touching each other. Slowly bring your upper body down on the mat and put your forehead on there as well. Now you have the option of whether you’d like to bring your arms forward or backward. Make sure that your buttocks are resting on the heel of your feet.
This is in a normal situation, but as I explained before, my belly was in the way and got me breathing superficially. Which is not what you’d want during your yoga practice.
For this, there is an easy and so simple adjustment that can do this whenever you’d like. You just have to put your knees a bit wider than you normally would. And that’s it! Wow, isn’t that really easy ;).
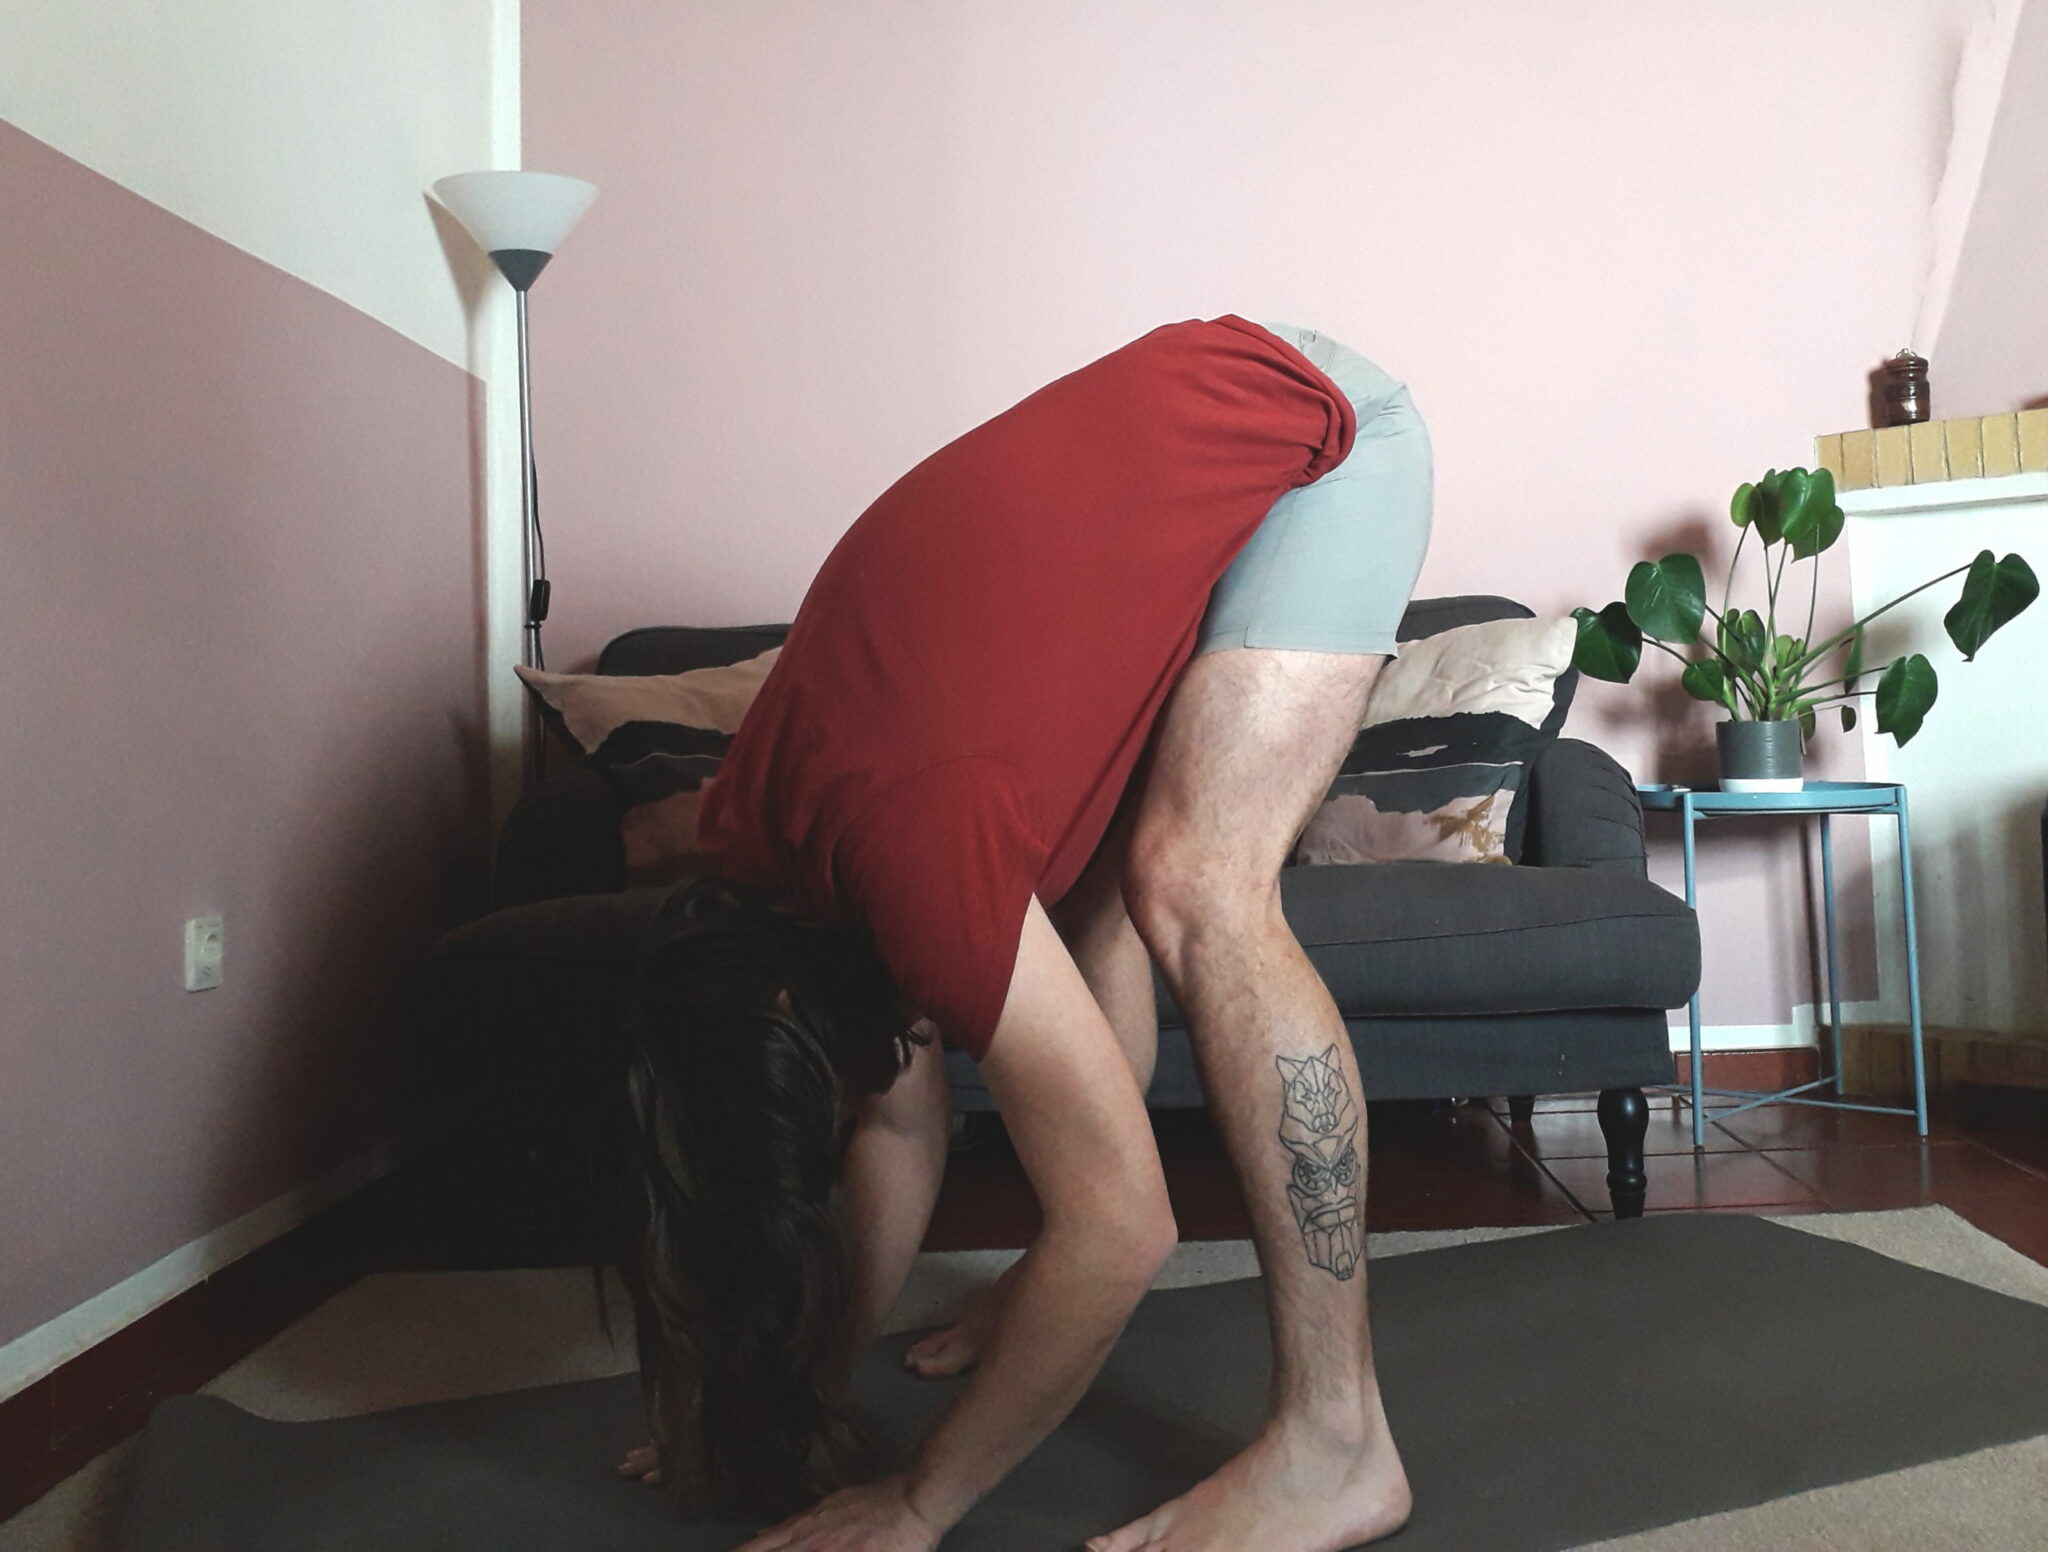
Forward Folds
There are so many kinds of forwards folds that I figured that I just should mention them in the same category as this tip will work for most of them. Within forward folds you’ll be putting a lot of stress on your legs, an area where we people with some extra weight already put a lot of stress upon. So for this one, we are going to make sure that we put our weight on our muscles, rather than our joints and ligaments. Just to protect them while we are doing yoga.
Not just this, but strengthening the legs of your muscles might also prevent some damage to your knees in the future. As people with overweight are more prone to knee-injuries, it is a good thing that we can actually do some exercises to make sure this won’t happen.
And it’s quite easy as well, when you are going to do a forward fold, make sure that you put your legs a bit further apart than hip-width and bend a bit trough your knees. Yup, that’s all it’s going to take! And if you are doing it right, you’ll start to feel a little burn in your upper legs and hamstrings. If you nail this feeling, you know you are doing it right!
Locking the knee
Following this, you’ve probably heard already the term: Lock the knees. Yoga teachers love to say it, but few of them dare to explain what it’s really about. And fewer students dare to ask what this term actually means. I know I’ve been one of them!
Well, now we are years later and when I finally had the guts to ask some explanation, and my teacher gladly told me. It’s actually quite easy, but yet, you’ve got to be careful. Why? Because a lot of people think that locking the knee is actually stretching out the whole leg, but hold on! That’s not true at all! Said he shockingly.
The truth is, to lock your knee, you’ve actually got to bend those legs a little bit. And after that, you engage all the muscles around it. And that’s what it’s all about. It’s easy and I suggest you check it out because it can be a life-changer! Well, it probably won’t change your life, but it will at least be a lot more enjoyable for your knees.
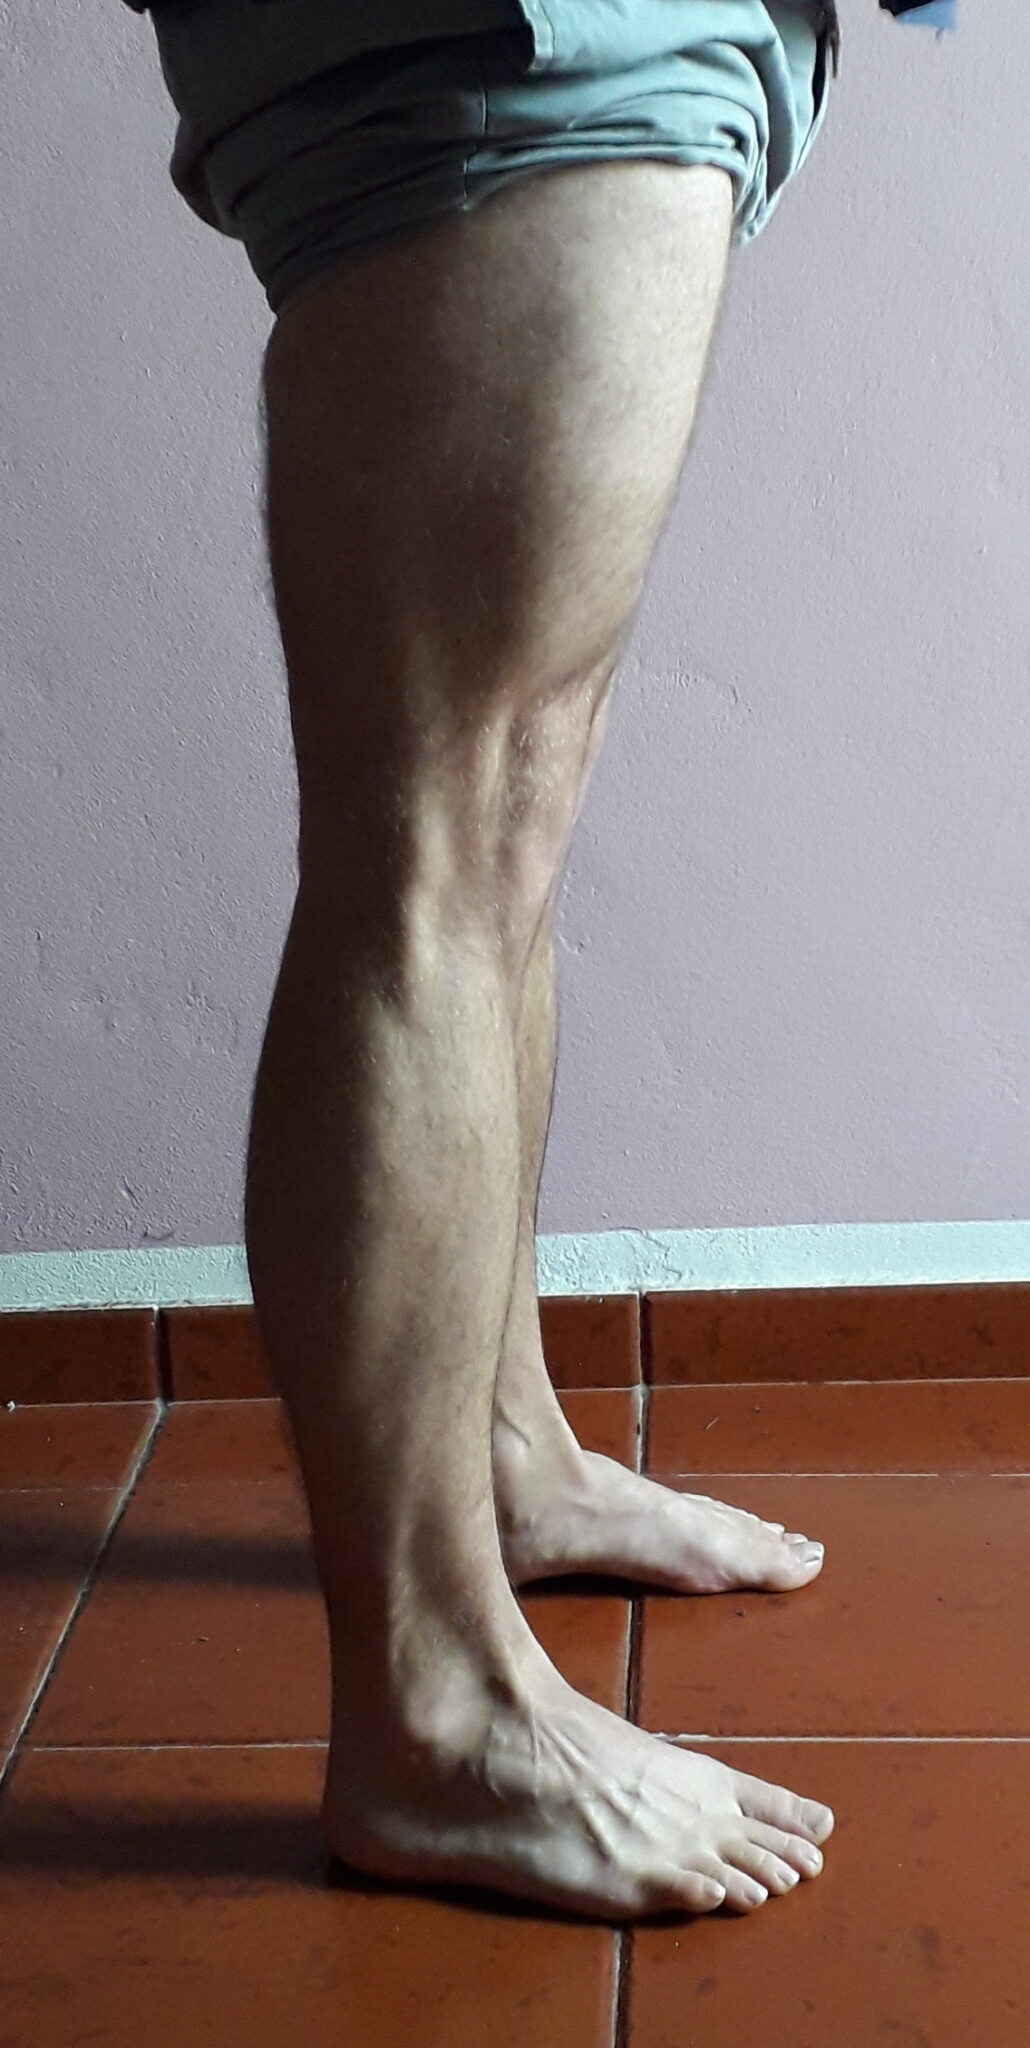
This is what we call: over stretching the knee. A no-no for our joints!
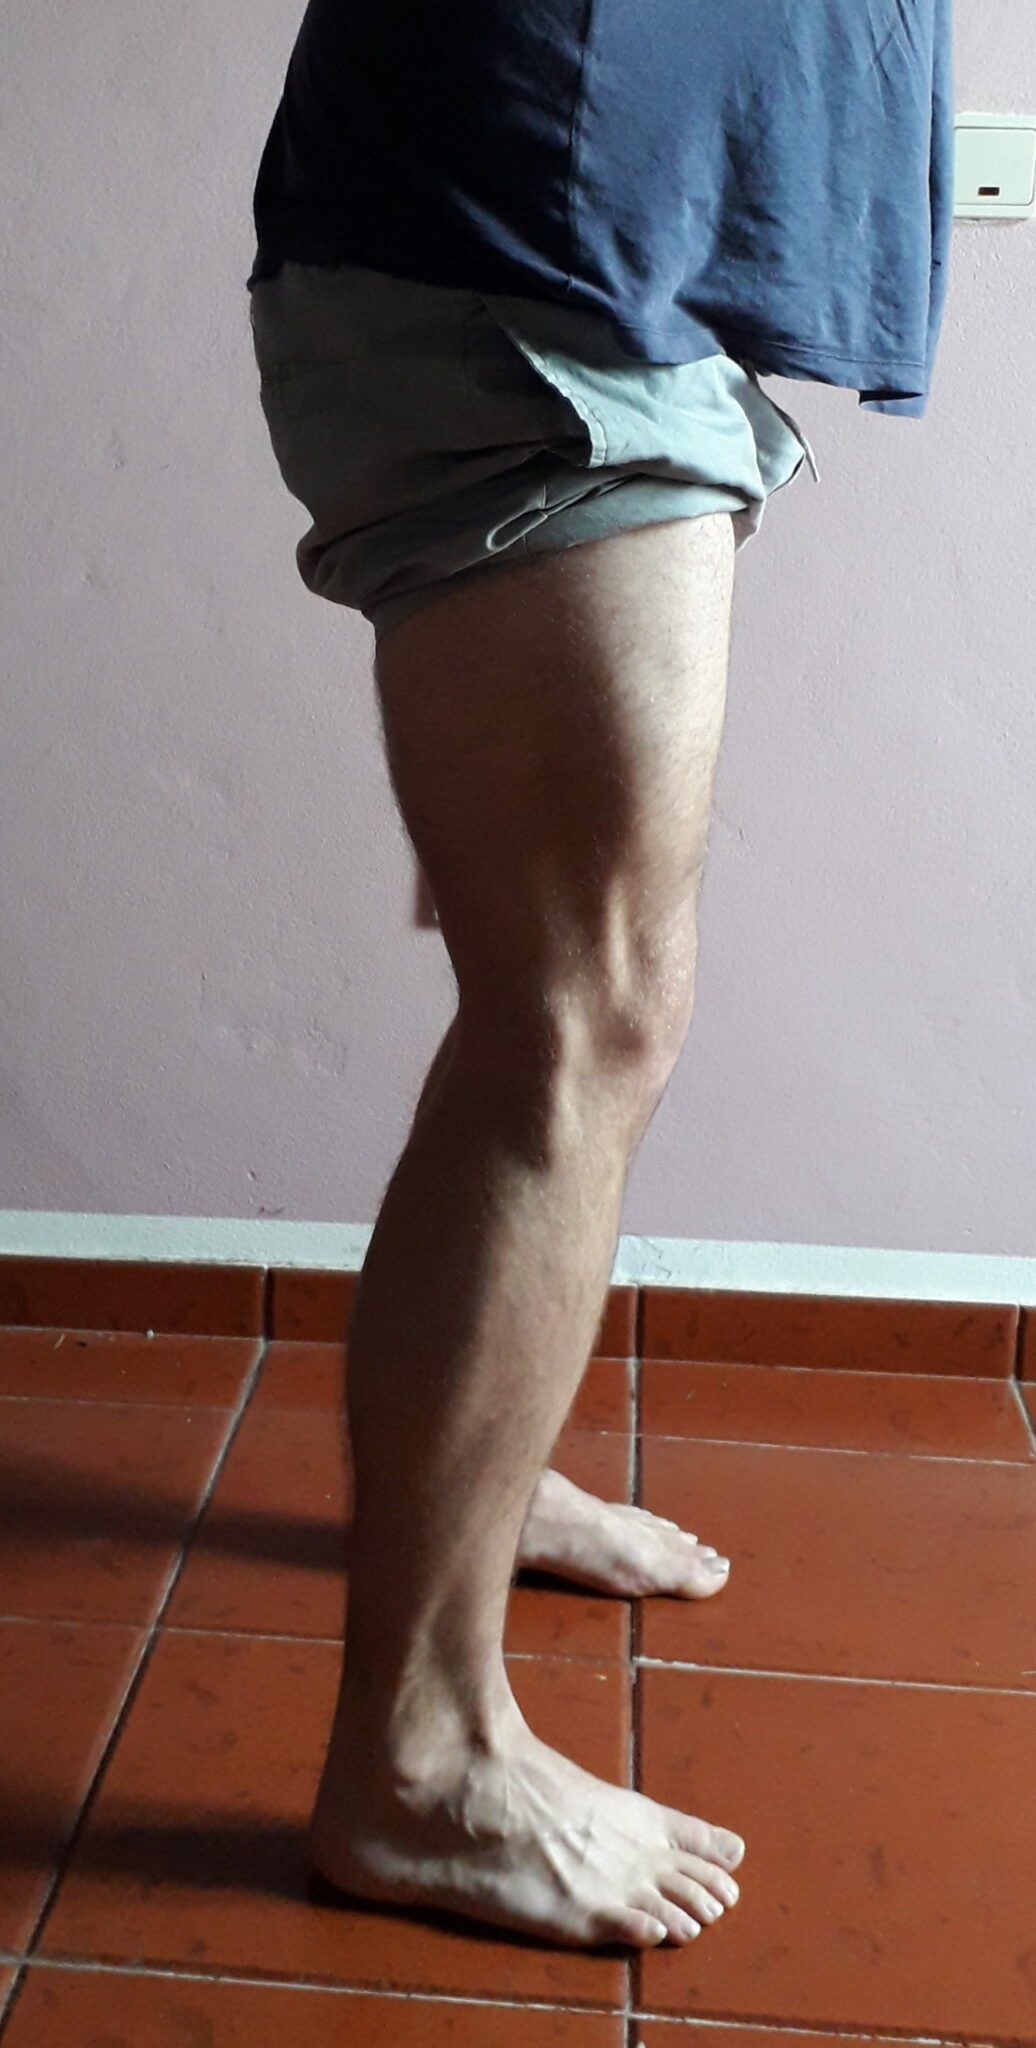
And this is how a properly locked knee should look like.
Downward Facing Dog (Adho Mukha Svanasana)
Another pose you’ve probably heard of and done many times before, downward facing dog. And there is a lot to say about this asana in general, but I’d like to keep it short and maybe I’ll do an article specifically for down dog (that’s how the cool kids call it these days).
Most likely you’ll be going in this position after Cobra or Upward Facing Dog. And that’s in general how I’d like to start my flow as well. And if you’d like, you can even start from child’s pose as this will make it easier for your back.
Anyway, it’s the same process in either positions, so you can decide for yourself where you’d like to start. First you’d want to start off with curling your toes so that they come on to the mat. Place your hands a little bit further than shoulder-width and make sure that your index fingers are parallel to the sides of your mat. Spread the fingers equally and push your buttocks up with equal pressure from hands and toes. Bring your upper body towards your legs and that’s about it. You are now in down-dog.
If you are comfortable in this position, then just stay in it like that, but if you do have a couple of issues or pains, there are a couple of modifications you can make. These will make your down-dog a lot more comfortable and they are a good training until you reach the point where you’ll be able to do this position without aid.
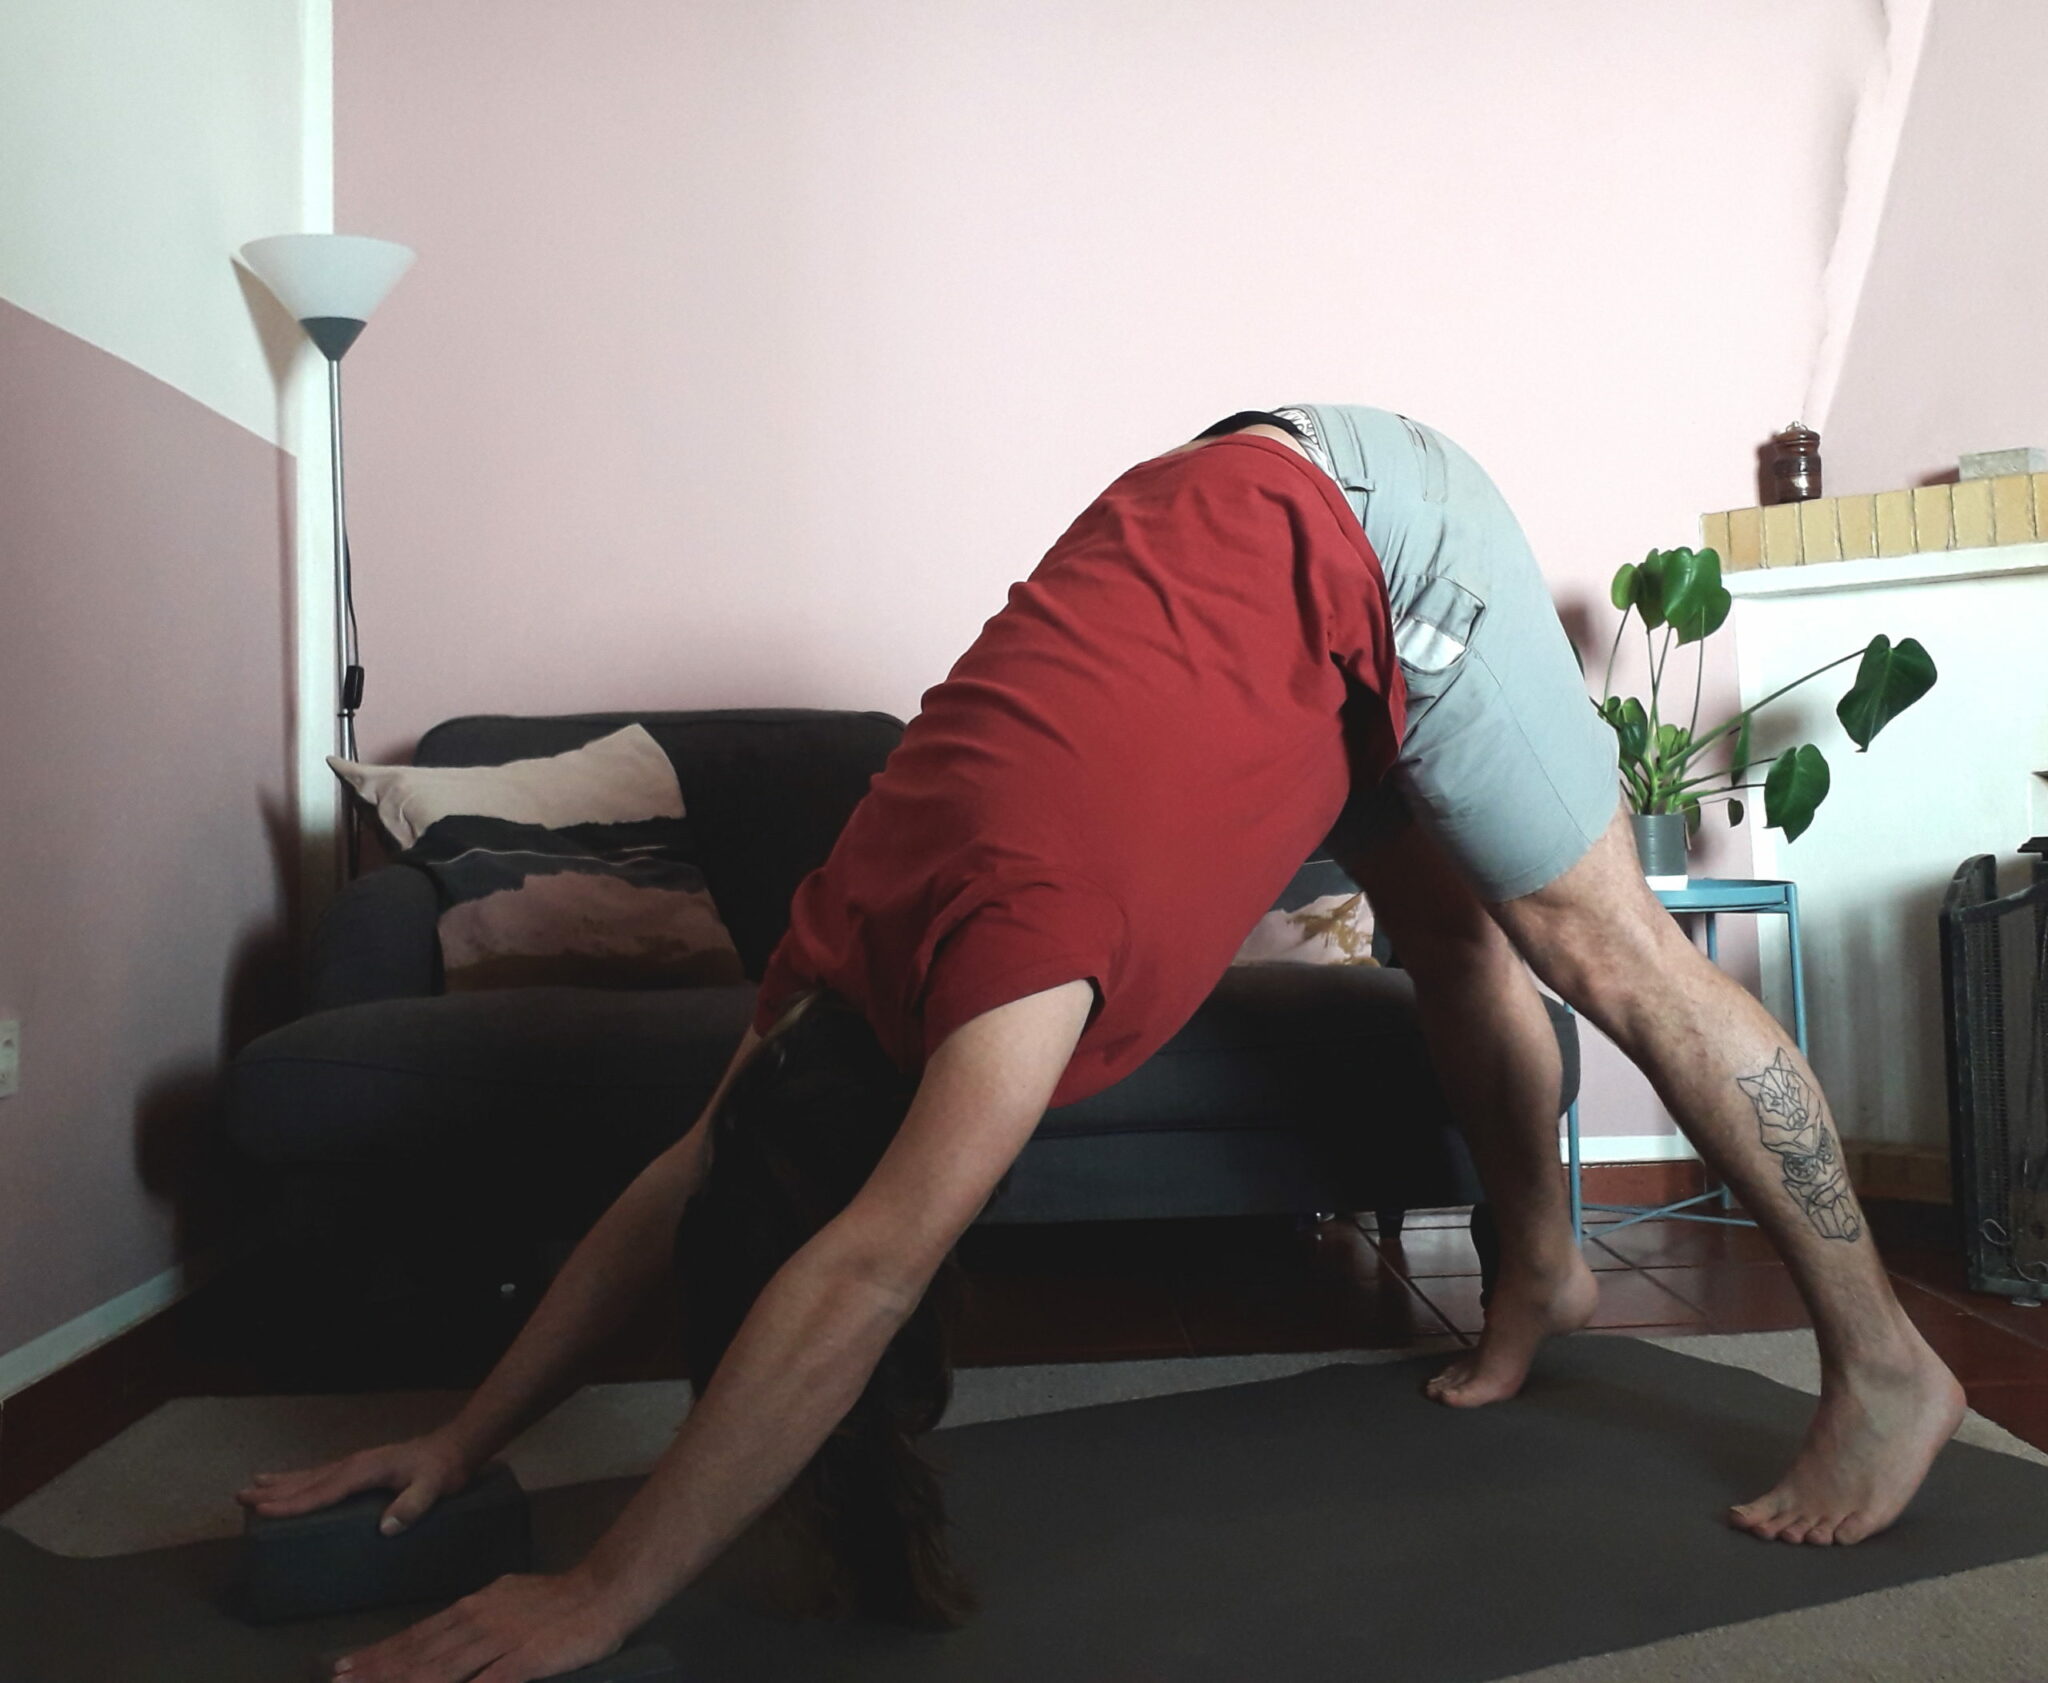
Downward-Facing Dog using Props
To begin, and I’m going to repeat myself a little bit, is to bend your knees a little. This will make that you put more pressure on the muscles of your legs and less strain on your shoulders. And if you are carrying a couple of extra pounds this is what you’d want. Otherwise, your shoulders are going to burn like hell.
If that still isn’t enough, or you’d really like to get a work-out for your shoulders as well, you can decide to use props. Don’t be afraid to ask for them in your yoga studio as they are very common to use!
What you’d need is a pair of blocks. One for each hand. Make sure that your blocks are already at a very disposable position as you’d need to reach for them while you are in this position. You can also ask help from your teacher if you’d like. When you are in Upward-Facing Dog, just put your hands on the blocks and this will lift your body a little. You just have to make sure that you won’t lose, or loosen, your straight spine, as this is the goal in down-dog.
And if this still isn’t enough, you can also use a chair, this is not always possible while you are in a yoga class, so this is an exercise you’d rather do at home. This is harder to achieve when coming out of a cobra or child’s pose, so it’s best to do this one when you are in a standing position. What you have to do is just place the chair in front of you, put your hands on the edges and keep a straight spine.
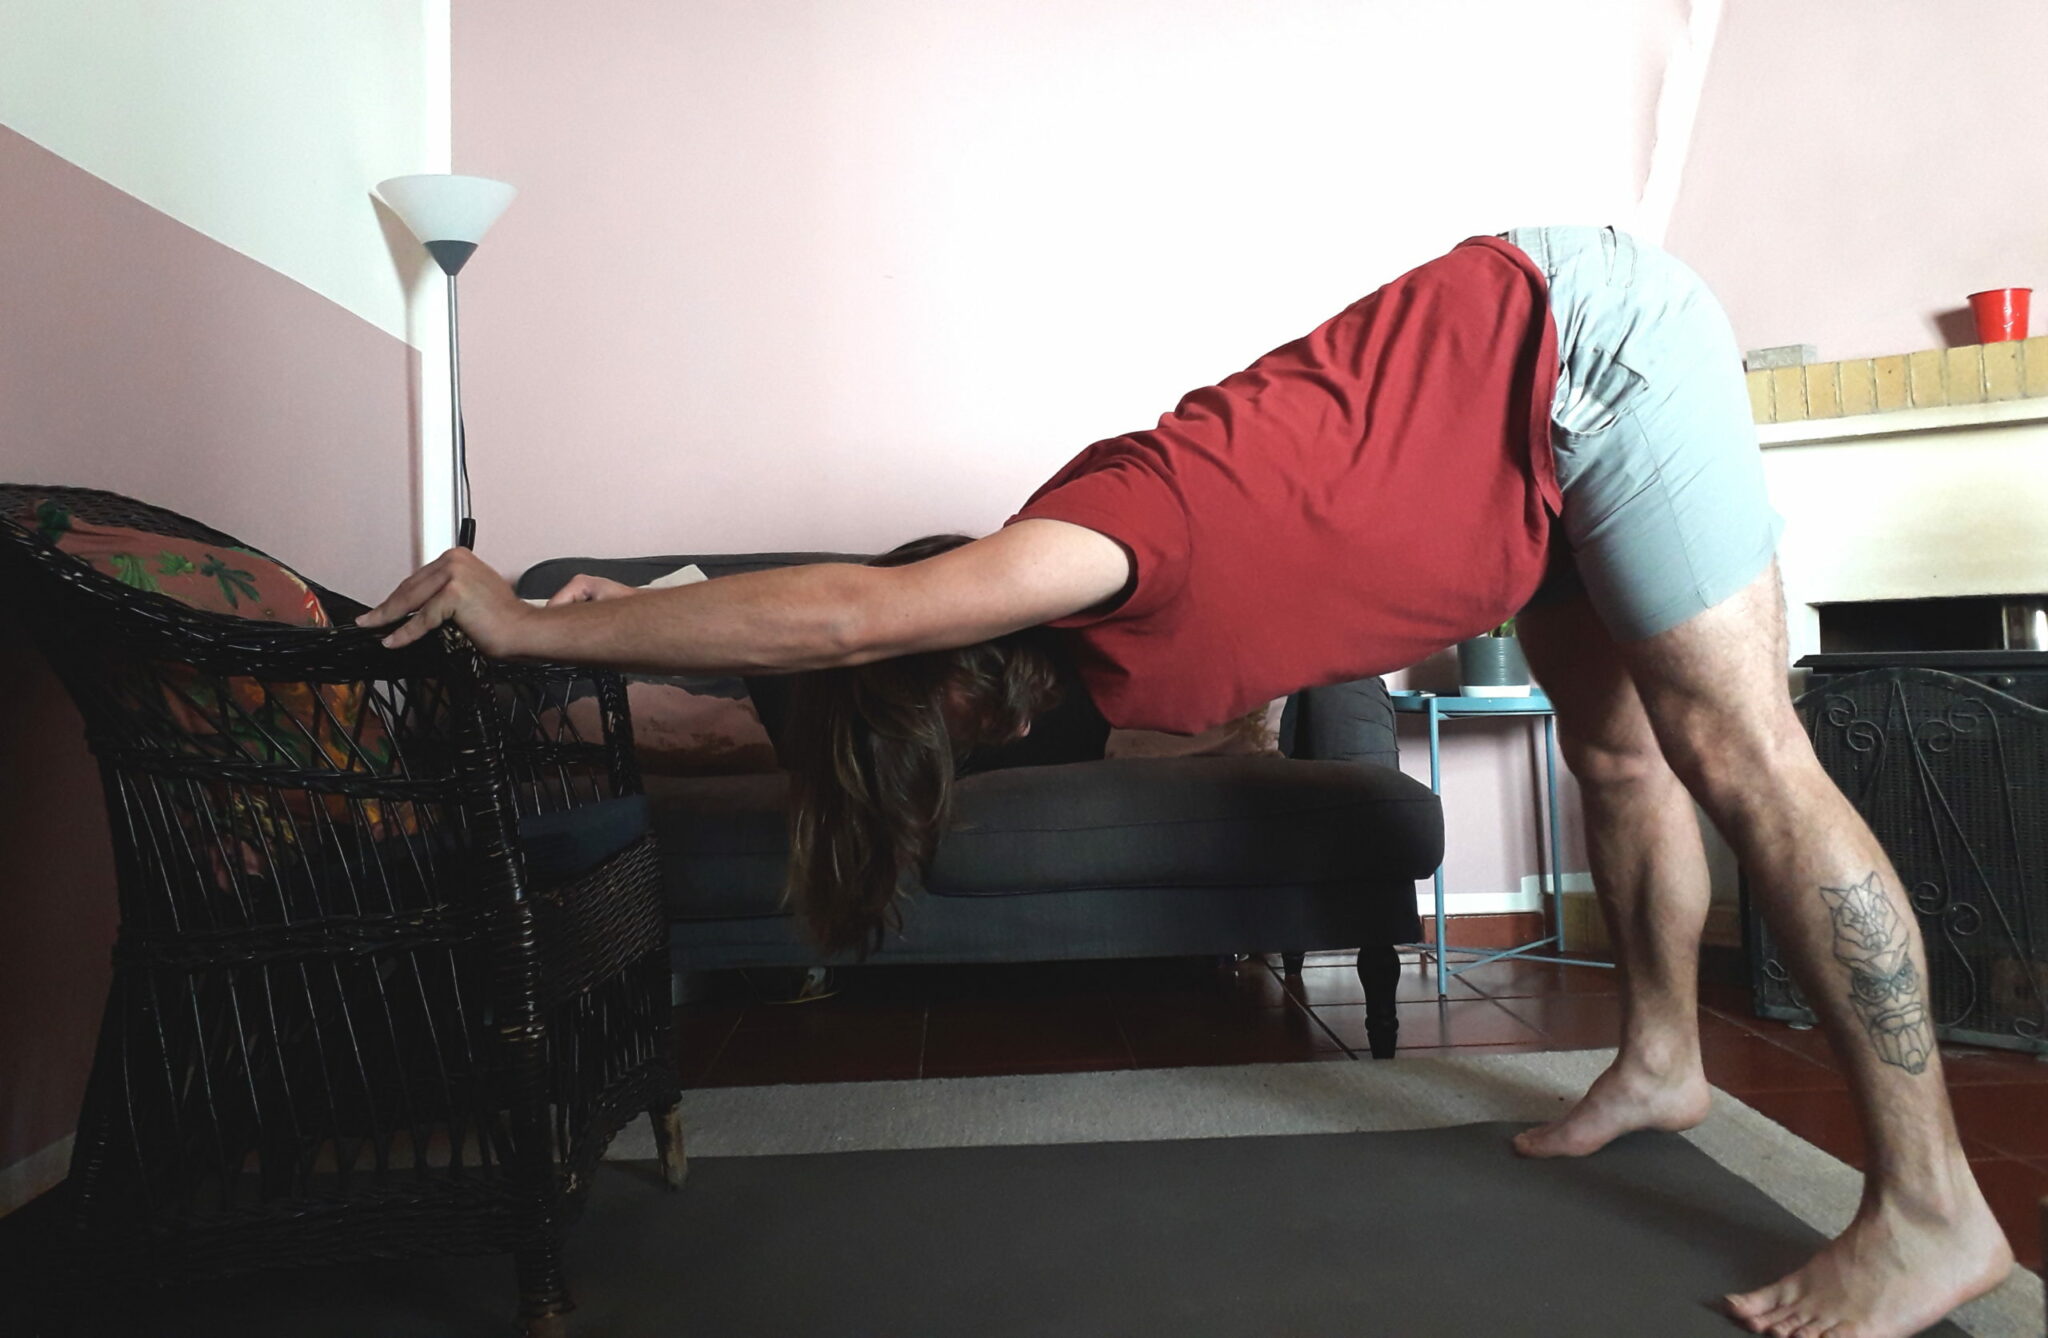
Oh and you also have to make sure that the chair is steady, so best to place it next to a wall so it can’t move. I didn’t think of this at first and I kind of fell over onto my mat…
And another great thing about using a chair is that it is easier to open up the shoulders this way. So, even if you aren’t overweight, you can just use a chair to get a good stretch for your shoulder blades.

