
Have you been through some challenging things, or are you still going through them? Then it might be a good idea to make sure that you relax every now and then.
Not is it just a way to forget about your problems, deep relaxation is also good to make sure that you find a way out.
With the latter I mean that this deep relaxation gives you a bit of time to reflect, rather than being in panic mode. When you are freaking out, it’s quite hard to think straight and to see an outcome to the issue you are experiencing.
So, let’s have a look at a couple of great yoga poses that might help you out and bring you in deep, ultimate relaxation.
Before I continue, I’d also like to mention that there is a Yoga Nidra for people with anxiety that I’ve narrated. Feel free to have a go with this as well to achieve the goal of deep relaxation.
Click here for more information about this free Yoga Nidra.

5 Yin Yoga Poses for Deep Relaxation
Before we have a look at the five poses you’ll be able to do after reading this article, there are a couple of things that I need to mention first.
When you are going through a lot of stress, don’t be alarmed if yoga doesn’t relax you in an instant. It is possible and I’ve seen it myself, but sometimes you’re too much in your head and then it might take a couple of times before yoga starts to kick in.
Just keep on trying and if you see results after a couple of weeks, that will be really great. And if not, maybe you aren’t the type for silence during your yoga practice. There are many more yoga styles to choose from, so pick wisely.
And then the last remark, for a lot of these positions you’ll be needing a yoga bolster and/or strap. Even though it’s not really necessary to buy, I will explain a couple of tricks on how to deal with these asanas without the need to buy props (although it is advisable if you are having a steady practice).
Supine Bound Angle
Shall we have a look at the first pose now?
Great! Let’s do it!
This asana is also known as Supta Buddha Konasana, which has a nicer ring to it than Supine Bound Angle. And what it’s best known for is Supine Butterfly Pose.
For this pose, you might be needing a Bolster and a Strap, although it’s not really necessary. You can go into a deeper position if you’d like, although if you’d rather really go for the relaxation, these props will definitely come in handy.
Supta Baddha Konasana Without Props
To do this asana without props, you might need some flexibility. I will explain it though as someone might benefit from this position. And it’s also actually the base form of this yoga pose.

Instructions:
To start, you’ll be in a seated position.
You bring your feet together, and make sure that they are pressed together.
When you are seated like this, you’ll slowly bring your back towards the mat. Your hand will support you in this process.
When you are on your back, release your arms to the side and make sure that they are relaxed.
You can stay in this position for 3-5 minutes.
Cautions:
People who have knee or groin injuries should better not practice this asana. If you do want to do it, I strongly advise you to put blocks underneath your knees to raise them. This lowers the pressure on the knees and groin.
Pregnant women should better do this position under the supervision of a licensed yoga teacher.
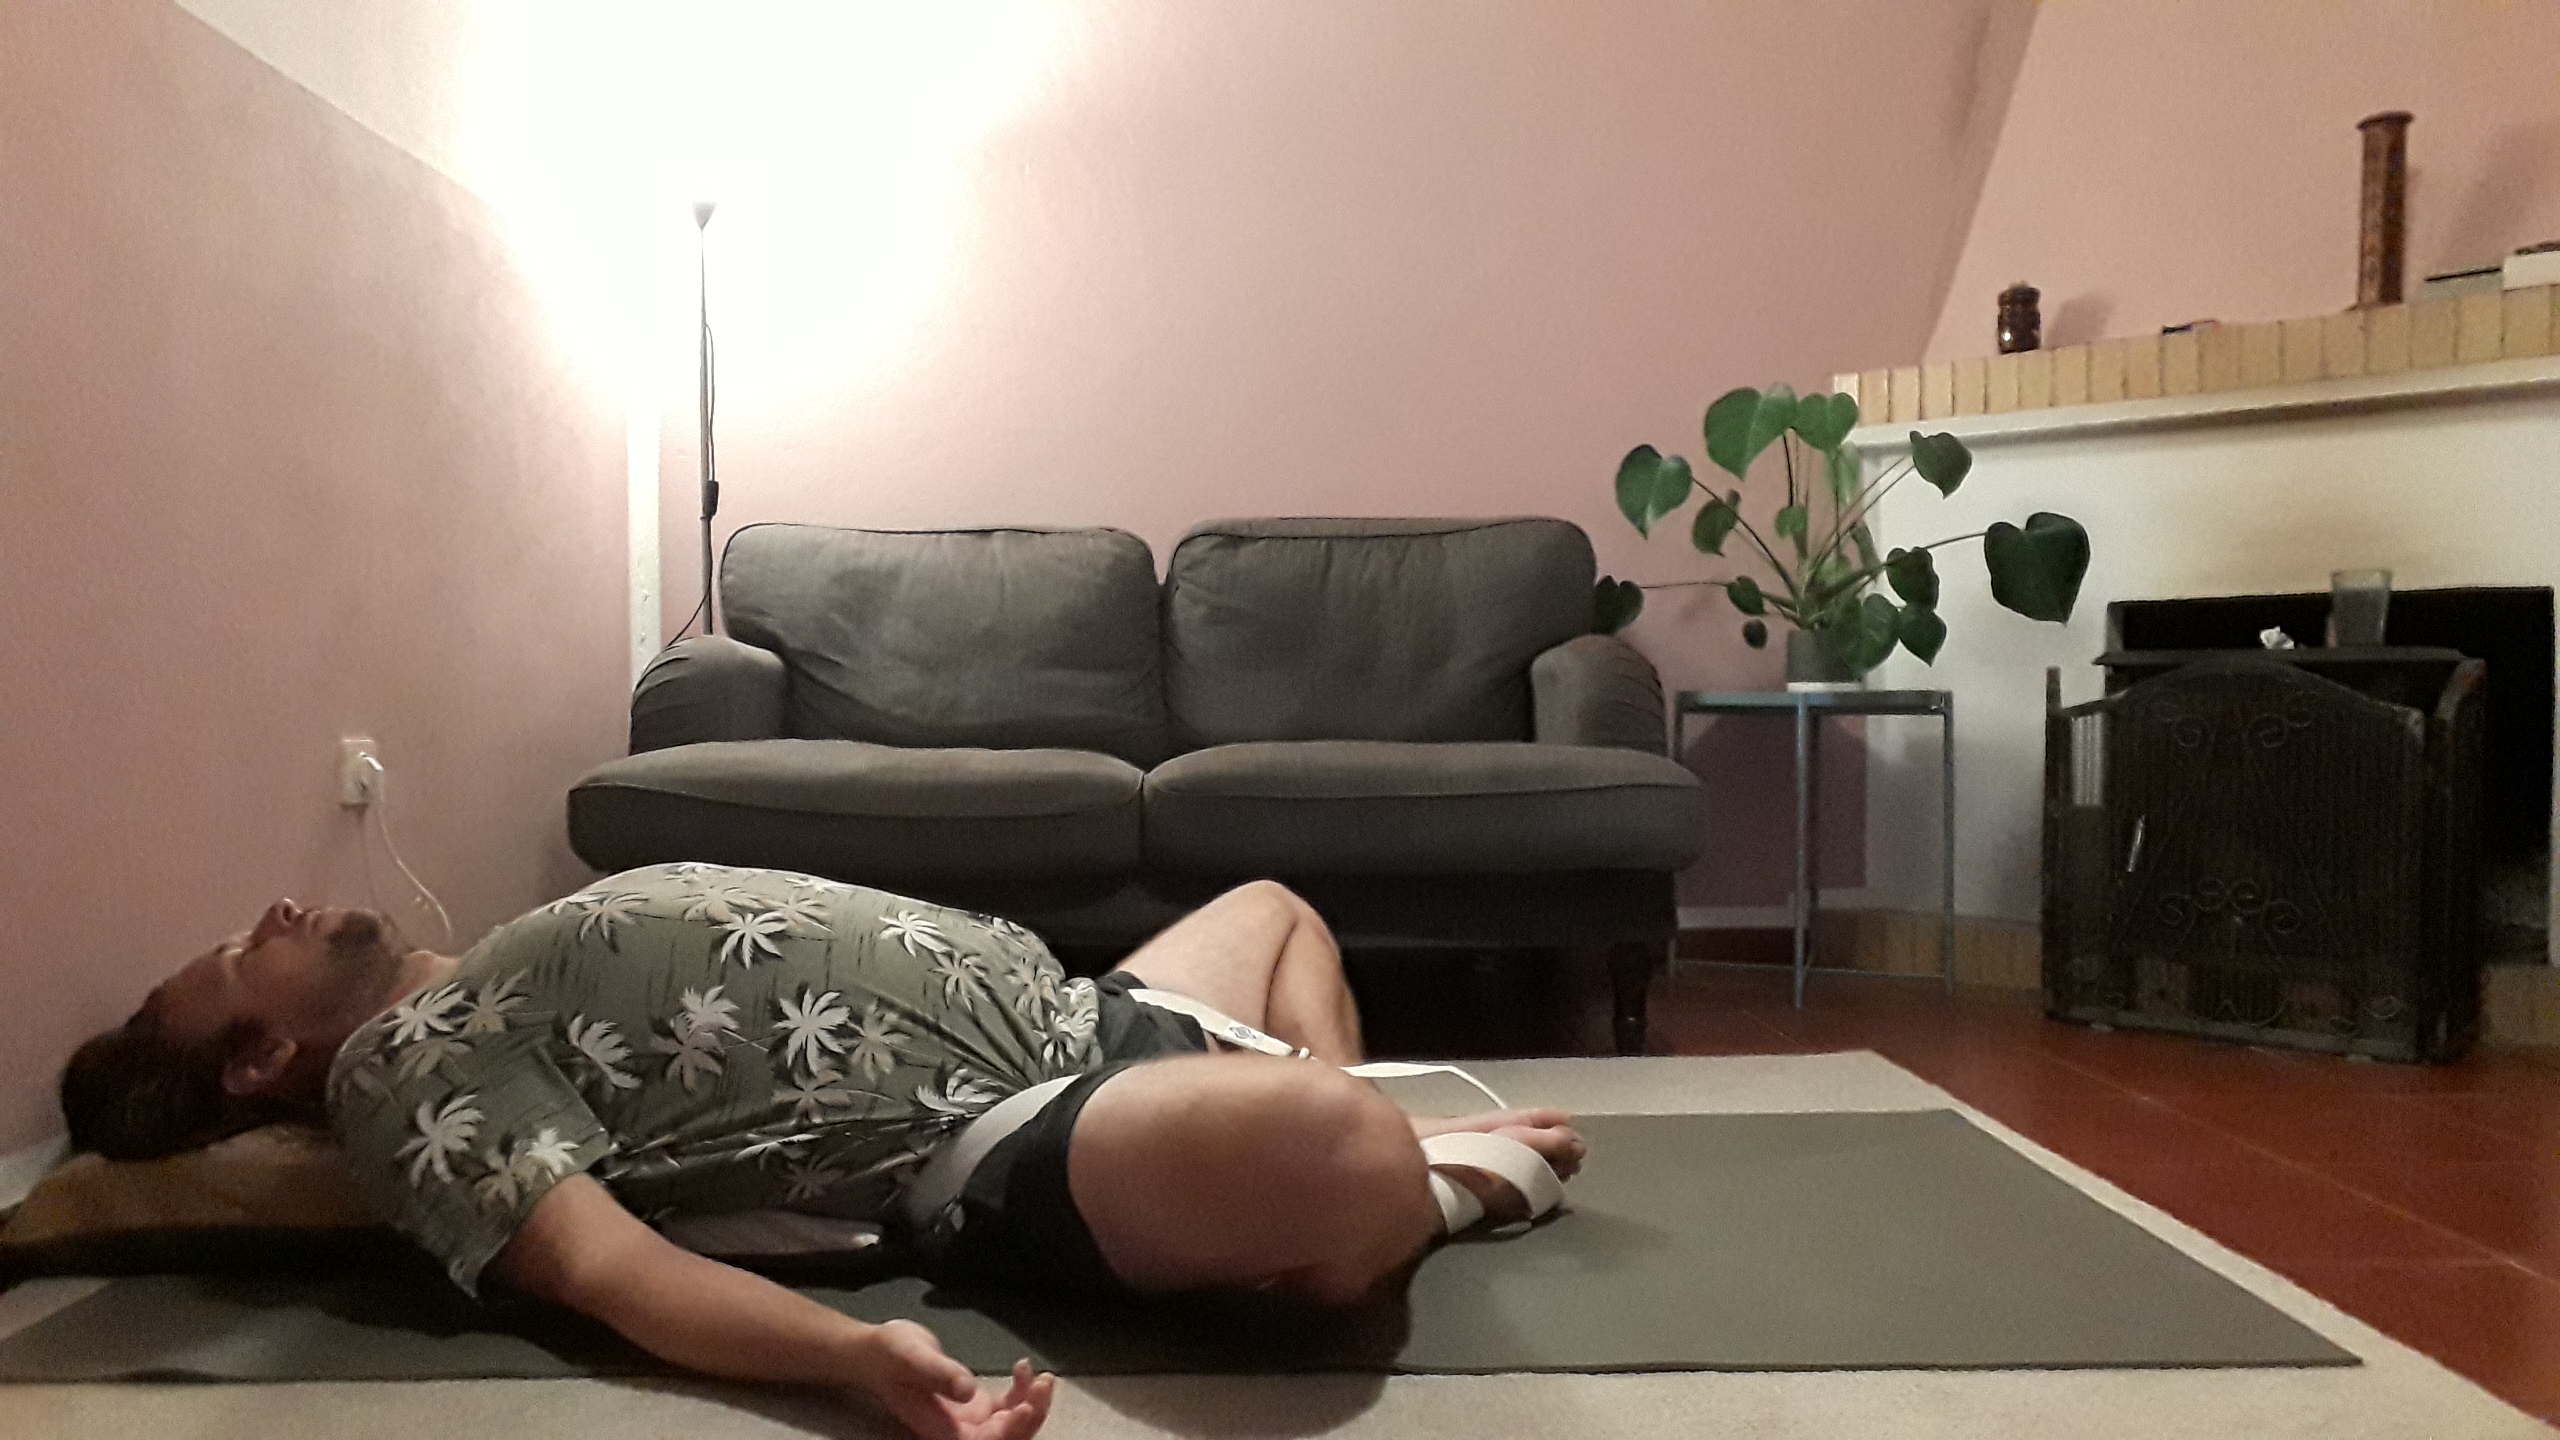
Supta Baddha Konasana With Props
Now that we’ve looked at the plain version of this yoga pose, let’s have a look at the one you can use if you’d really like to go into deep relaxation.
For this, it’s good to have a bolster and a strap, although the strap is not really that necessary.
And as I mentioned before, you don’t really need these props of you are just starting out. You can replace a bolster by using some pillows. I very often use the cushion of my sofa. This is a bit harder and supports your body weight better than the pillows.
If you are serious about deepening yourself into yoga, I would strongly advise on getting yourself these props though. They are often used in yoga practices and they aren’t that expensive either.
Instructions:
First of all, bring your feet together and bring them slightly towards your groins.
If you are planning to use a strap, you can make a big circle out of your strap.
This circle you’ll be putting around your waist and around the arches of your feet.
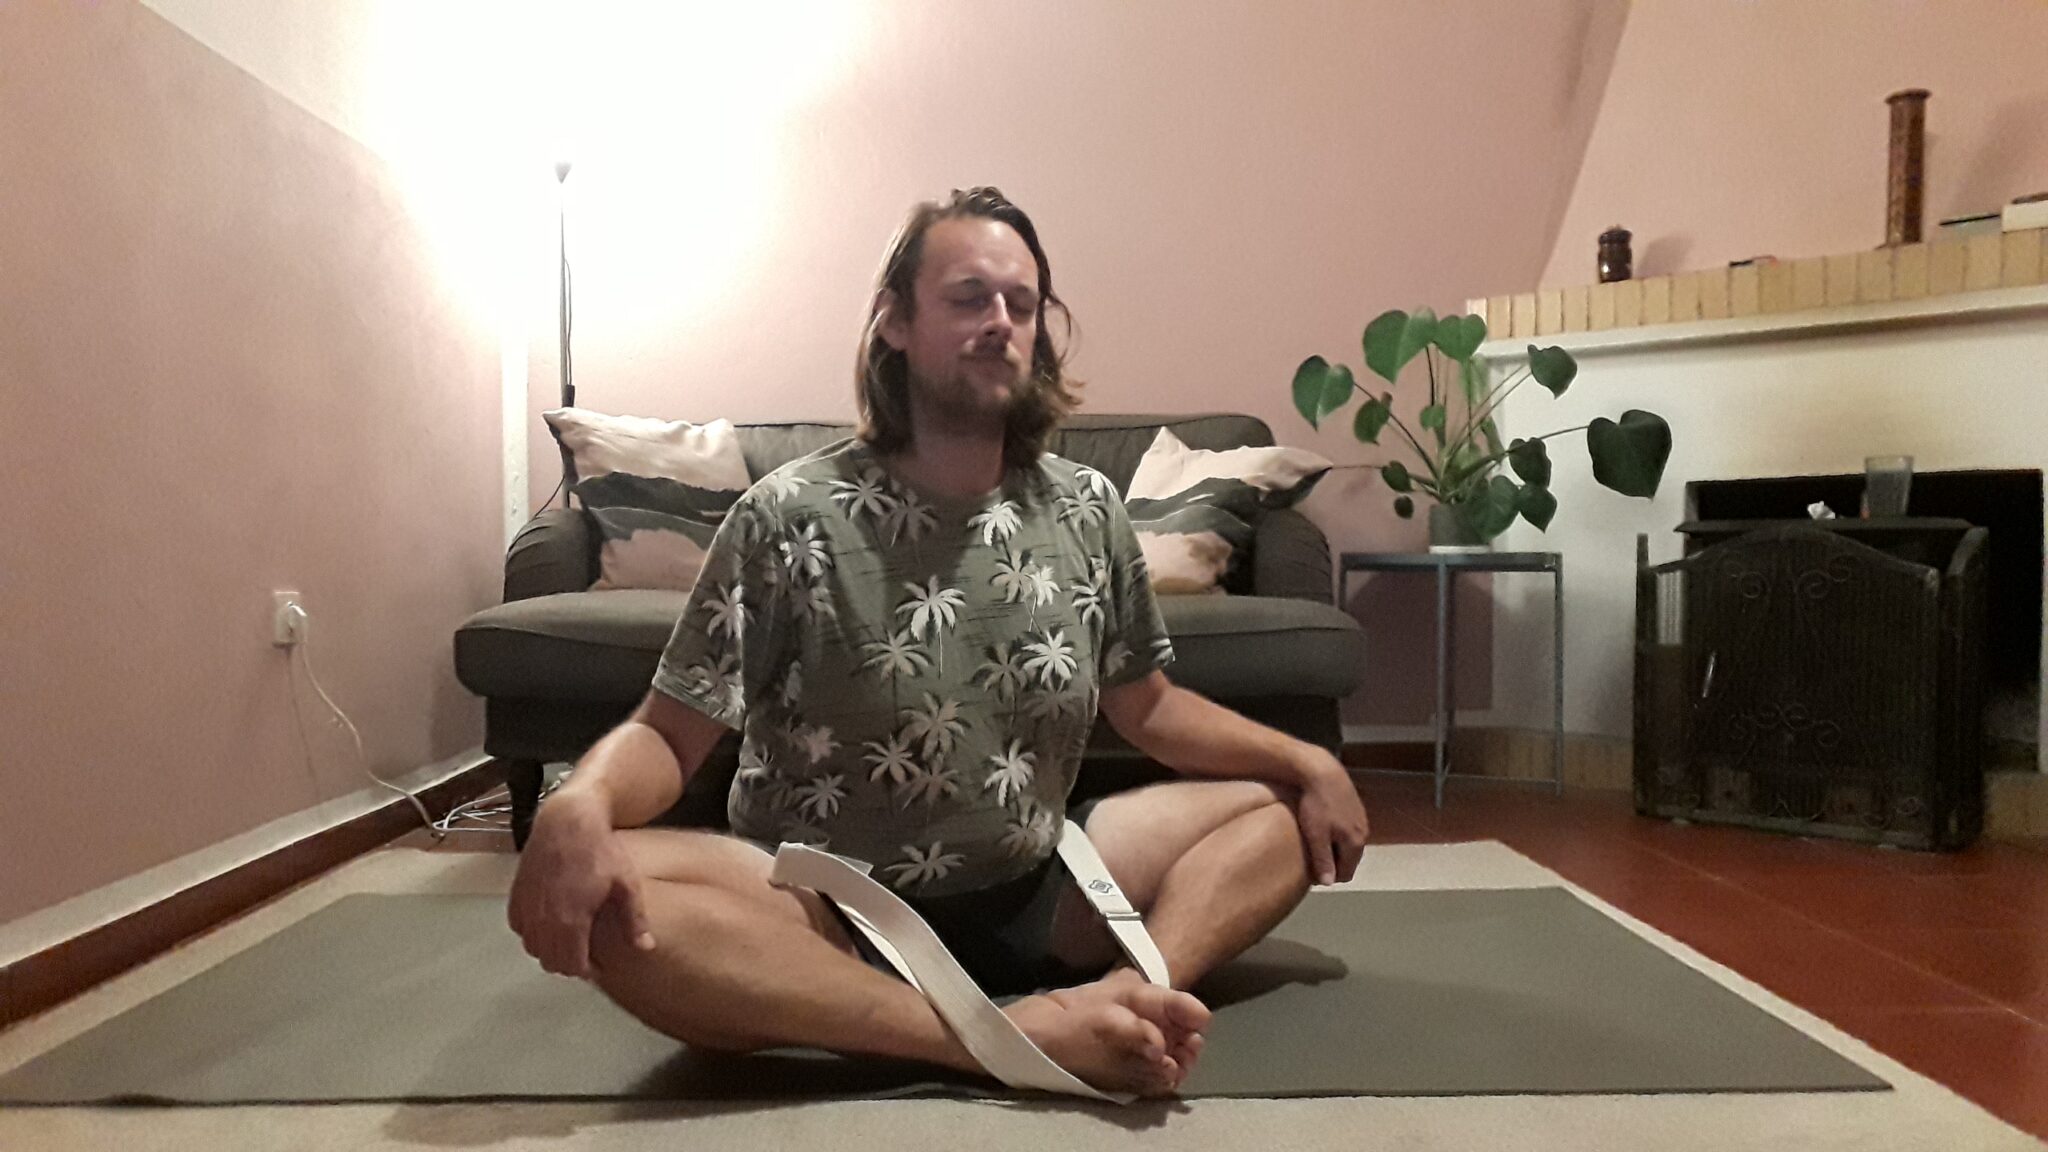
You can tighten the strap or loosen the strap to your desire (to the spot where you feel the stretch, but not the pain).
Before you go and lay down on your back, put the bolster behind you. The end (or beginning) of the bolster should be right behind your lower back.
When you’ve done this, you can slowly lower your back towards to bolster.
You can stay in this position for about 3 – 5 minutes.
The same cautions are applied as the regular Supta Buddha Konasana.
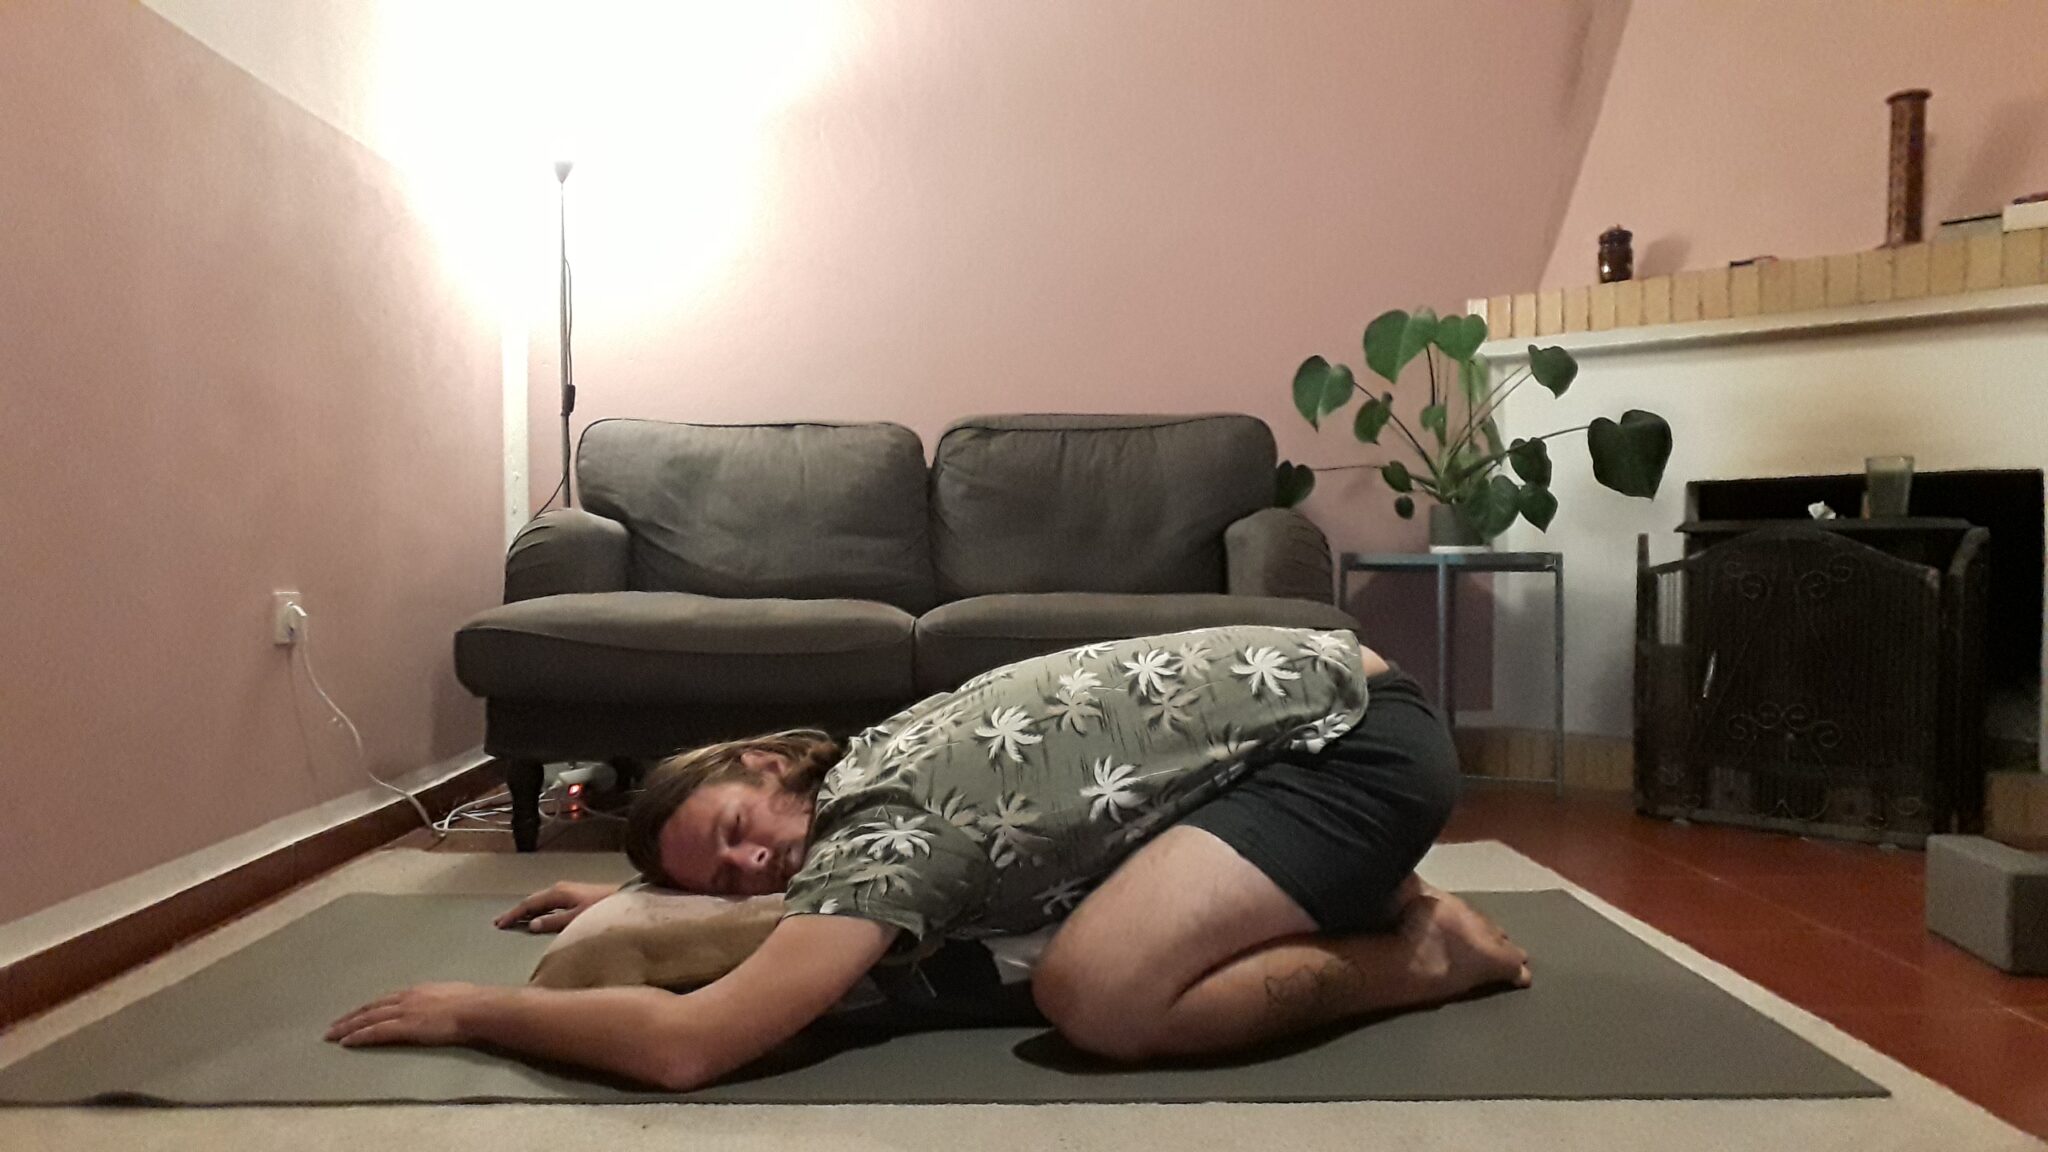
Supported Child’s Pose
This might as well be one of my favorite supported yoga poses. The regular child’s pose I’ve already talked a lot about in this article, so I won’t include it in this one. To make sure that this article won’t become a whole library of yoga poses.
For the supported Child’s s pose, however, we’ll be needing a bolster or a lot of pillows.
Instructions:
Start by sitting on your knees. Big toes are touching each other.
Widen your knees a little.
Place the bolster in between your knees.
Fold your upper body over your bolster.
Arms can stay in line with the bolster or can be relaxed next to you.
You can stay in this position for 2 – 5 minutes.
Cautions:
If you are experiencing knee pain in this position, you might want to put a blanket or towel underneath your knees to soften them into this position.
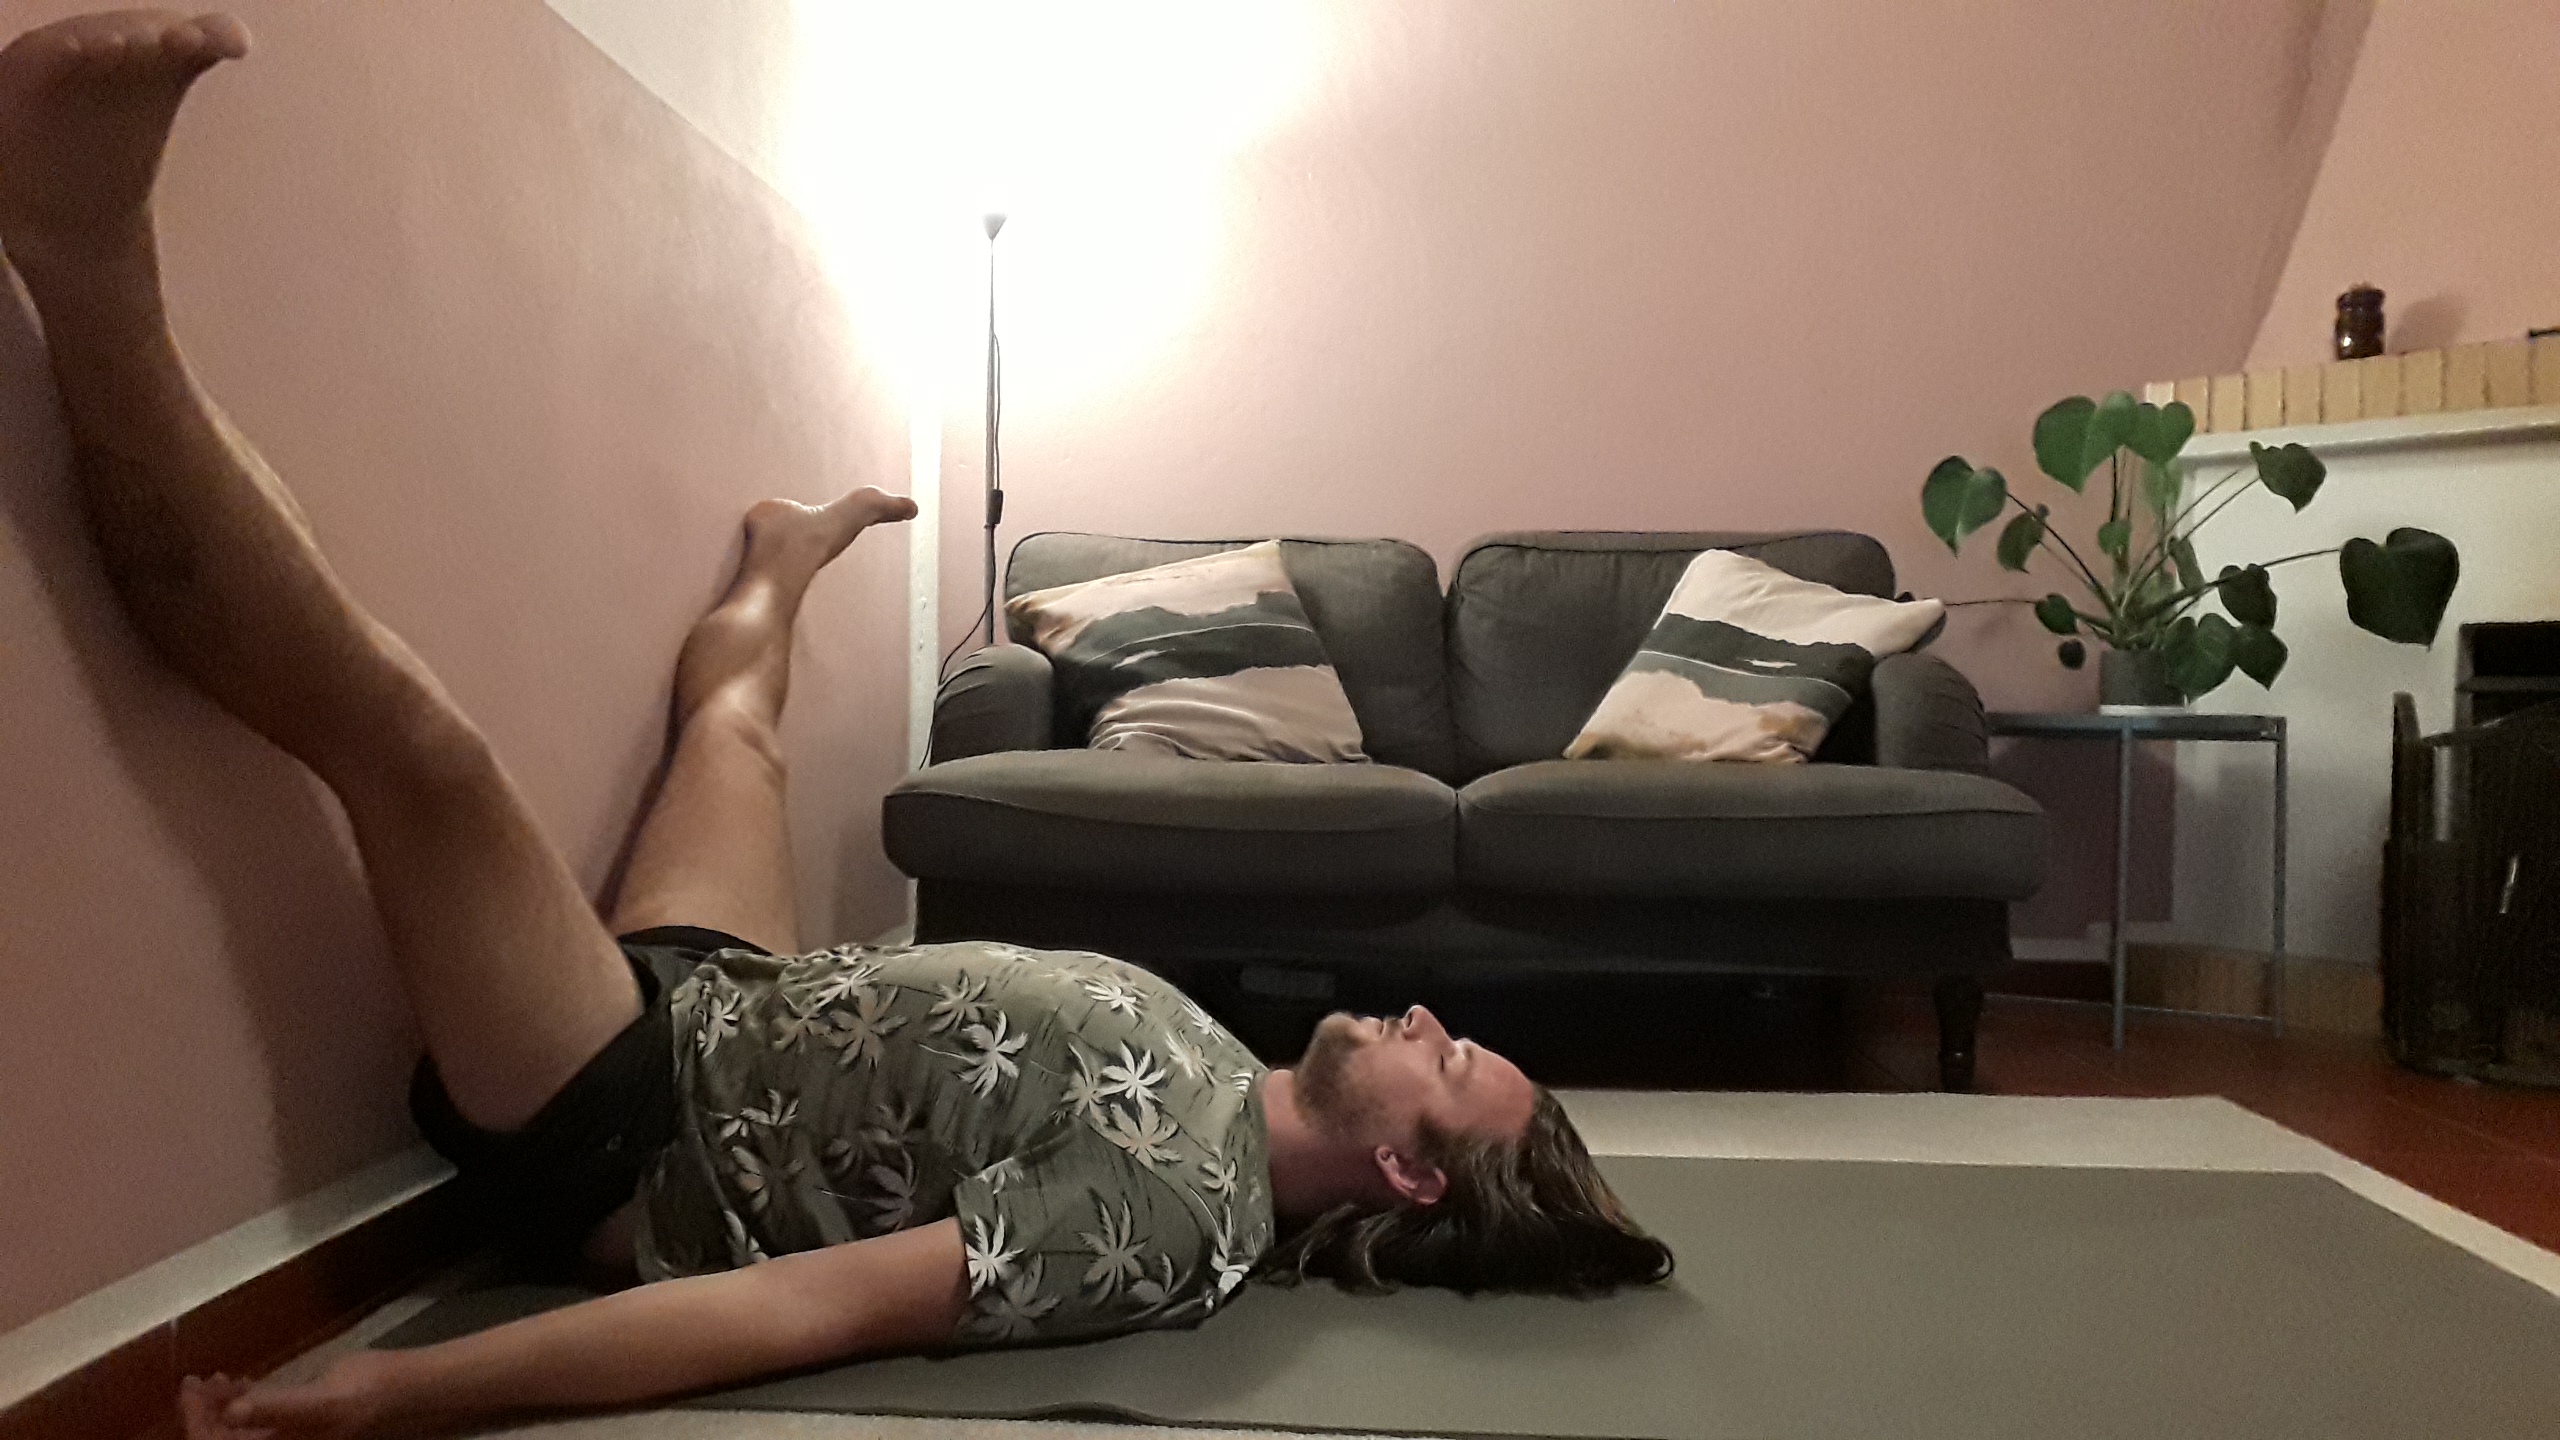
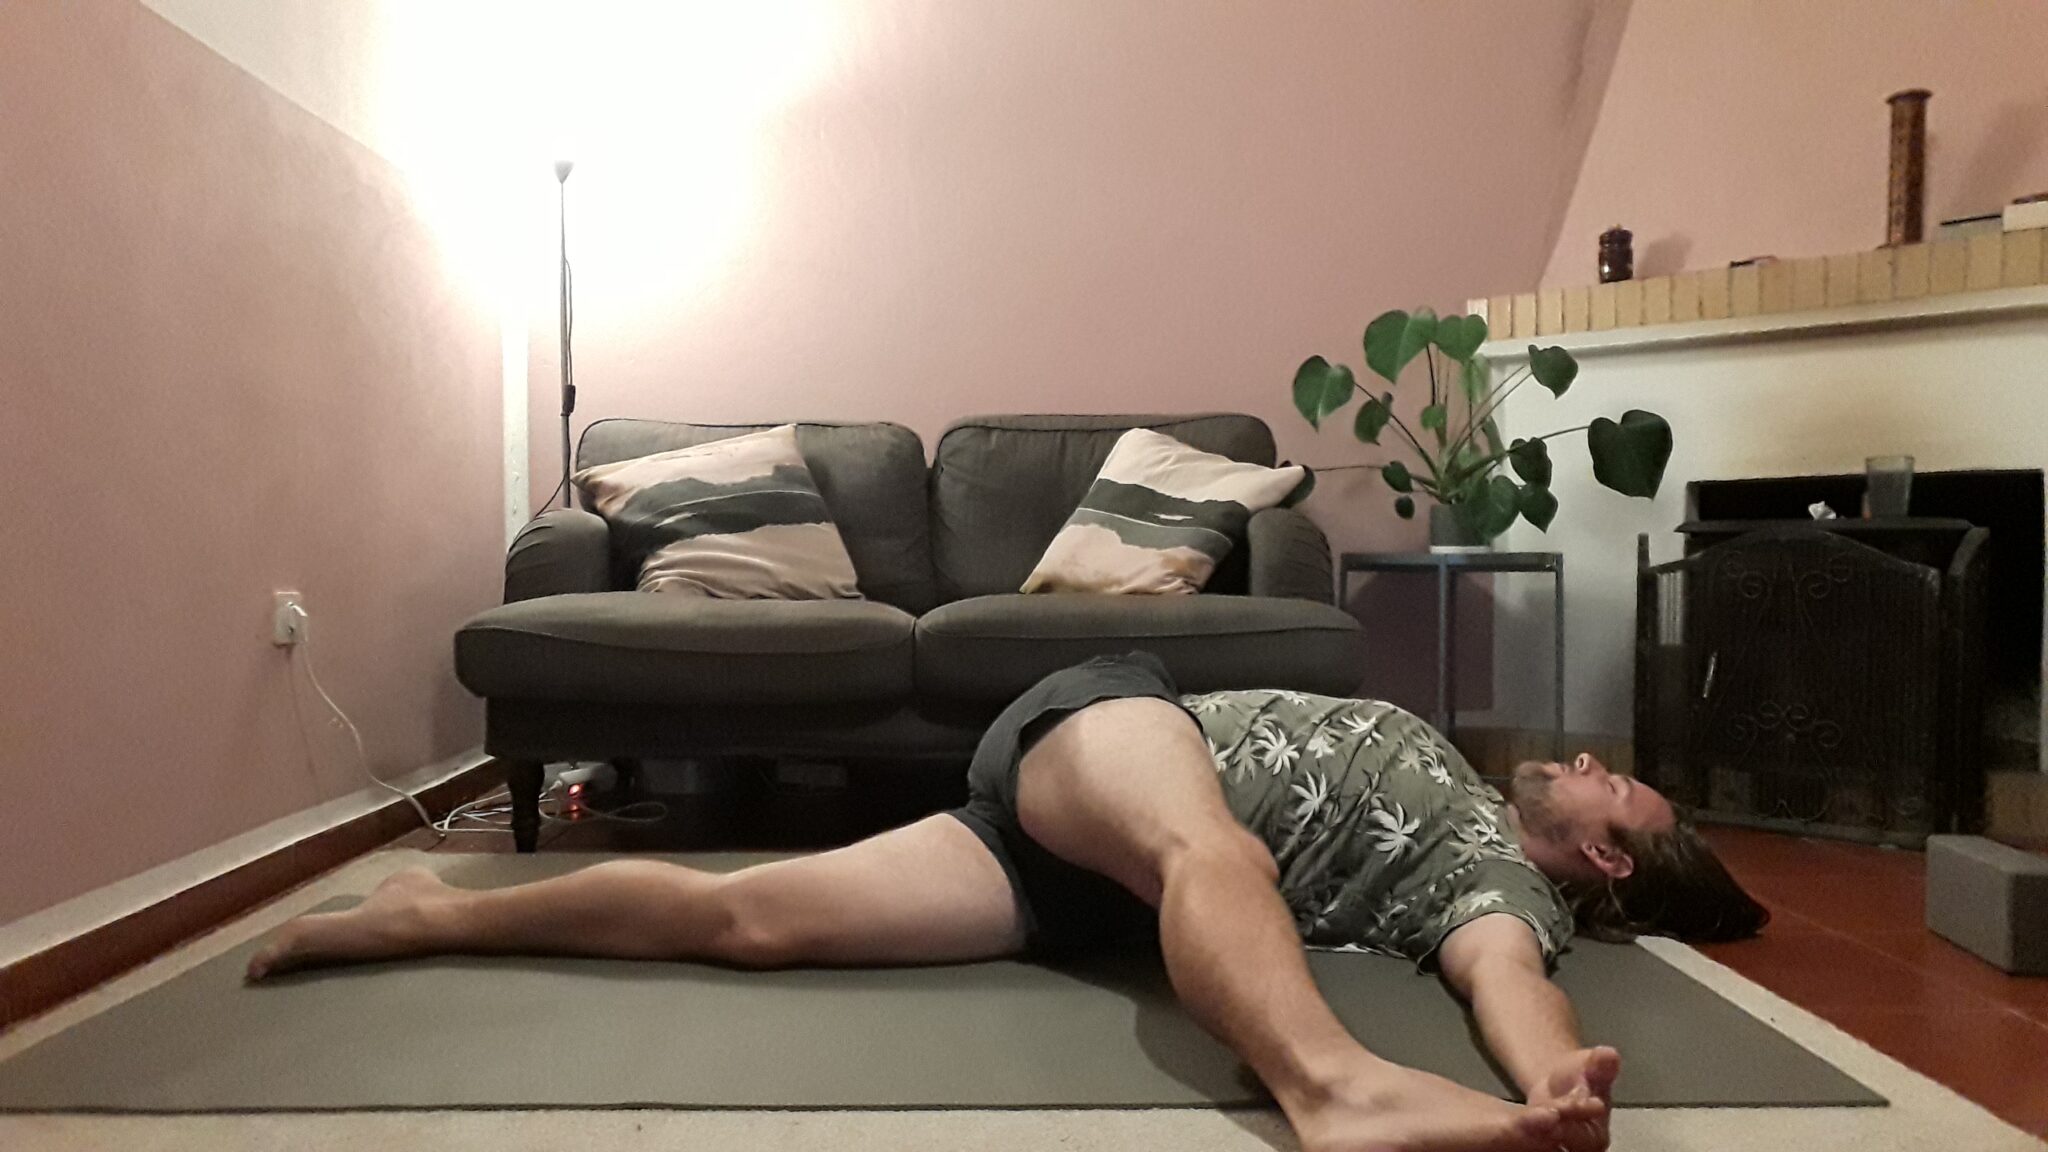
Legs Up The Wall Variation
This asana I’ve also mentioned a couple of times in one of my articles. But for this one, I’ll be talking about a variation that induces more relaxation (yes even more relaxation). And at the same time, it will give you a nice stretch in your inner thighs.
For this asana, you won’t be needing any props, except for a wall. This pose might be a bit harder to do in the open air, but most of the time we’ll be doing yoga inside anyway.
Instructions:
Place your mat against the wall.
Sit with one of your hips right next to the wall while your knees are bend.
Slowly walk your feet up the wall while you are lowering yourself. Your back will touch the mat while your feet are up in the air. They are supported by the wall.
You can decide to stay in this position or go for the next variation:
Gently let your legs fall open to the side. You don’t really have to walk your feet down, let gravity just do its work.
You can stay in this position for about 3 minutes.
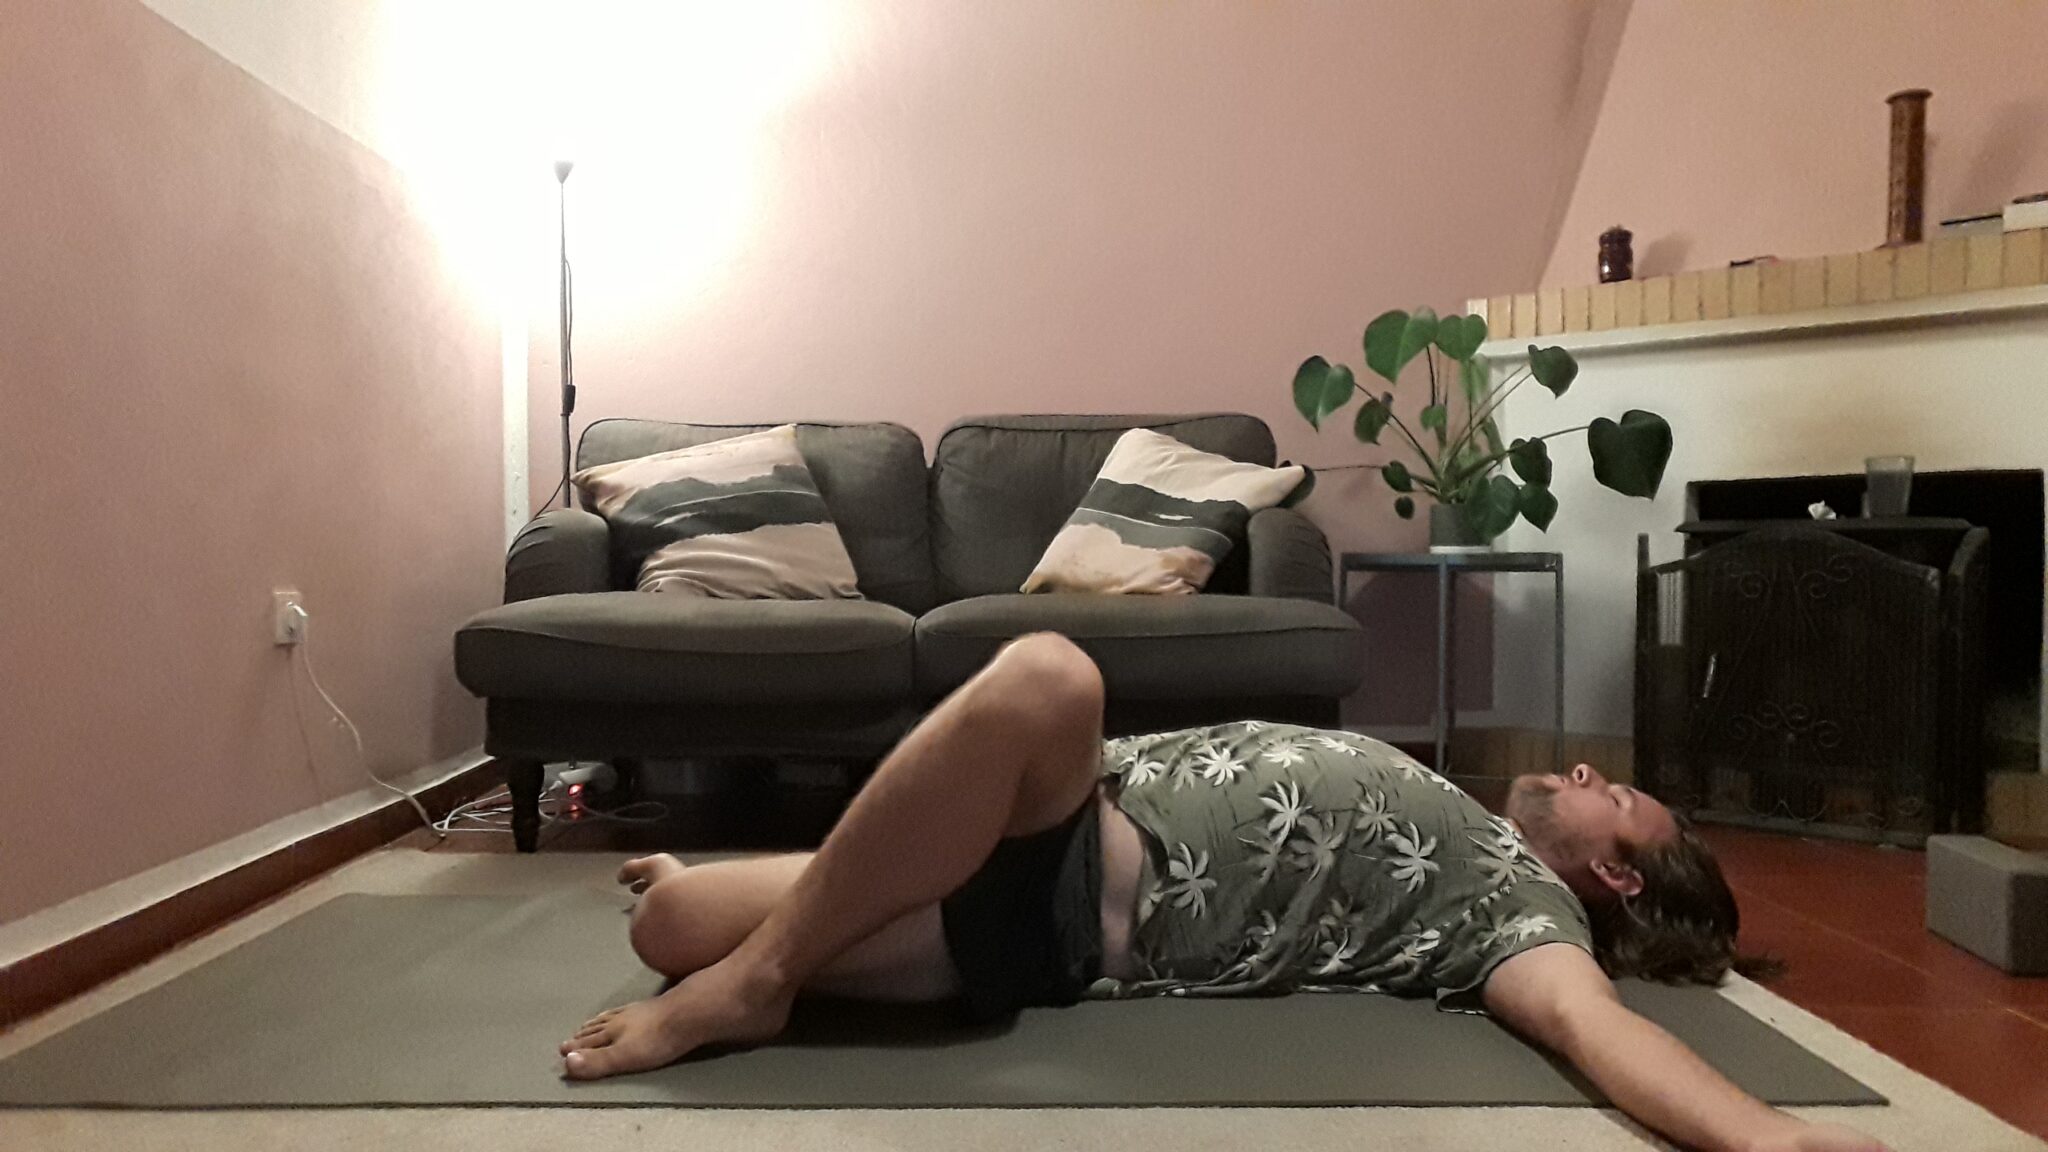
Supine Spinal Twist
Oh man, what do I love a great spinal twist. Within this spinal twist, we’ll be giving quite a stretch to our spine, so people with back issues better don’t do this asana.
Again, for this asana we won’t be needing any props.
Instructions:
When you are on your back on your mat, put both your feet into the mat. Bend the knees.
Put one of your ankles on top of the opposite knee.
Now lower that knee sideways until it reaches the mat.
The other foot is planted into the floor.
If this already gives you enough of a stretch, you can stay here if you’d like.
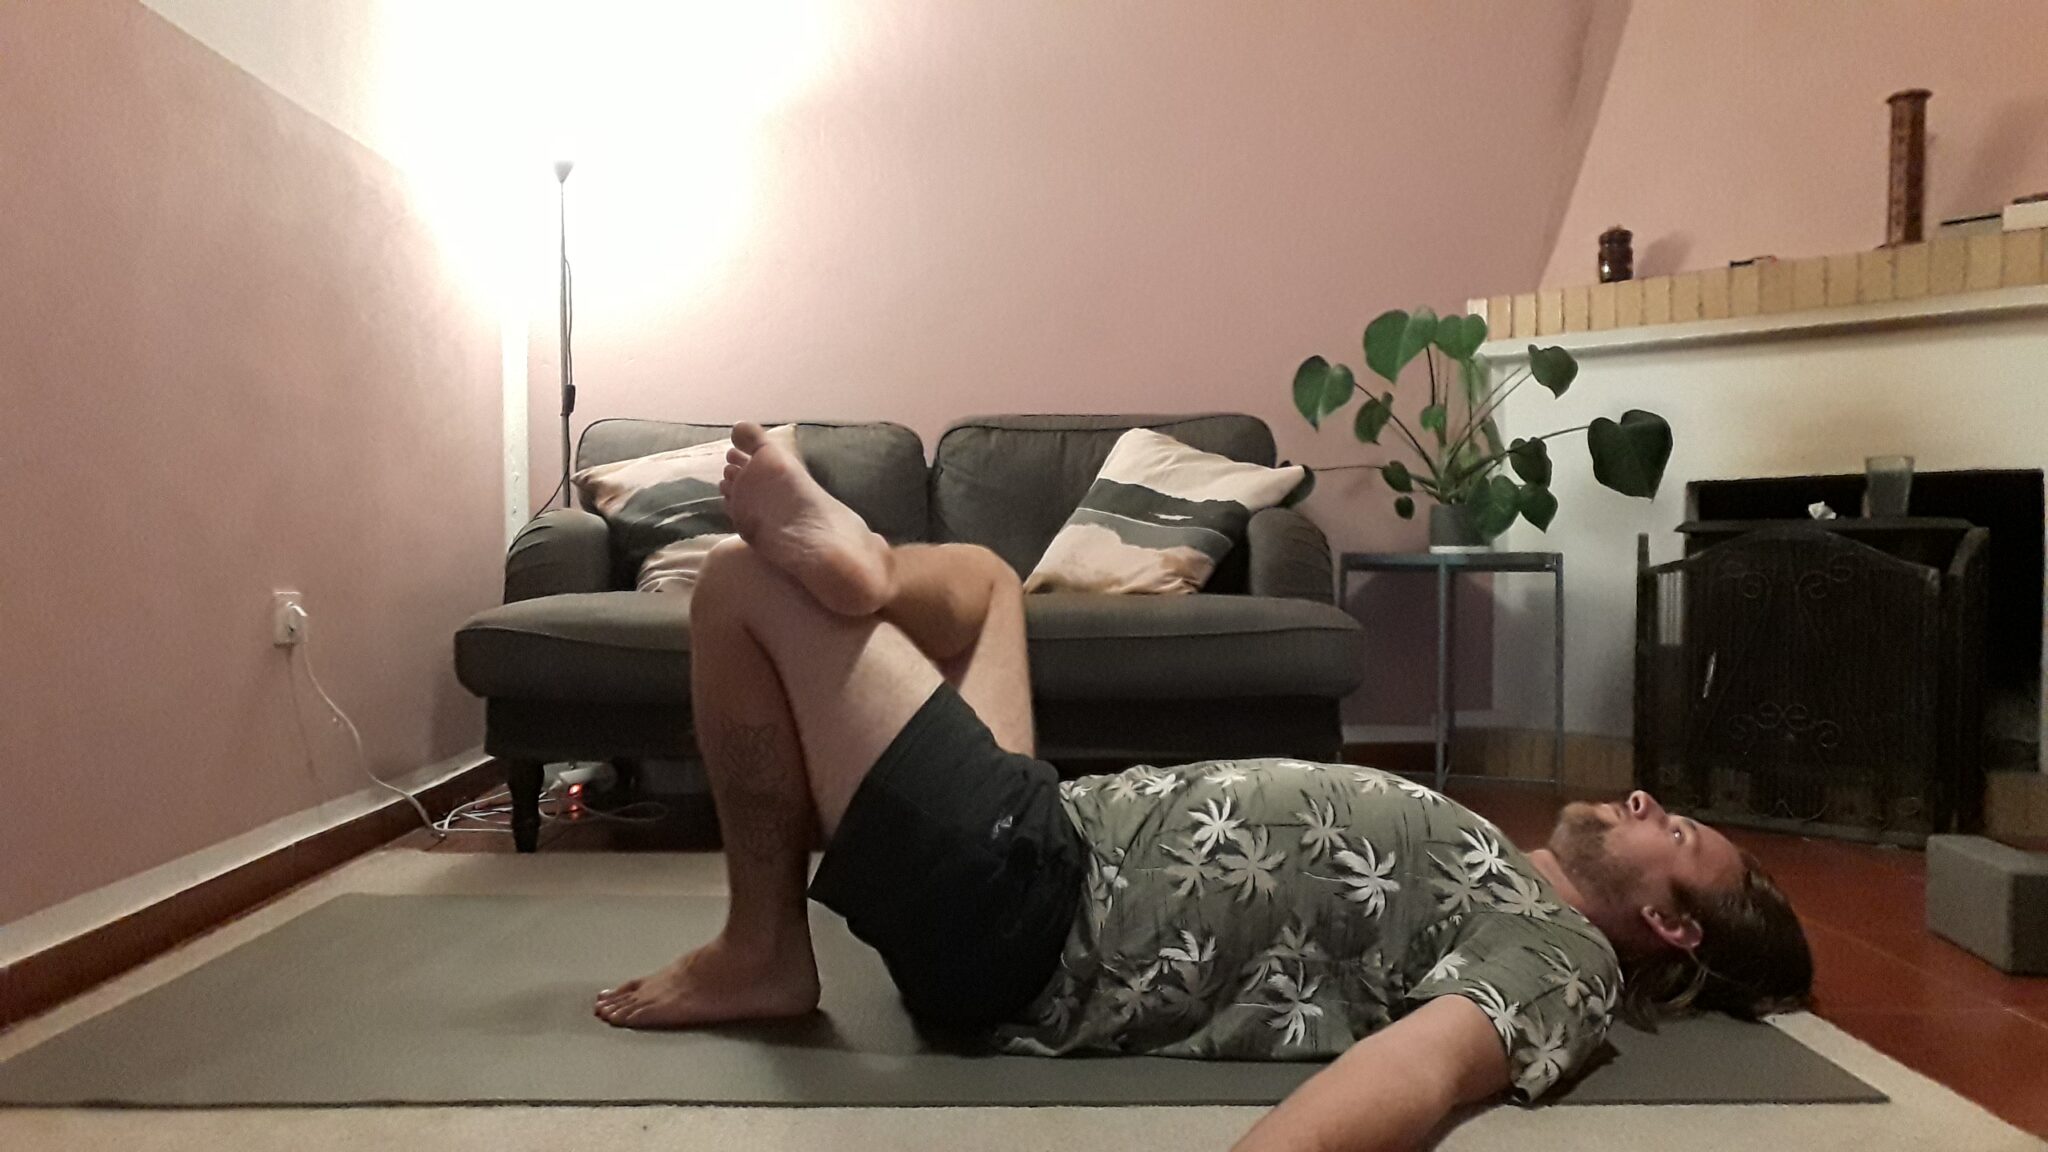
You’d like to go any deeper? Well, then you might want to stretch the upper leg as well.
Your arms are in one line with your shoulders on your mat. Make sure that your shoulders stay on the mat in this position.
Your head can be centered or you might decide for a neck stretch as well by bringing your head towards to other direction.
Make sure you don’t forget to do the other side as well!
Each side will take about 3 minutes. So a 6 minute total.
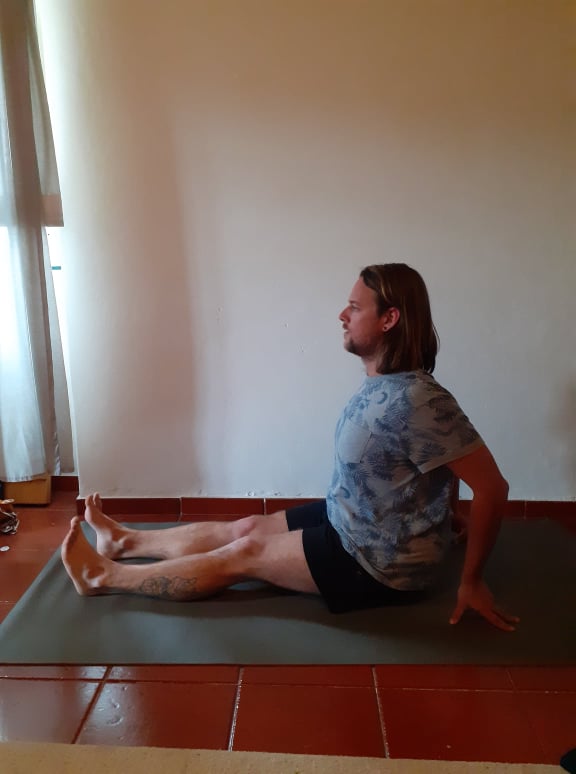
Supported Seated Forward Bend
For this position, we’ll be going into a forward bend. But as this stretch might be a bit too deep, we’ll be doing a supported one. For the purpose of going into relaxation, it might be wiser sometimes not to go too deep into an asana.
The Supported Seated Forward Bend would need a bolster or a lot of pillows.
Instructions:
Start in a seated positions with your legs stretched out.
Your back stays straight for now.
Put the bolster or pillows on top of your legs. Make sure they are high enough to support you.
When you’ve done this, raise your arms on an inhale over your head.
On the exhale, lower your arms and your upper body until it touches the support.
For more relaxation, you can put one of your cheeks on top of your support. Your arms can just be relaxed on your mat.
You can stay in this position for about 3 – 5 minutes.
Cautions:
If you have tight hamstrings, it might be good to roll up a blanket and put it under your knees. This will make sure that your hamstrings aren’t stretched too much and gives you more comfort.
If you have lower back issues, make sure you don’t go too deep into the position. It might even be better to use a bit more support so you won’t need to bend forward too much. And if it does hurt you too much, it might even be better not to do this position at all.
Conclusion
If you don’t feel comfortable doing this yoga poses by yourself and you’d like to have some more guidance within your yoga practice, feel free to book an online private yoga class with me!
You can also reach out to me by writing something in the comment section down below!
Nama-stay wonderful!
This post is a great example of how to do the yoga poses. You explain them perfectly. They are easy to follow instructions. You also give the information necessary for people who should not do these poses. I carried out your instructions and did the 5 poses. I feel very at ease and relaxed now. Thank you very much for writing this article
That’s great to hear Lisa! Hope you’ll feel relax throughout the entire day!