
We’ve all been there before, we are packing our bags and thinking where to put those meditation props that we all like. That’s why I’ve created my meditation travel box. Here I put a couple of things that I really can’t miss when I’m doing my meditation! And besides that, it’s quite convenient to take with me as it’s quite light and small. It doesn’t need a lot of things to make and you’ll have something to be proud of as well, so here it goes, the meditation box for on the go! Great to take on retreat!
What do you put in a meditation kit?
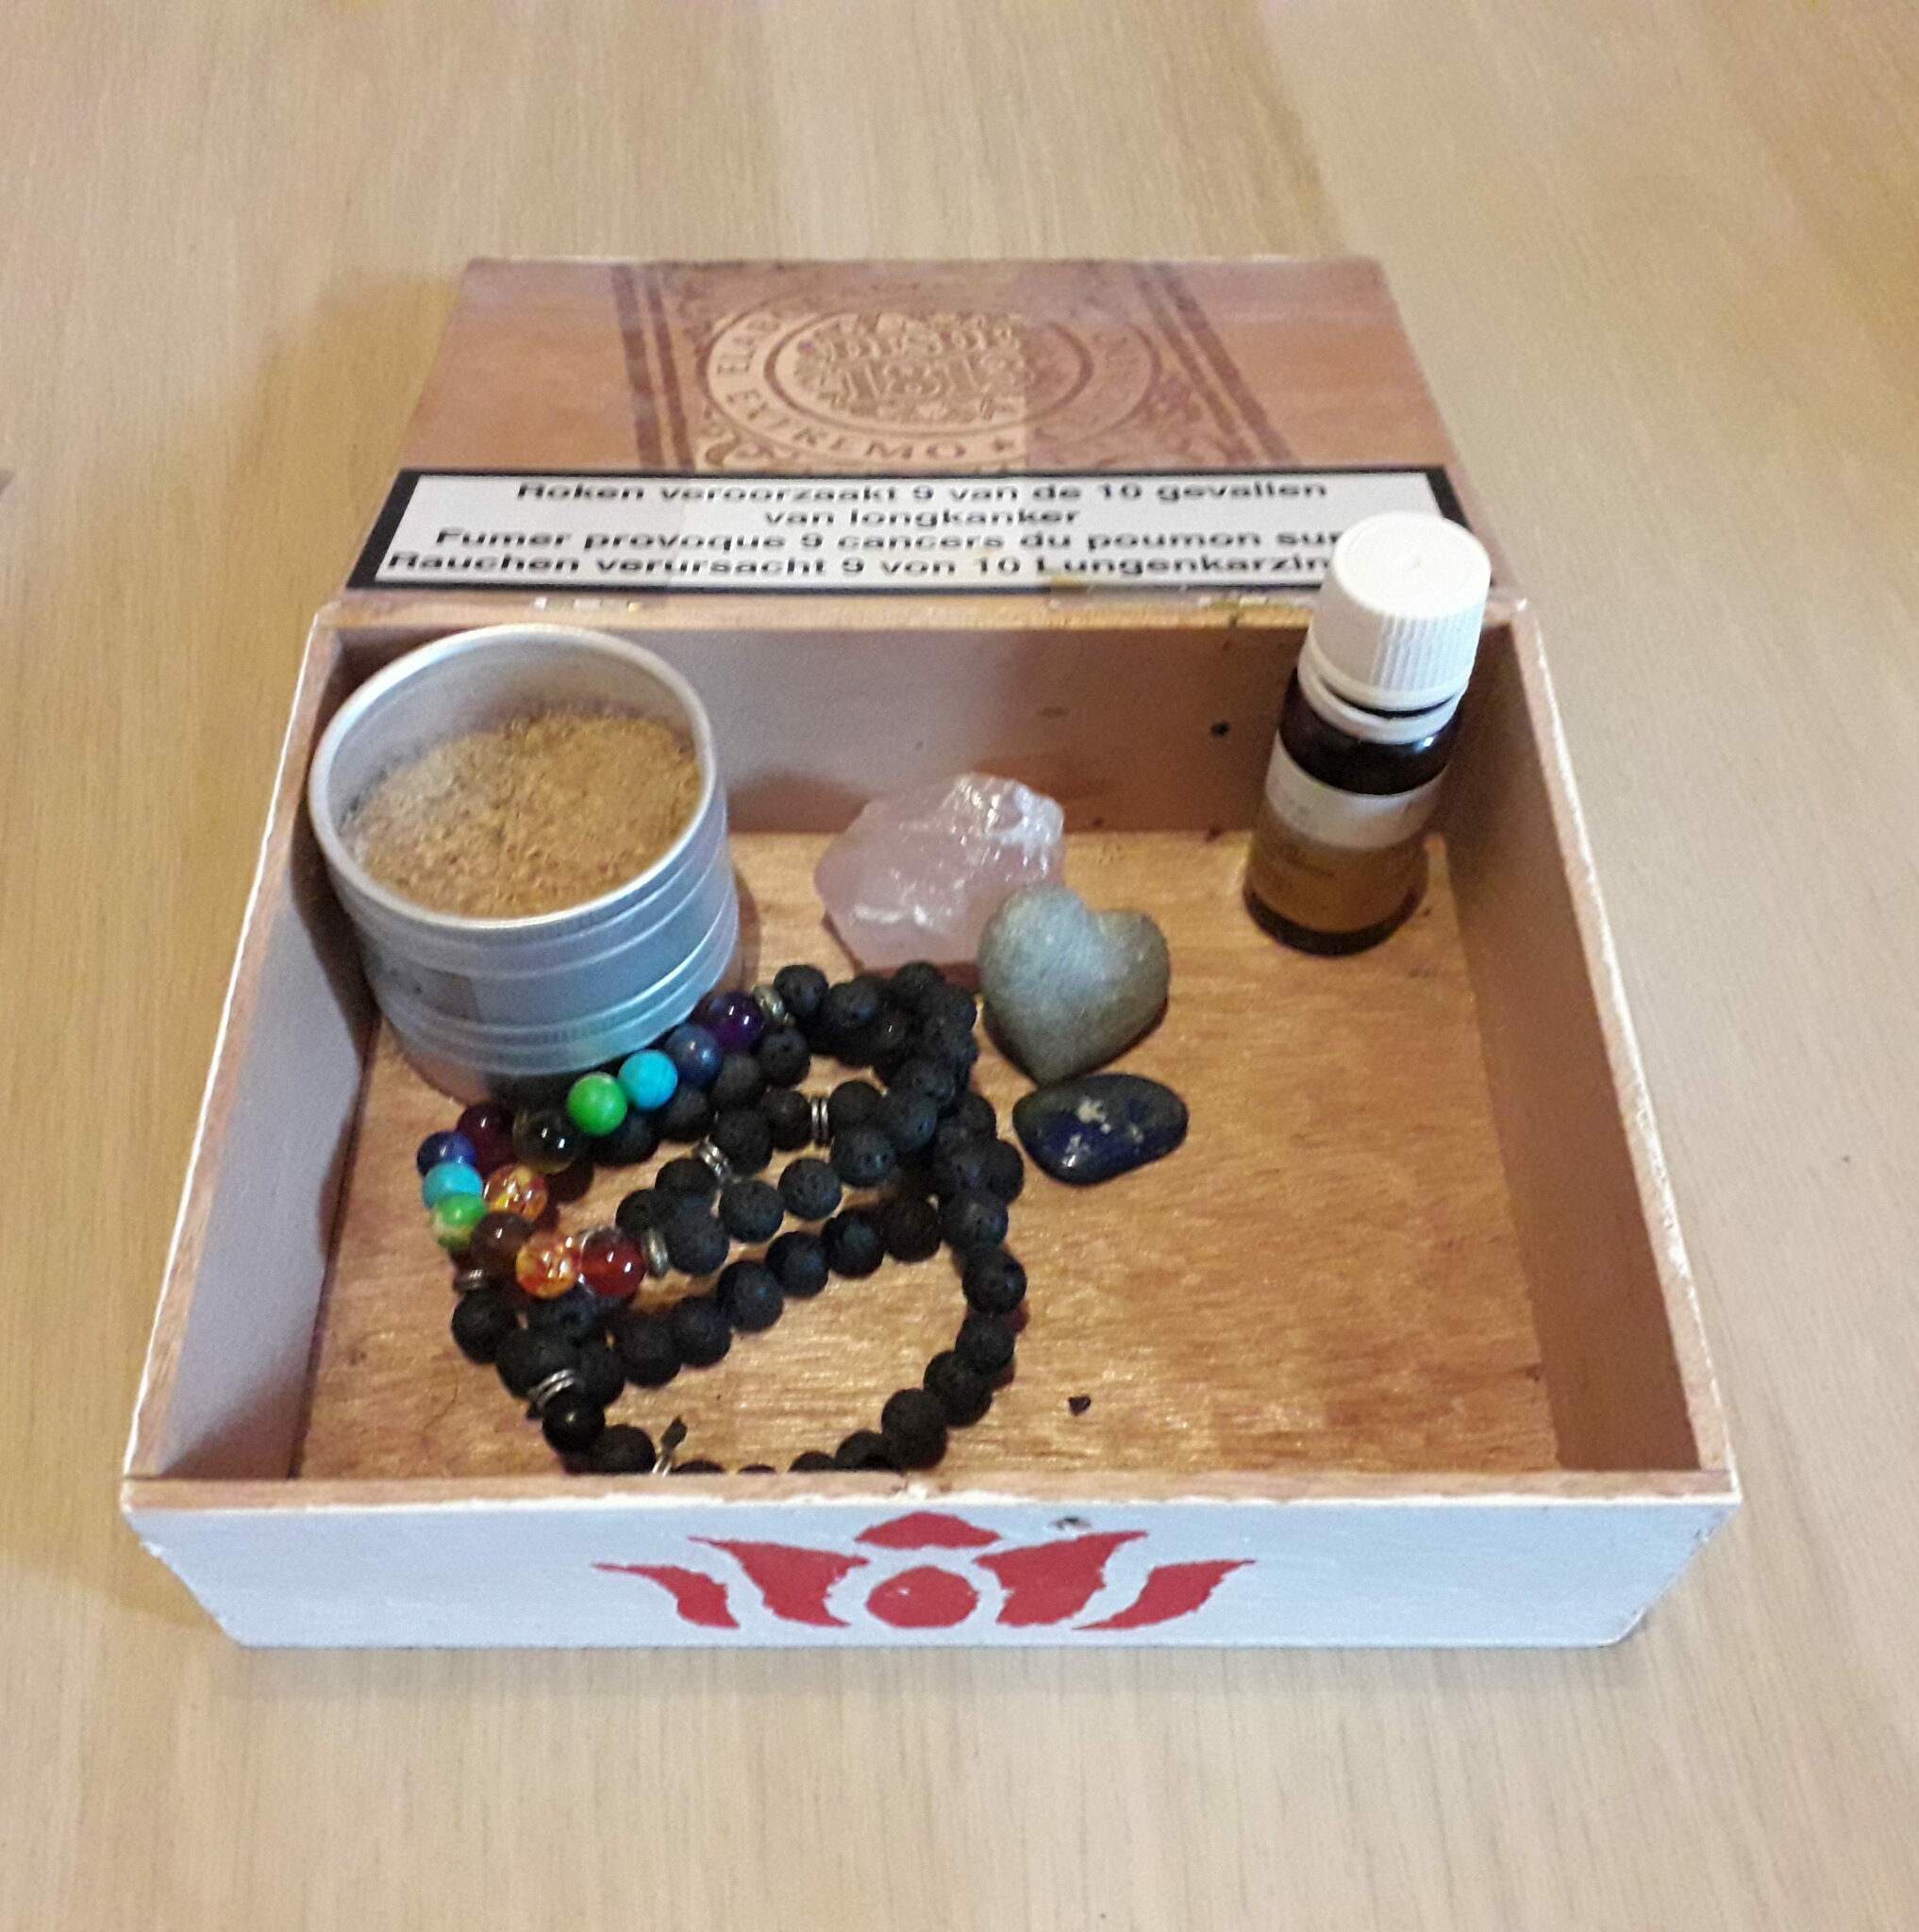
What you put in it is completely up to you. You’ve probably made your meditation place, just for the occasion of your practice. So whatever you’ve put in here, you could maybe put in your meditation kit as well. Of course, you’ve got to be a bit selective as your small box won’t be able to hold everything.
 For example, I’ve found these try-out incense sticks. They came in a box with 14 different fragrances. And every time I took my box with me, I made sure that I packed one of these packages as well. Every package was holding 4 sticks. If I needed more than that, for my long journeys, I packed a couple more. Oh, and with these incense sticks, it would also be a good idea to have a small incense stick holder to put in it as well. These days you’ve already got like these small flower-shaped holders which are perfect for your box.
Besides that, I love my rose quartz. I didn’t want it to get damaged on my travels. You know, the people who are carrying your luggage into the plane aren’t always that mindful when it comes down to safely putting your stuff away. Especially if you’re traveling with a backpack it’s harder to make sure all your belongings are safe. And luckily my meditation kit was big enough to fit my precious rock in.
Another thing that I always like to take, are a couple of figurines. During my travels in India, I bought a couple of pocket statues that are easy to take. I can’t do without my Ganesha as he is the god to lead you the way on your journey. I even have installed one in my car to show me the road ;). It’s gonna be a bit harder to take your favorite big Buddha statue with you, but these days you can easily find some smaller statuettes that would fit in a smaller box.
And at last, sometimes, but not always, I try to pack some images as well. Something inspiring. What’s inside my box at the moment is a prayer from Saint Francis that I love. So every time I secretly peak to see how long I’ve been meditating, I see his prayer to remind me to keep my intention inside.
DIY Meditation Kit
 There are just a few things that you’ll need to make your meditation box. A few things and a lot of creativity. It’s not only great to work on something creatively but try to meditate on it as well. How do you want your box to look like, just to make it the power tool that it could be?
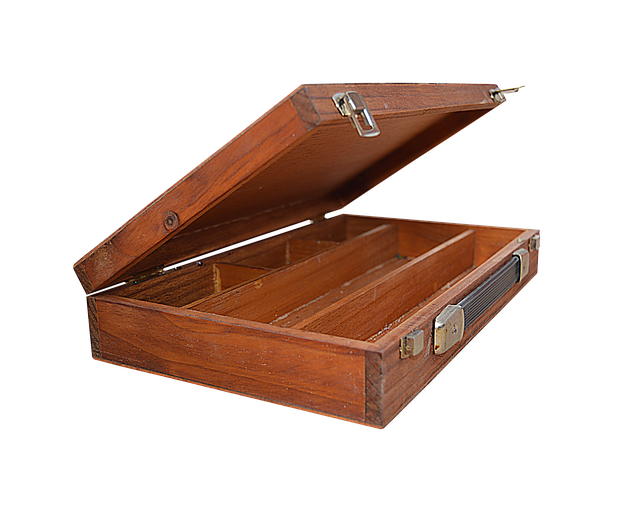
You’ll only need one thing for sure, and that’s a little box. For my creation, I’ve used a cigar box, as those were just the right size for me. Try to get a box that is made out of wood, which cigar boxes almost always are. This way you can release your creativity on it as wood is a great material to work with.
Besides that, you can do whatever you’d like. You can use crayons, you can use paint, paper, …
For my box, I’ve used old articles and paint to decorate the sides. So what I did is the following:

1. First of all, I looked for some inspiration on what to create, I’ve looked for online stencils to put on my box.
2. I’ve taken a magazine to gather some shredded colors to make a little mosaic made out of paper.
3. I’ve drawn with the stencil the figure that I wanted on top.
4. With some paper glue, I’ve put the shreds together into the shape that I wanted it to be.

5. I finished it off with some self-adhesive laminating sheets, this was to make sure that the shreds wouldn’t be falling off during my trips and to get that shine on it as well.
Of course, this is just the top of your box. If you’ve chosen to use a cigarette box, chances are big that the sides have text on it as well. And there is nothing as disturbing as having a sticker on the side that says cigars, especially when you are using it as a meditation kit.
Therefore, I painted the sides white first. Of course, every color would do, it’s just good to have a color as a base and after that, you can do with it whatever you’d like.
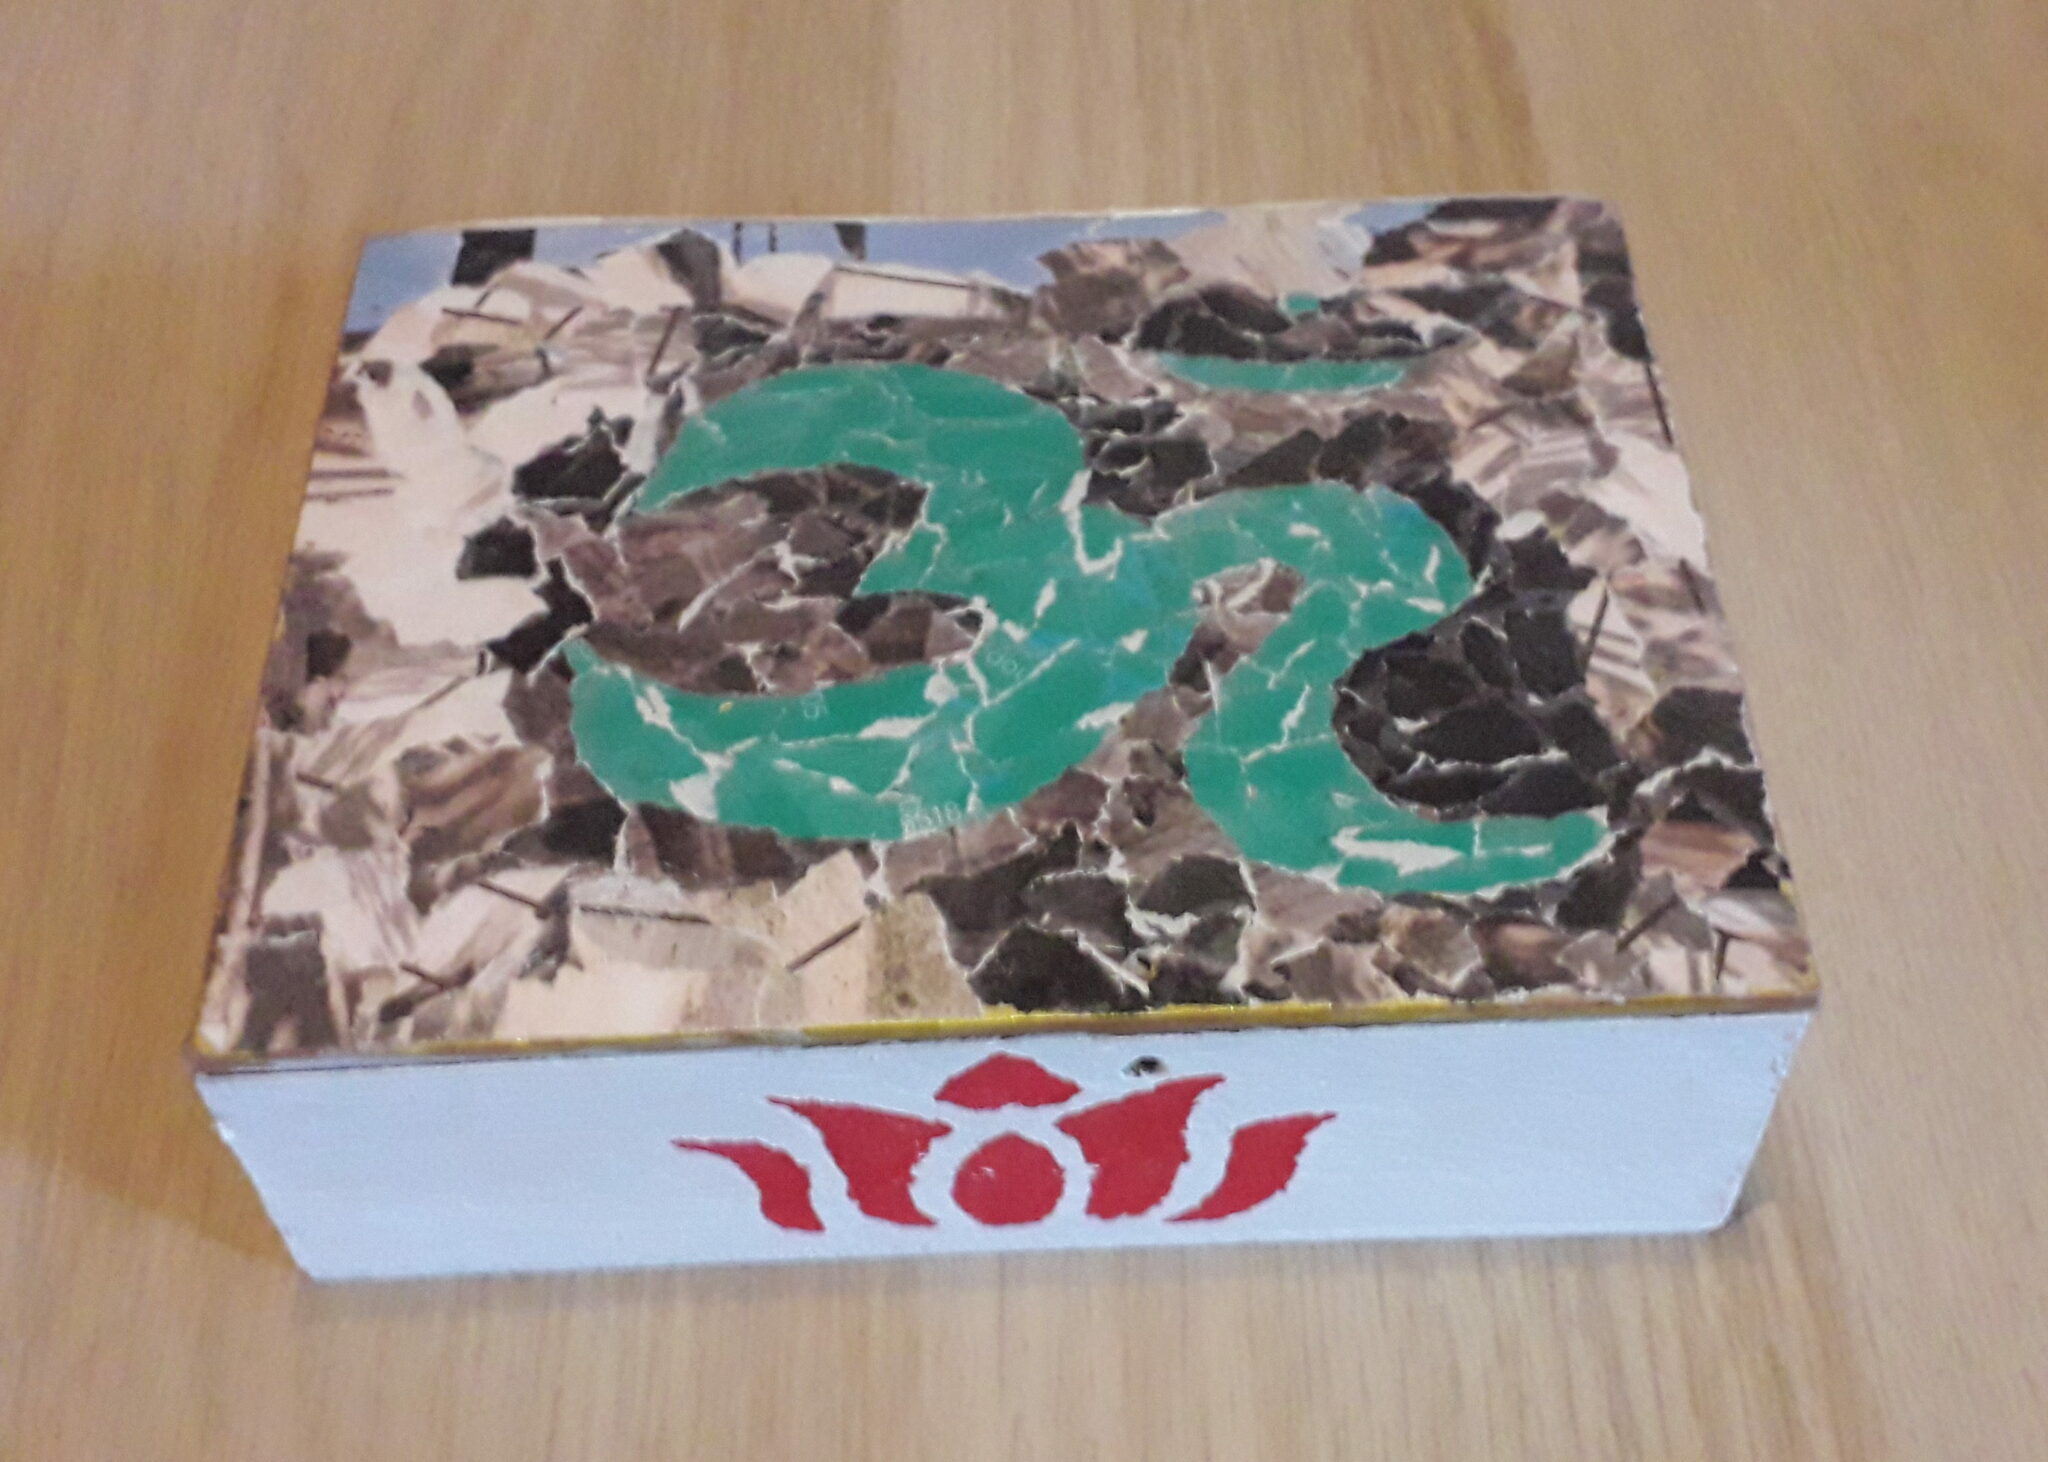
After I painted the base, I made another stencil of what figure I would like to have on the sides. For this, I choose a lotus. Then I used the stencil to finish the box off.
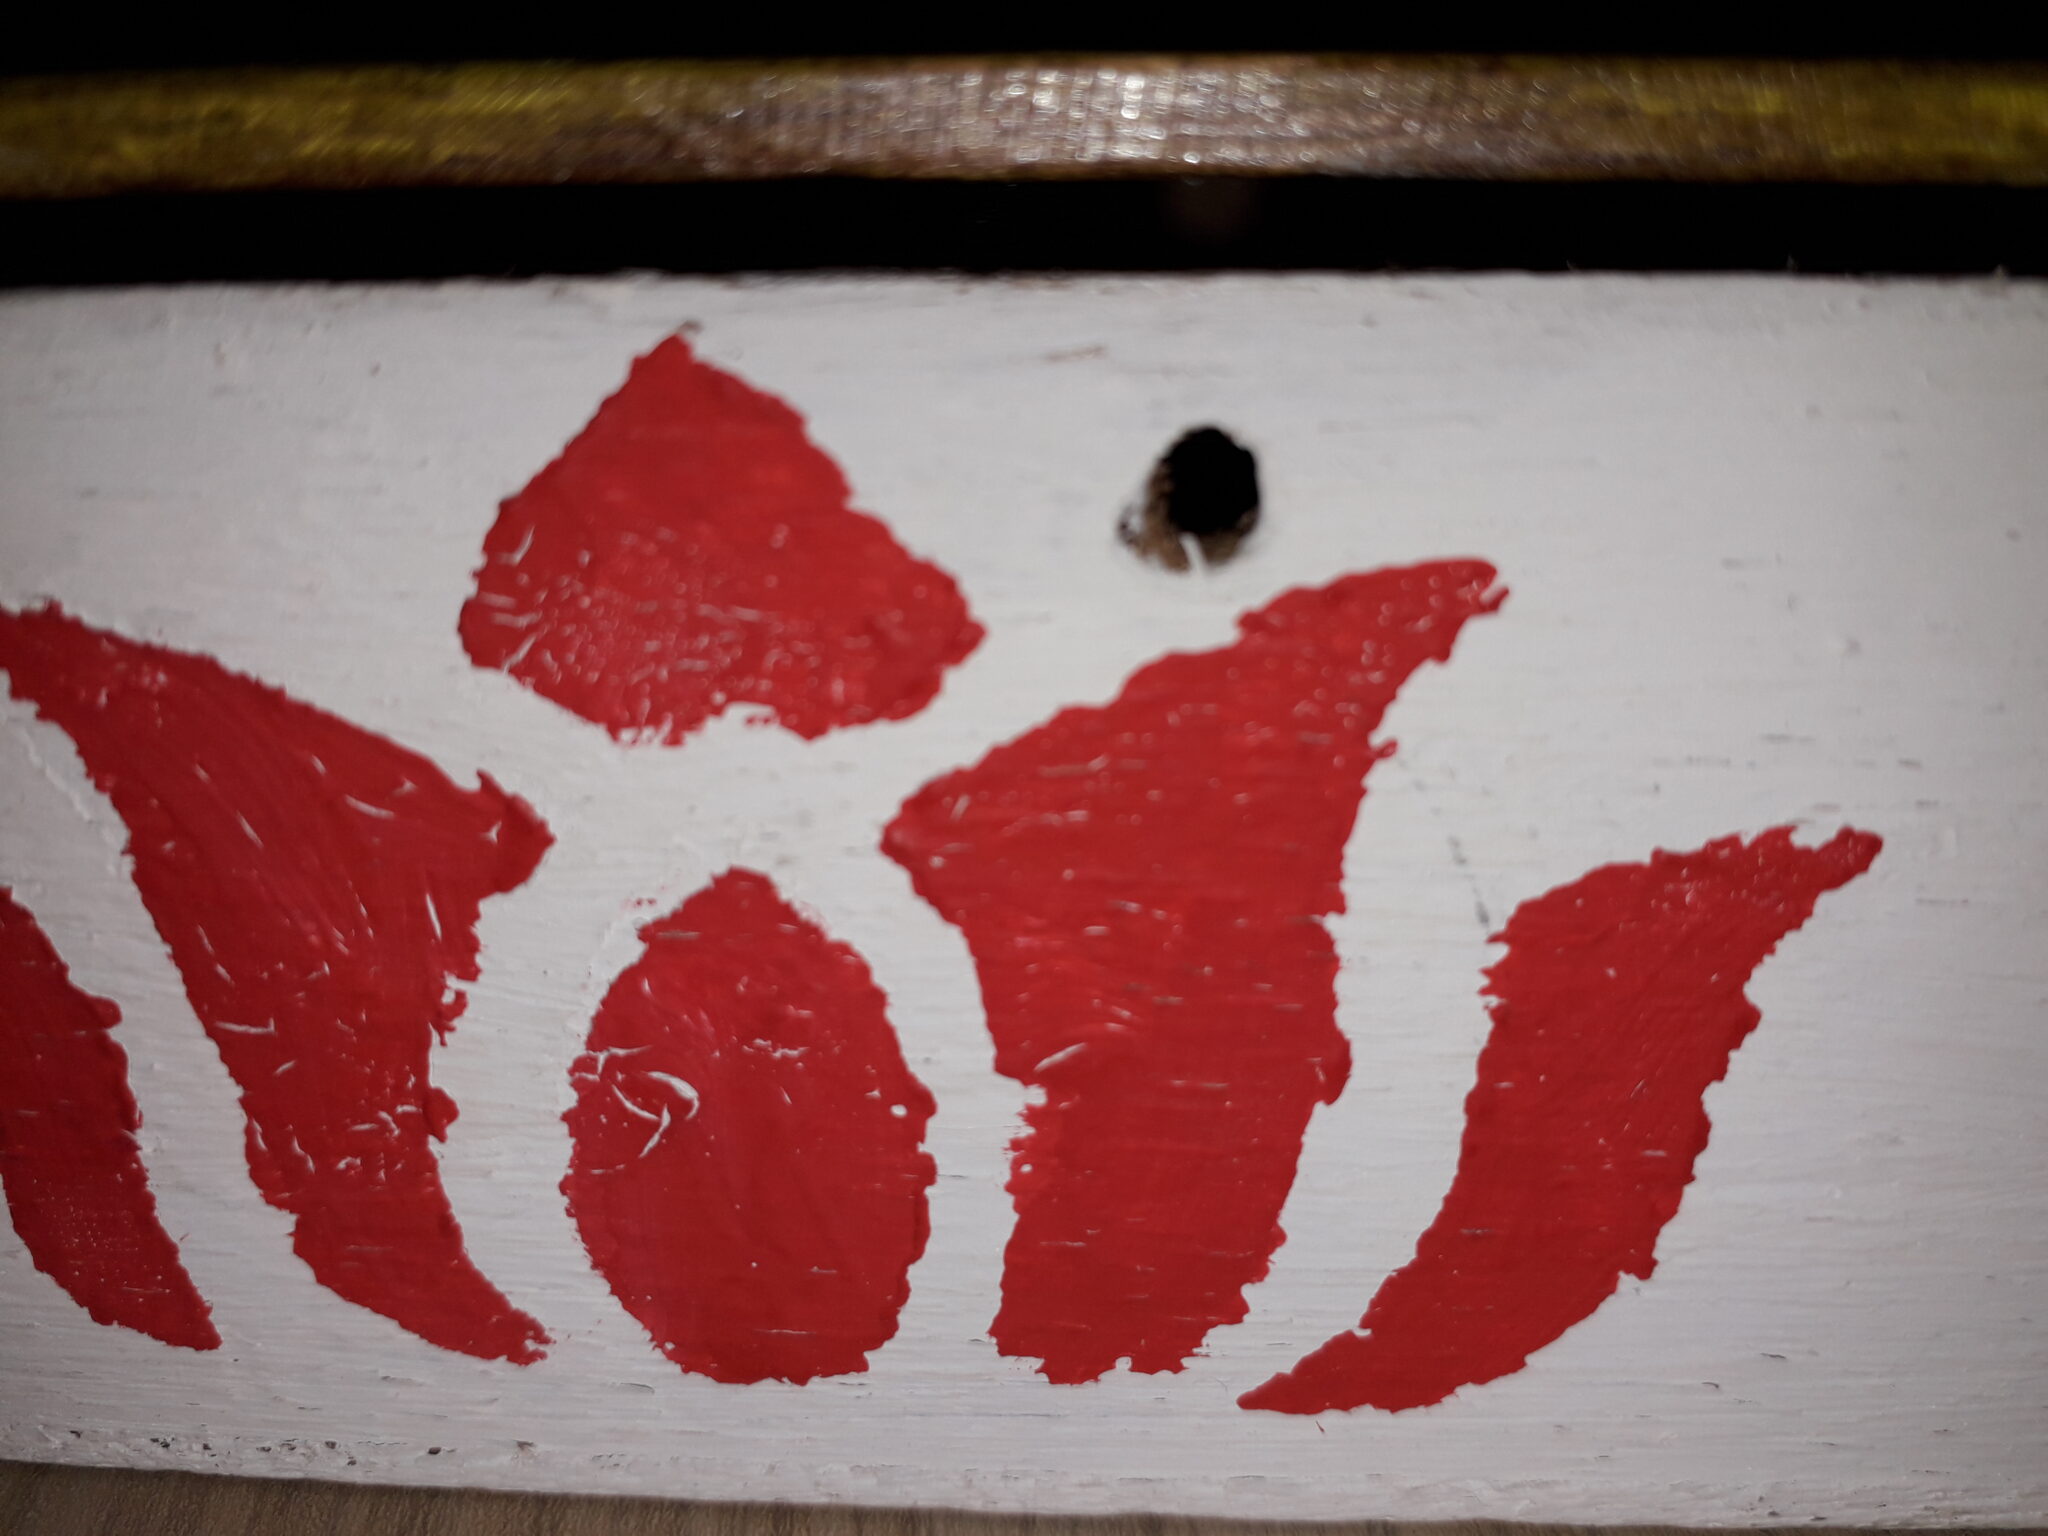 What I also experienced on my first travel that it would be good to have something to tie your box with. During my first trip, I didn’t do this, which made that everything fell into my bag… I resolved this by creating two little holes into the box, as you can see in the picture. After that, I could just close the box with some string and it’s ready to go!
And there you go! You’ll have a great home-made, inexpensive meditation box for on the go!
Conclusion
That was it for my meditation kit box. It’s a great way to have your take your altar with you on the go. It’s great to have a space for meditation, but if you are traveling a lot, this box comes in handy as well. It makes sure that wherever you go, you always have your own meditation space with you. Even if you don’t meditate when you are away from home, it’s a nice way to decorate the place where you’ll be staying with some little things.
Besides that, it’s always great to get creative with some things. When you buy ready-made things, you are never sure about what intention or how it is made. This way, you know what your energy was like while creating this crafty little thing.
Another nice thing is that it’s a nice meditation gift. Nothing says that you like someone more than giving a home-made gift. And besides that, you can, for example, create your meditation box and put some things in it all ready to give to someone for the holidays, for example.
That’s it for now if you have any more questions, or you’d like to share your idea or design, feel free to leave something in the comment section below!
Nama-stay wonderful!

It is a nicely structured and very informative post . Your step by step explanation makes it easy for the reader to follow along.
Your illustrations work well, and your creativity definitely comes through to reader.
Very good post…
What a wonderful idea, not only creating it yourself and knowing about the energy that was around when pieces found together, also as a gift or travel kit. Thank you so much for sharing this information on your fabulous DIY Meditation Travel Box article. I love the one you created very much. Thanks for letting us have part in this! Is the green sign on top “happiness”?
All the best and happiness to you and all your readers,
Janie
Hi Janie, the green sign is actually the image of the Om, which is basically the sound of the universe, shortly said ;). Maybe I’ll do a piece about it on one my next articles!
Great layout!! Very informative! I like your topic! I think it will reach a lot of audiences.
Thank you Nicole 🙂